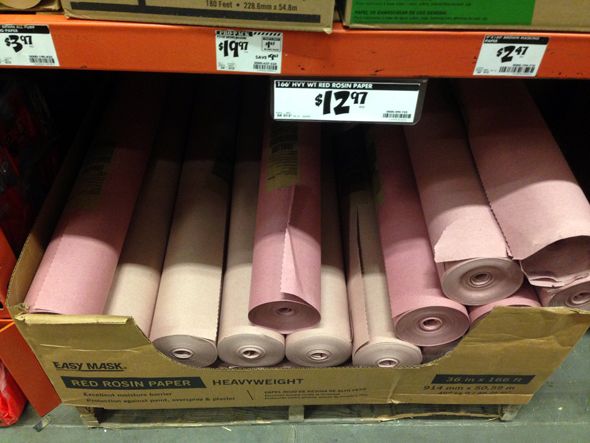
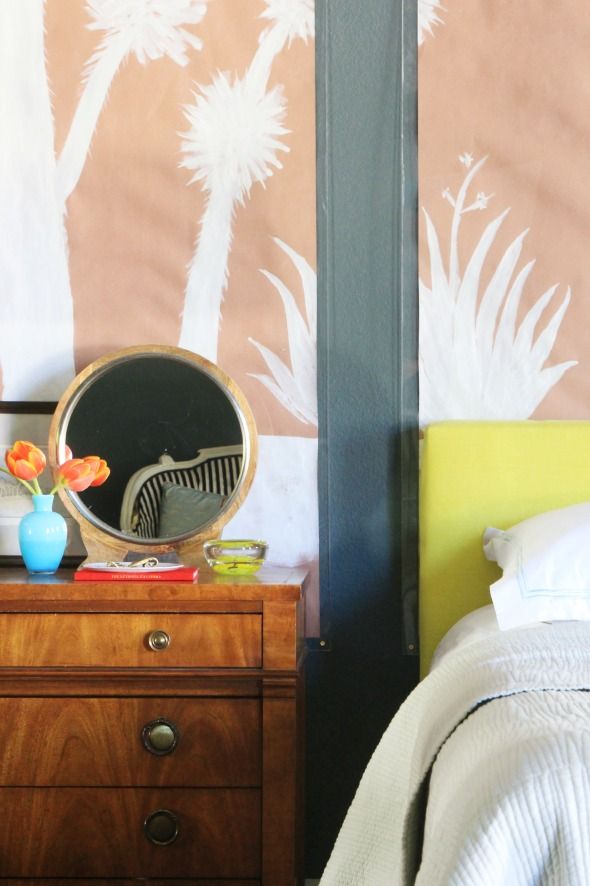
I looked online for some artist's paper in pretty colors, but everything felt too bright and too flat. I wanted the color to be soft and sort of mottled or worn-in looking. Then I saw this box of rosin paper in the paint section at Home Depot. The color, size and price were all perfectly perfect.
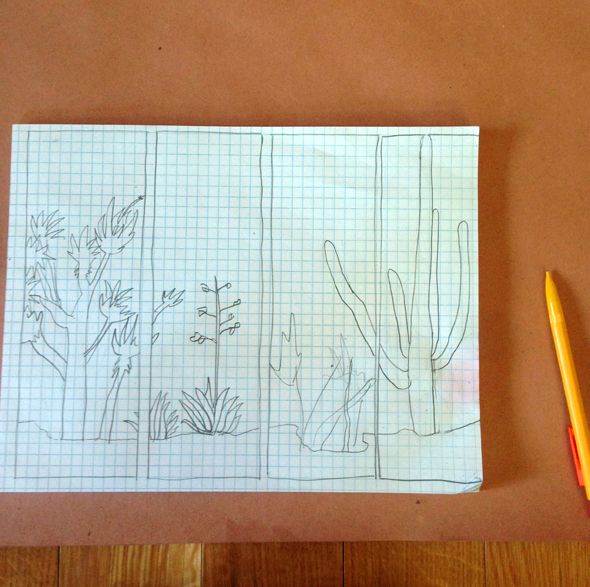
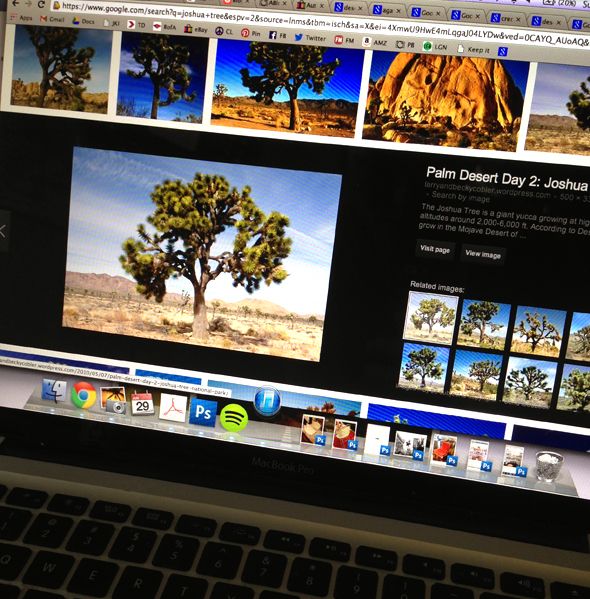
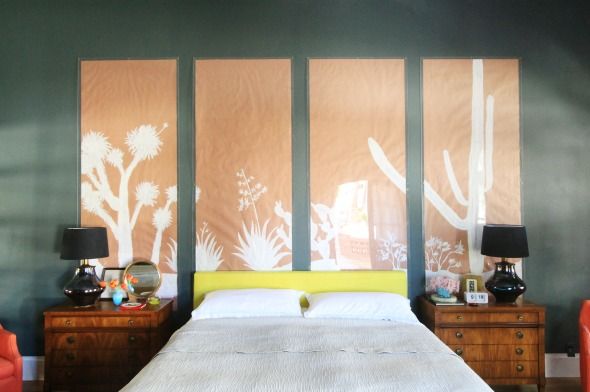
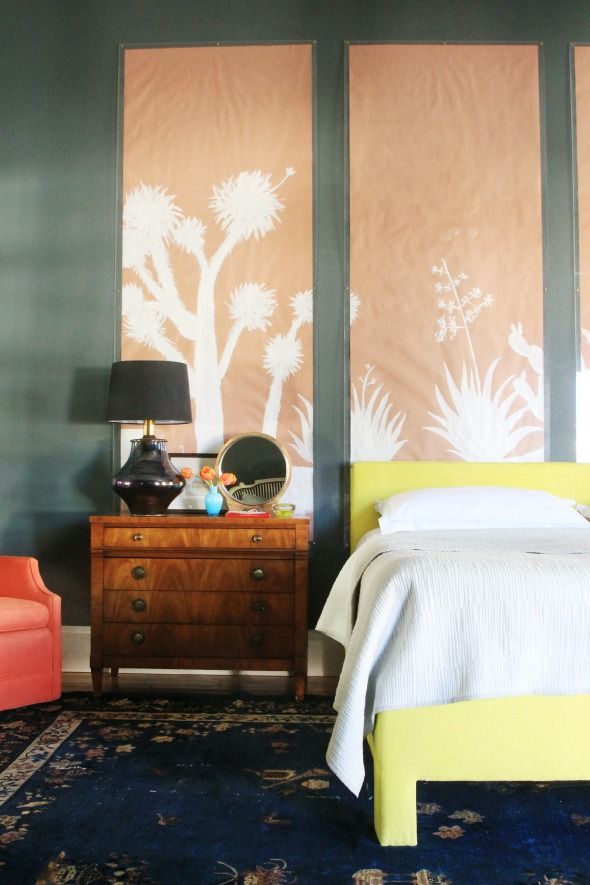
I went back online to figure out what to paint for our murals. This was about 48 hours before the shoot - and I wasn't feeling particularly creative or patient. More like exhausted and majorly nauseated from morning sickness. :) Good times. I think the panels came together though! I ended up deciding on a desert scene - it felt appropriate for this house. The older I get, the more I love and appreciate the beauty of the desert.
There are so many cool shapes in the plants and, surprisingly, a huge range of really beautiful, soft colors in the desert. Just to keep things simple for me though, I used only white paint for the mural.

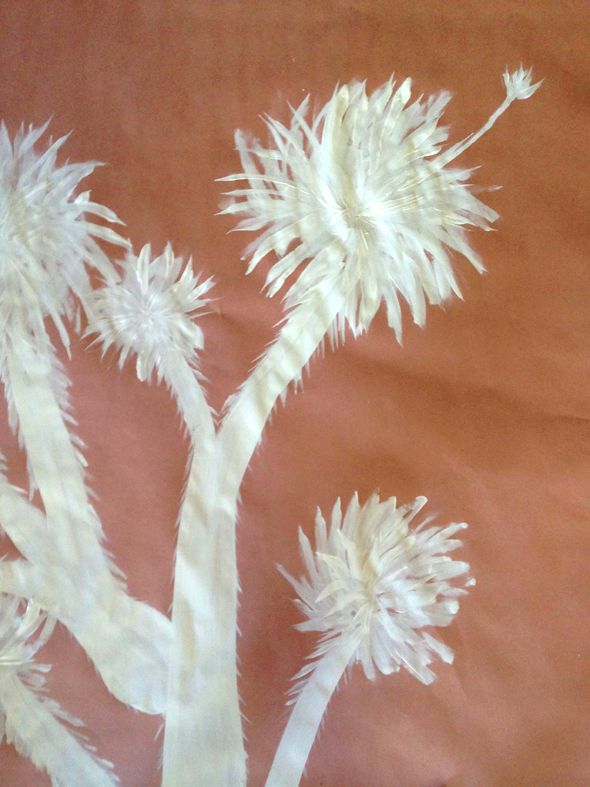
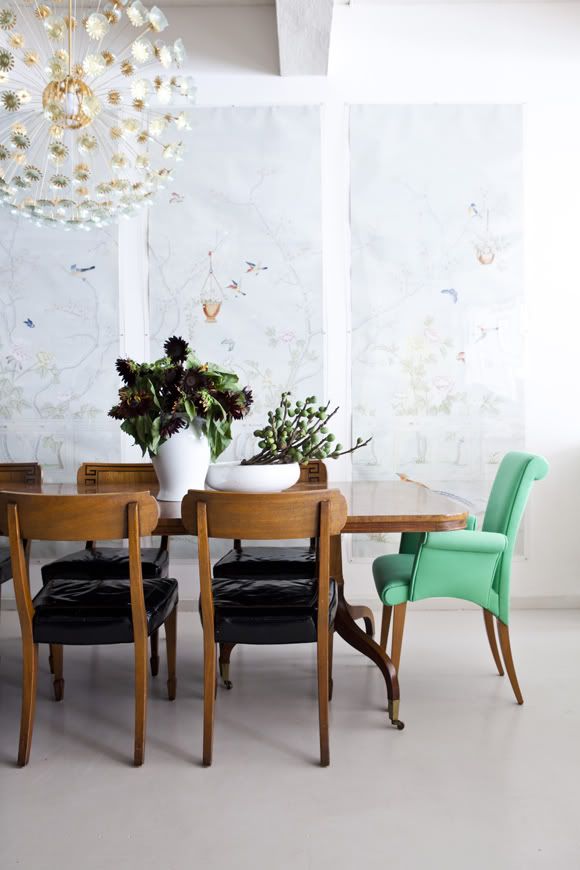
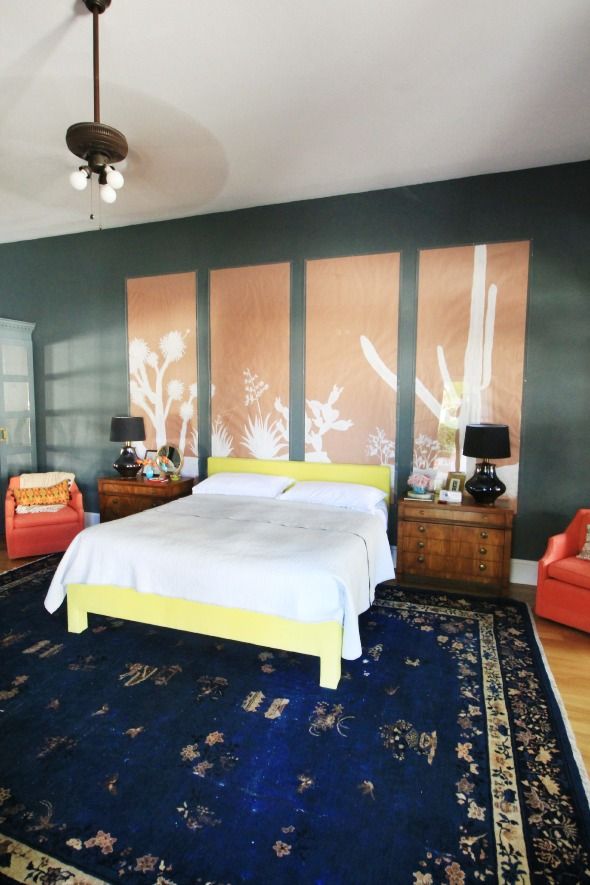
I free-handed it, and it ended up being a pretty quick project. Just a couple hours all together. Part of me wishes I had had more time to spend on these, but I sort of like the simplistic quality. It does the job of dressing up and bringing in the big, long wall of our bedroom, and I think the soft mauve color is so pretty against the dark, moody Knoxville Gray walls.
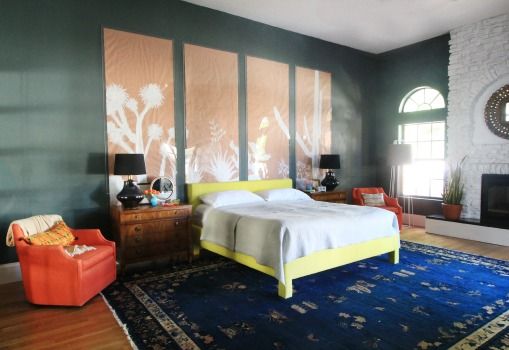
Just like with installing the Chinese panels, I measured and marked out the spacing on the bed wall and hung the panels directly to the walls with picture hanging strips, and then screwed in the plexi sheets on top using pretty brass screws. It's a simple job, but definitely requires two or three helpers. Those plexi sheets are heavy and awkward!
DIY to the rescue again! Someday my life will not be so crazy and I'll have more time to plan these projects out a bit more thoughtfully. That's the goal, anyway. :)
No comments:
Post a Comment