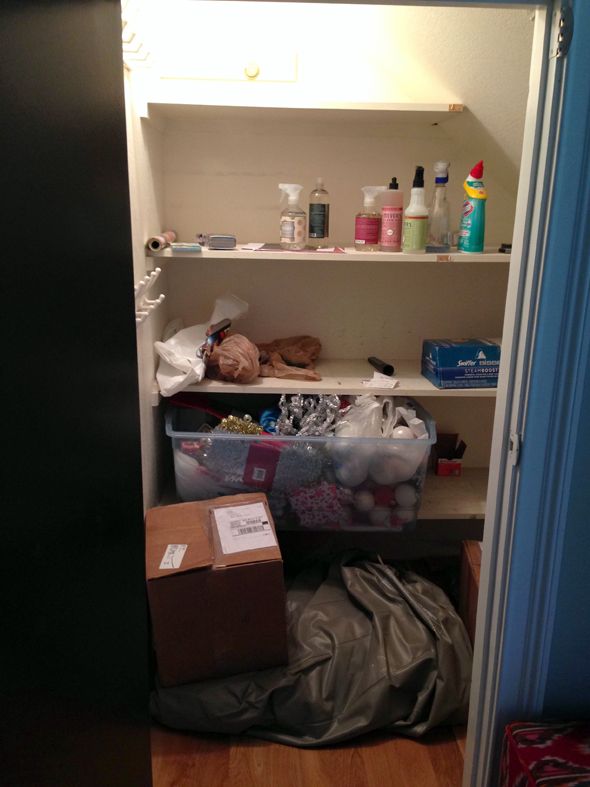
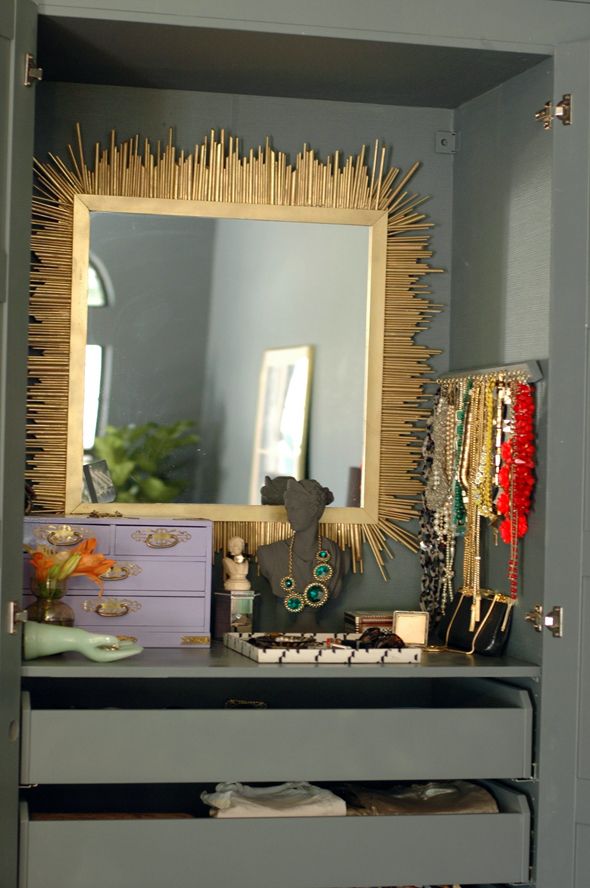
I'm running out of space and my necklaces are getting buried, which sort of defeats the purpose of the thing. The good news is it's really, really easy to make one of these hangers and only takes a few minutes, so I can turn a second one of these out in 20 minutes or so.
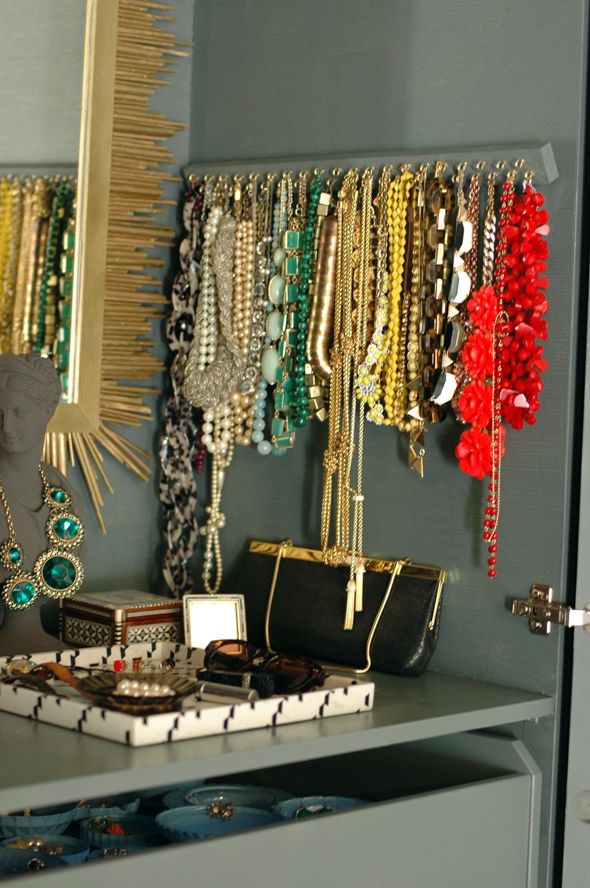
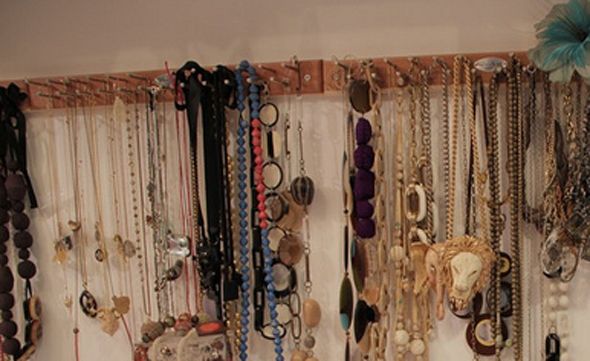
My inspiration came from this photo below I saw on a cool site that just shares images of closets belonging to really stylish women. I can't remember the name of the site though - do you know it?
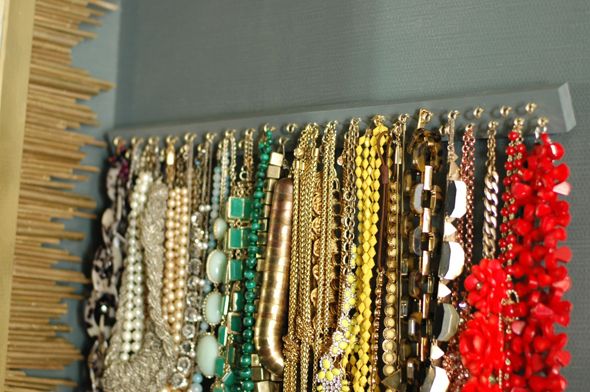
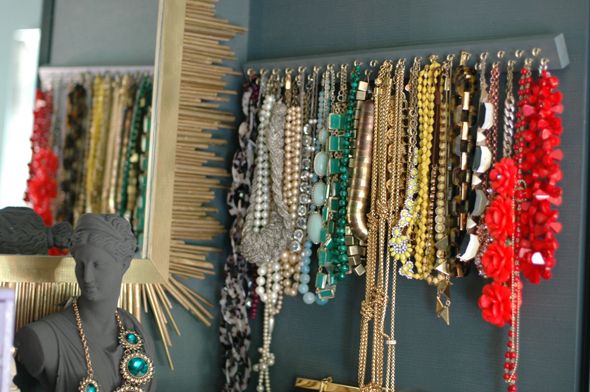
The teeth hangers sort of make the strip tilt out a bit, but I kind of like the angle? Or at least it doesn't bother me enough to figure out another way to hang the strip!
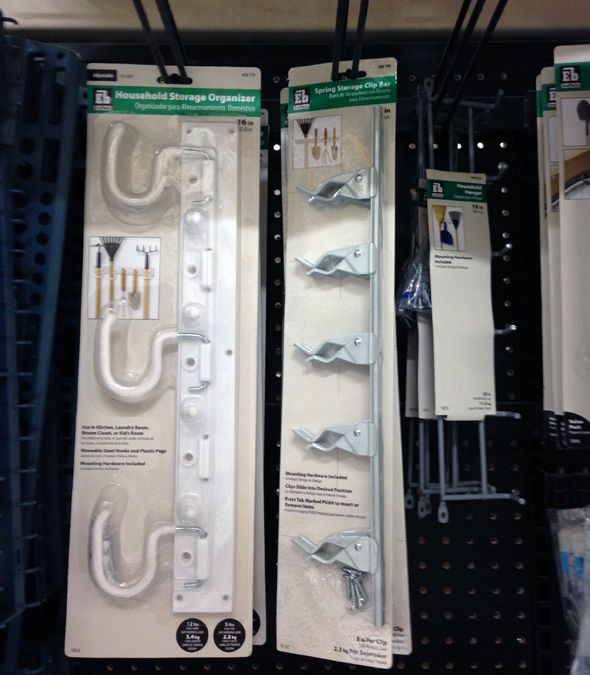
In this woman's closet, she use a strip of wood and a series of nails tapped right in. This hanger would be like a five minute project!
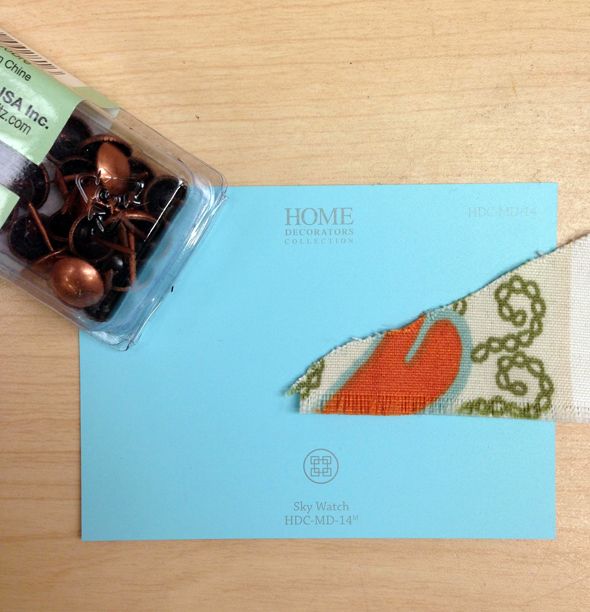
I wanted my necklace strip to be painted the same color as my wardrobe units (which is Benjamin Moore's Knoxville Gray), and I wanted tiny brass hooks.
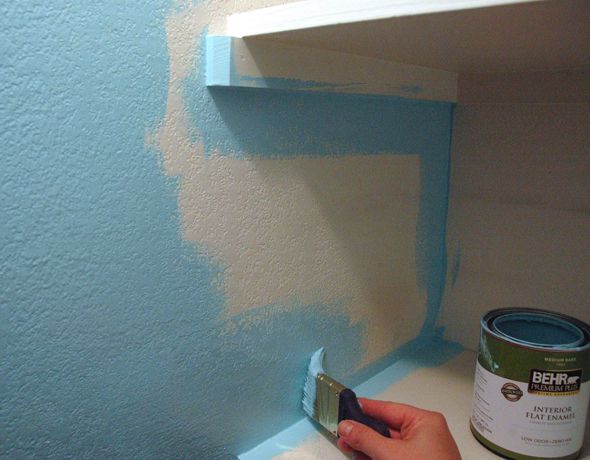
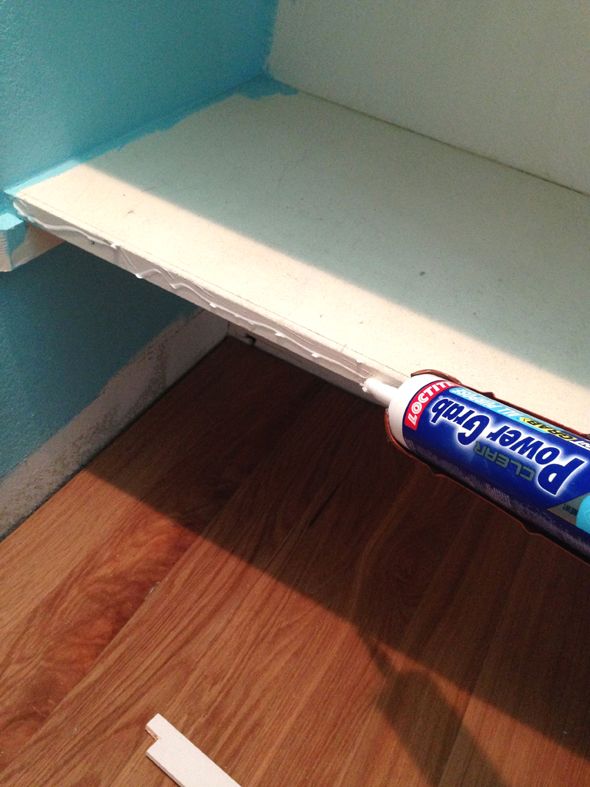
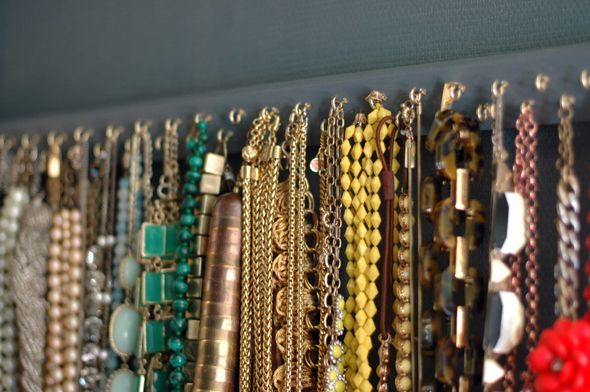
I had a scrap piece of wood laying around that was just the right size. I don't have a photo of this, but I bought some of those picture hangers that you just tap right into wood or a frame. They sort of look like jagged teeth? They're great and so easy to use. After installing those on the back, I painted a first coat on, then I marked out where the hooks would be on the front, spacing them about an inch apart and staggering the rows.
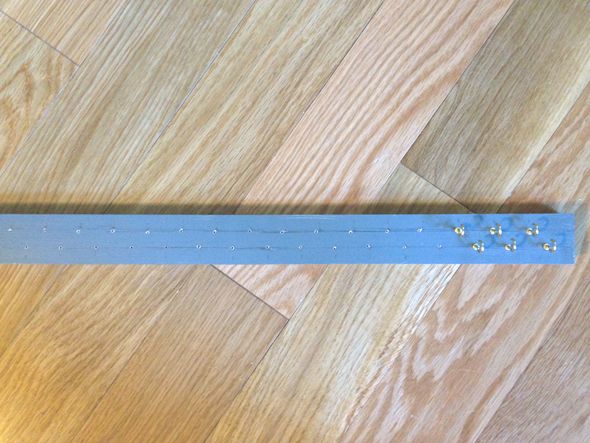
Then I drilled teeny tiny pilots holes with the smallest bit I have. This made screwing in the small hooks by hand about a million times easier!
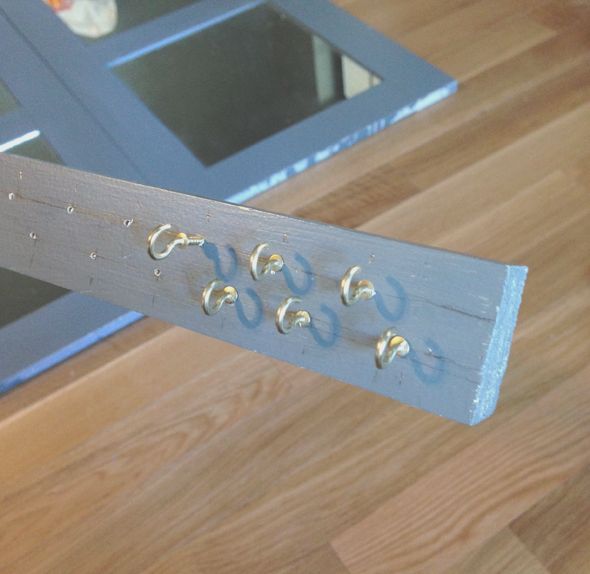
I touched up the paint with a small brush and then hung the strip of hooks up on the wardrobe wall using the jagged teeth hangers.
Then I drilled teeny tiny pilots holes with the smallest bit I have. This made screwing in the small hooks by hand about a million times easier!
I touched up the paint with a small brush and then hung the strip of hooks up on the wardrobe wall using the jagged teeth hangers.
The teeth hangers sort of make the strip tilt out a bit, but I kind of like the angle? Or at least it doesn't bother me enough to figure out another way to hang the strip!
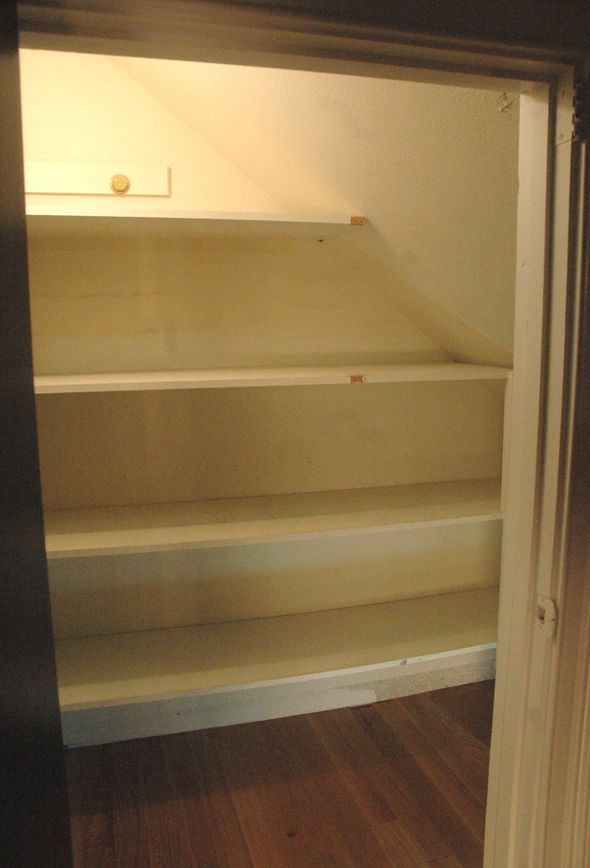
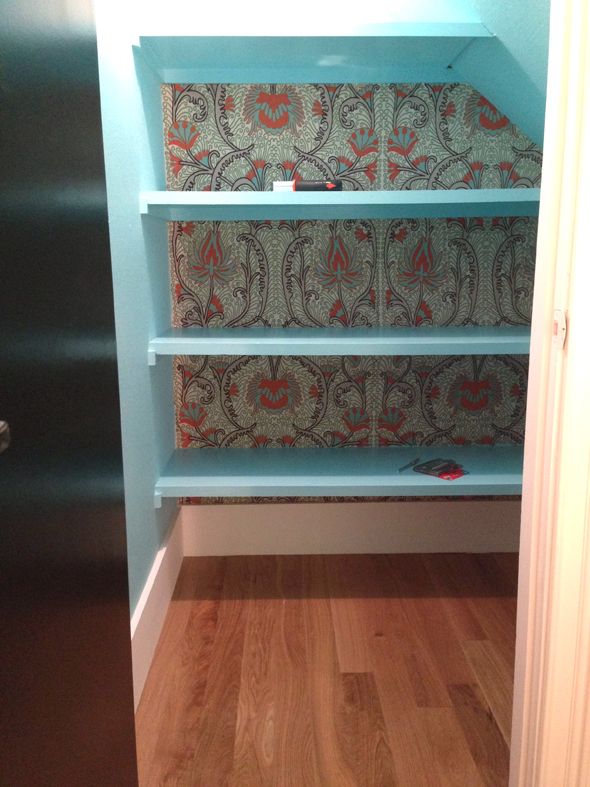
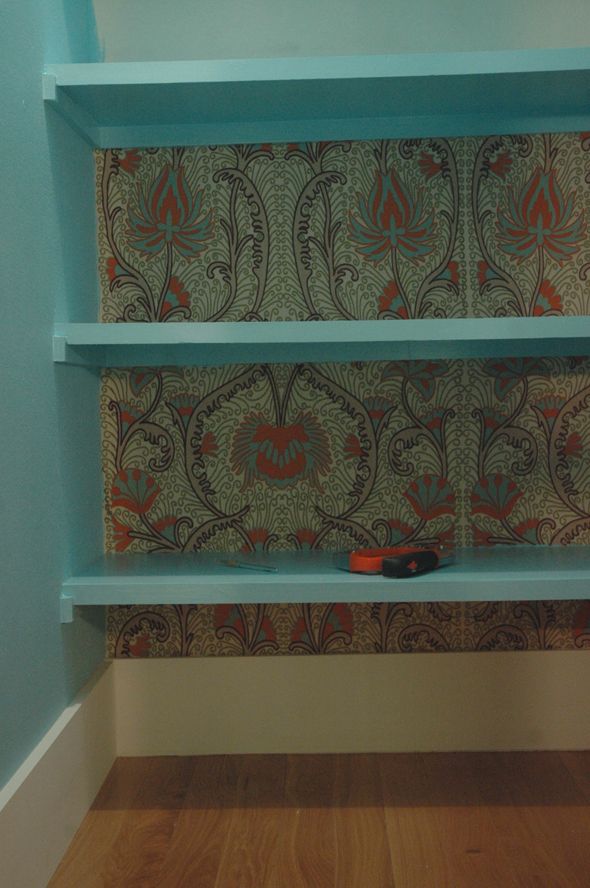
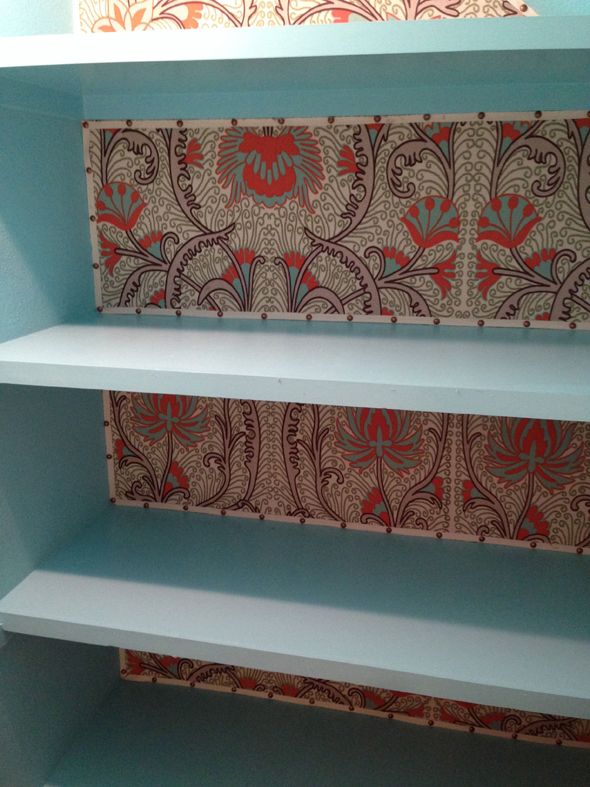
What plans do you guys have for the weekend? Any big projects? Here's a sneak peek of what I've got going on... :)