Wednesday, July 31, 2013

White Oak Wood Floors

Originally we planned on putting in unfinished white oak floors so I could customize the stain color and finish. We were going to have a company come in and lay the floors for us since we were in a time crunch and there's a lot of floor to be laid. To save money we were just going to do the demo ourselves. It's a long story with not a lot of interesting take-aways, but the short version is that the floors weren't going to be able to go down before the moving truck arrived with our stuff, so there was no reason to pay the extra money to have the flooring company lay them for us. We are saving about $25,000 by laying the floors ourselves and by going with a pre-finished wood. $25k is a pretty insane amount of money to me. I don't mind putting in the work myself at all so that I can save that cash for other projects and especially for the kitchen reno we're planning down the road.

 photo IMG_5203.jpg

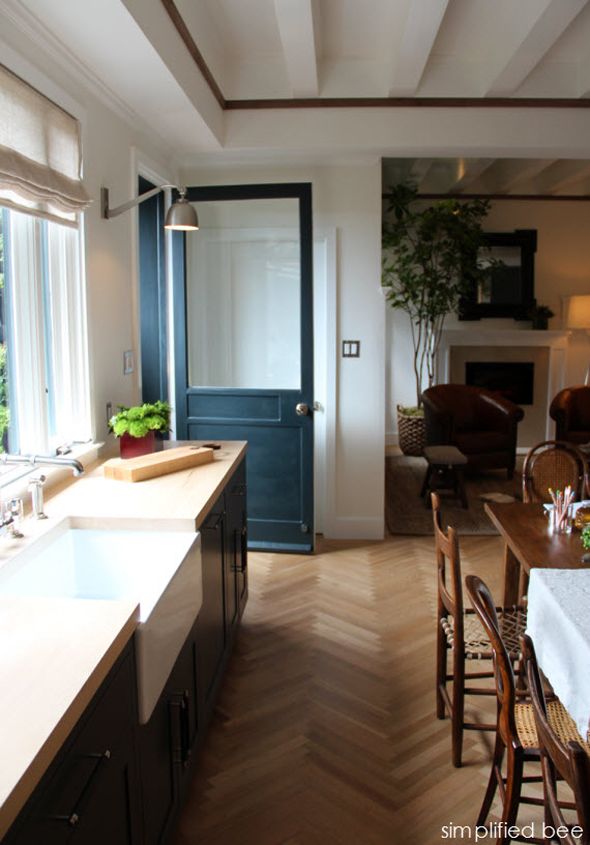
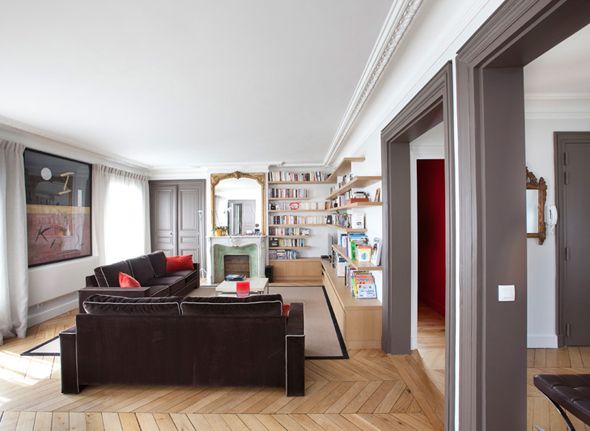
At first I was a little sad about not getting to customize the stain and finish on the floors, but I actually don't think the custom stain would end up being so different from the pre-finished wood I ultimately selected. When I was trying to figure out a stain formula, I kept thinking I wanted a more gray look. Then I would look at my favorite inspiration images and those floors were definitely more golden-natural than gray.

 photo FLOORSDomus-Nova-Leinstercopy.jpg

(more after the jump...)


 photo herringbone-floor-entry.jpg

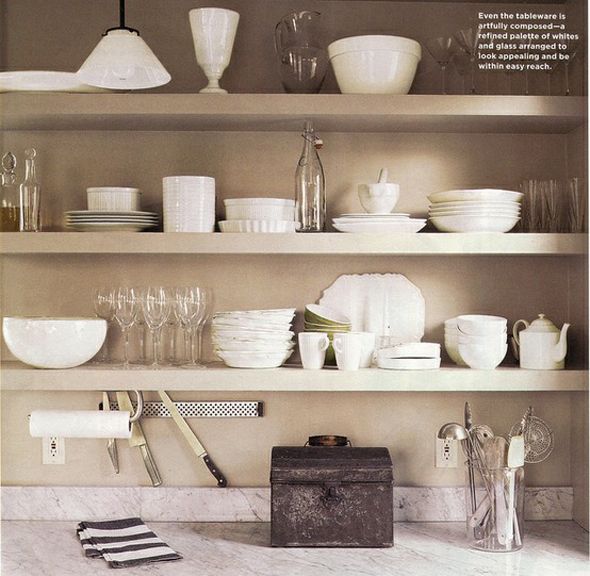
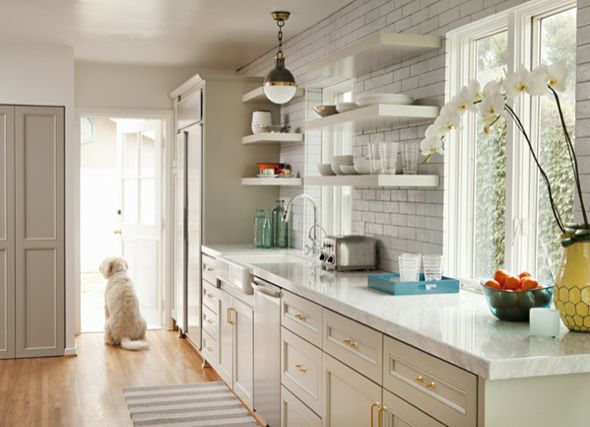
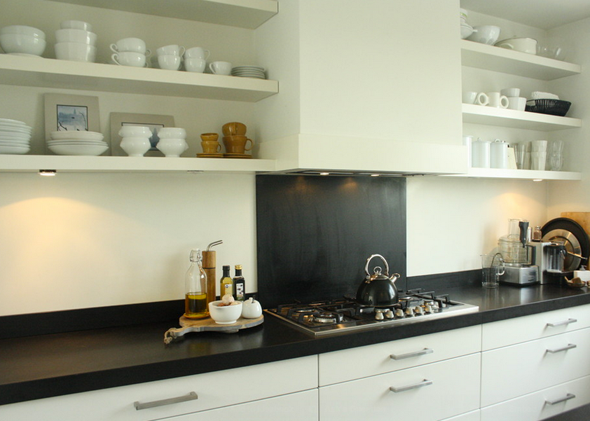
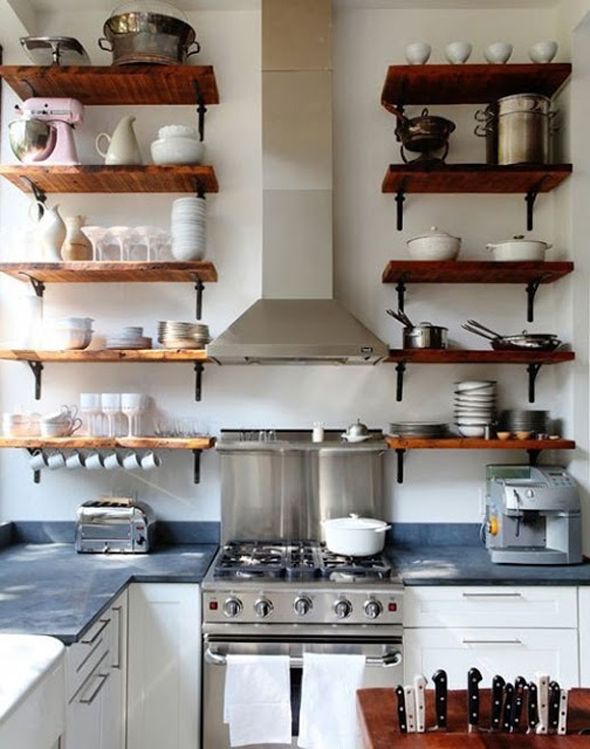
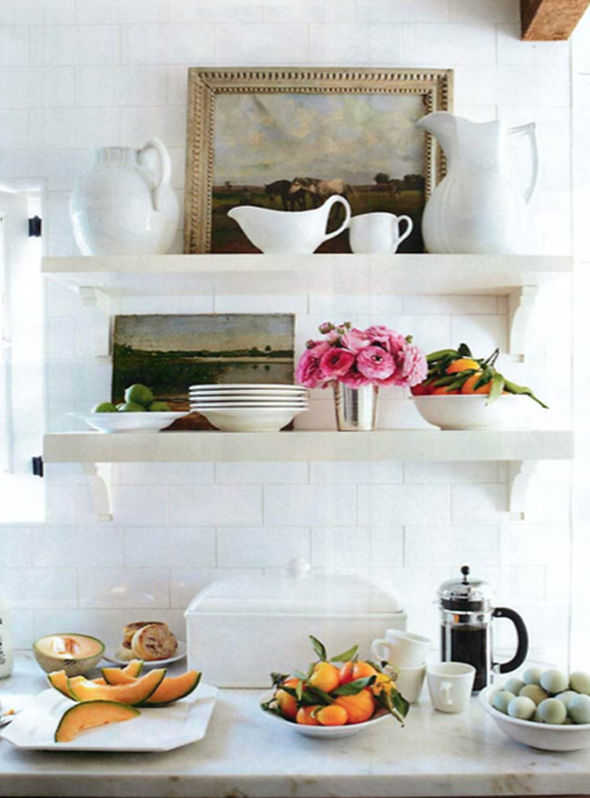
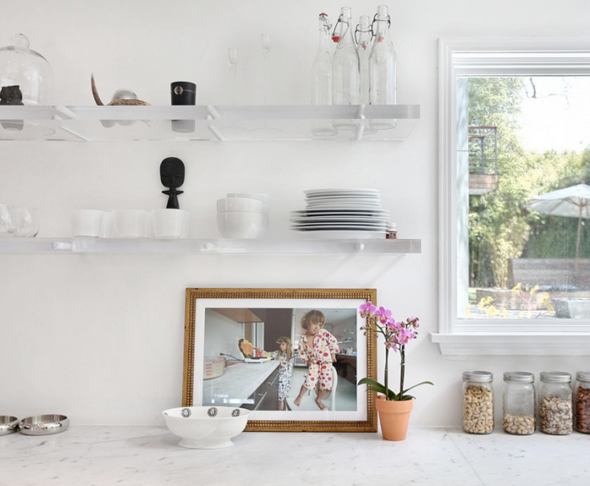
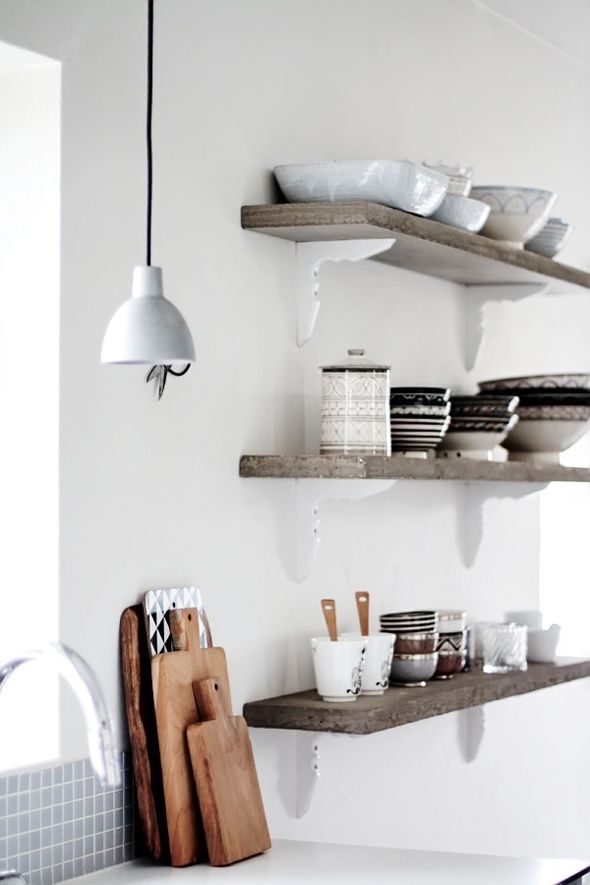
So I figured I should take my own advice about finding color balance in my home. I usually pick very cool-tones for my wall colors (grays, blues, white), and if I went gray on my floors too, the overall look wouldn't be quite right for me.

 photo farn-house-kitchen-sink--herringbone-wood-floors--kitchen-door.jpg

 photo PERFECTFLOOOOOOORRSaliacopy.jpg

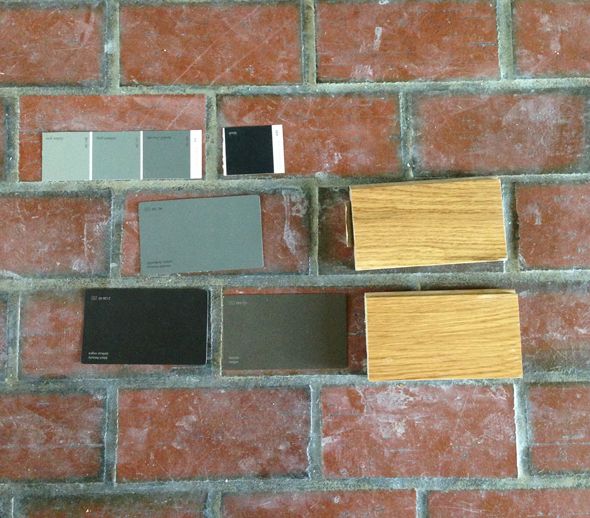
So I went shopping and picked up samples of pre-finished hardwoods. Just like with paint, I think it's always a good idea to see how the samples look in different lighting throughout the day. 

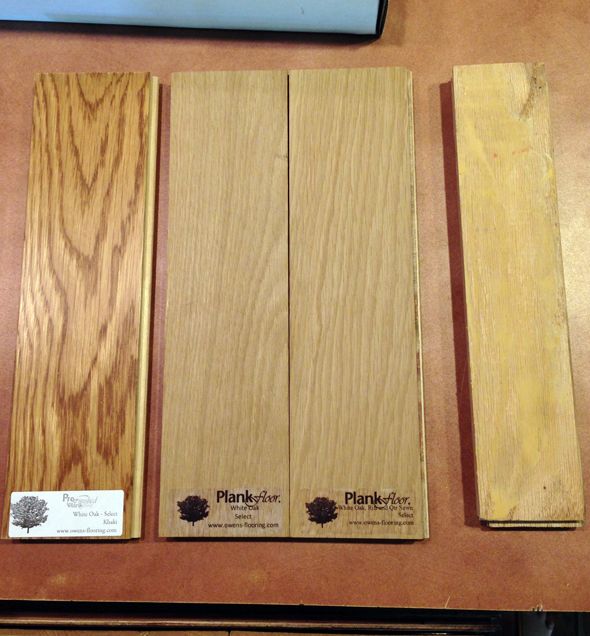
The top three samples are from Lowes. I liked the color on the right (#3), but that stain and species (white oak in natural) only came in 2.5" planks. Also the Lowe's wood was more pricey than the Lumber Liquidators options here on the bottom row.

 photo IMG_5806.jpg

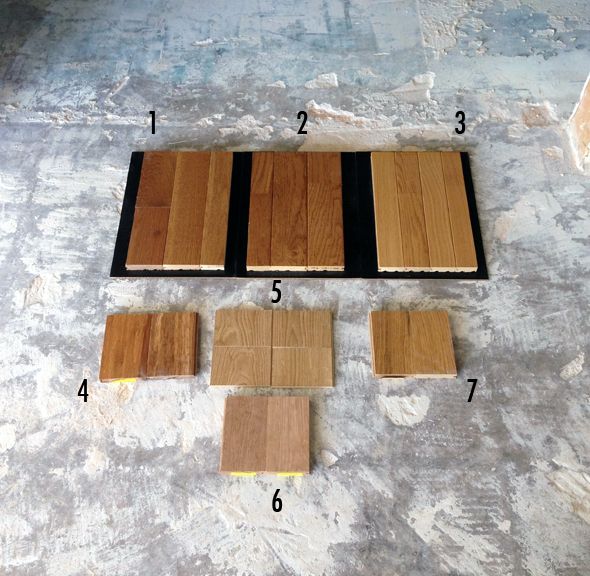
Number 4 is actually a bamboo that looked really nice in the LL showroom, but wasn't right for me. Number 5 is a cheap-o laminate from Home Depot. I picked up a couple of samples because I really liked the golden gray color and thought I would try to match the stain on my unfinished wood (which is #6). Number 7 is a 3 1/4" select grade white oak from Lumber Liquidators, made by a company called Builder's Pride. The select grade just means there aren't any hardcore knots. It's a nice and clean look, but still has the character I want to see in wood floors.

 photo sIMG_5803.jpg

Lumber Liquidators was so nice and seriously wonderful to work with. They aren't sponsoring my blog in any way - I'm just genuinely impressed with their customer service level and the way they run their business. None of their salespeople work on commission so everything is low pressure and very friendly. I didn't even have to ask about sales or promotions - they automatically knocked 30 cents per square foot off the price because I was ordering 2500 sq feet of wood. And tonight they are delivering my wood free of charge (which normally is a paid-for service) just because there was going to be a truck in my area. So, so cool of them.

 photo IMG_5911.jpg

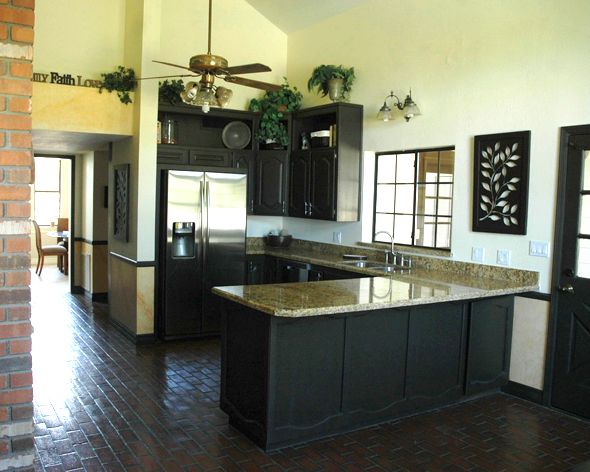
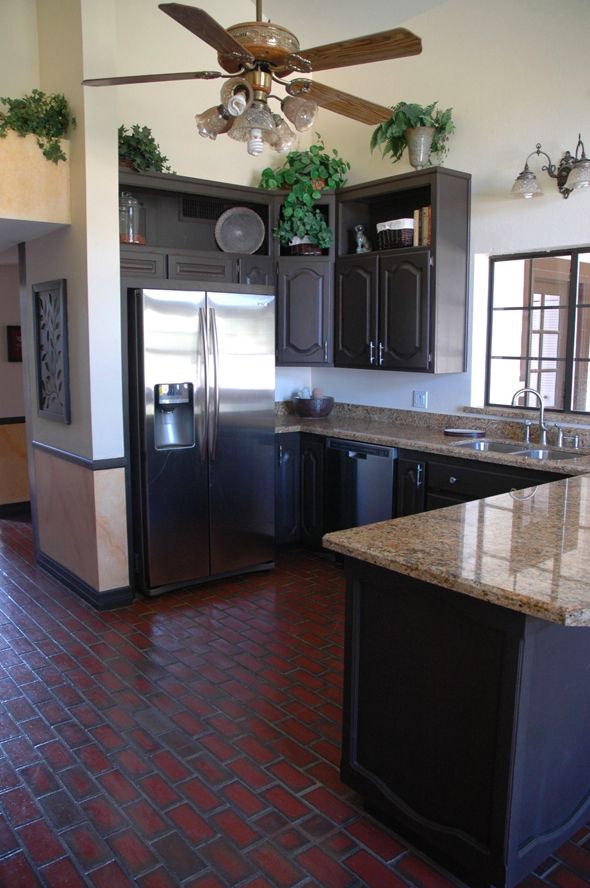
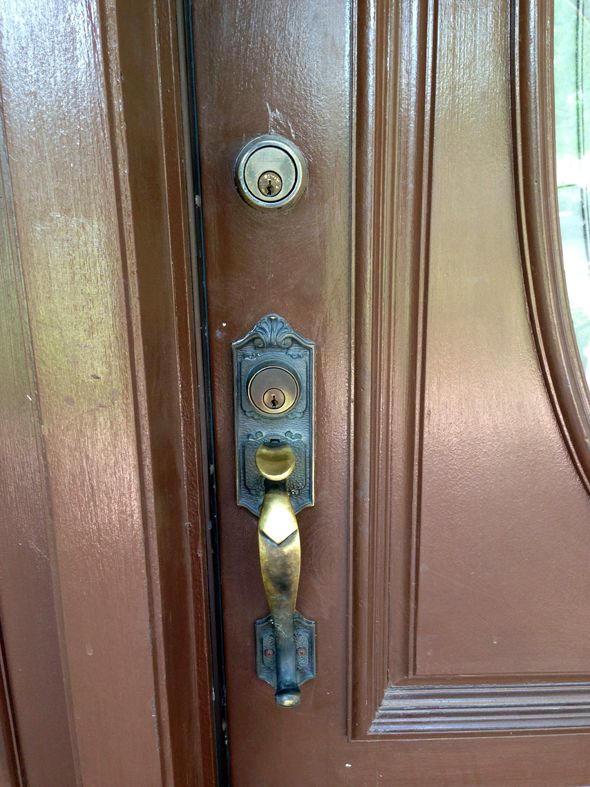
Soon my freshly painted dining area floors will be stacked high with boxes of wood. The wood will need to acclimate to the house for at least seven days before we can start laying it. But there's plenty to do in the meantime. We need to lay a plywood subfloor on all the concrete on the ground floor and we're going to start all the miter cuts for the chevron floor in the library now. My handy man Jason (who is amazing - email me if you need a guy in the east valley Phoenix area) framed out all our demo work earlier today. It was CRAZY to see how fast he got that wood up! He's going to install my front door early next week too. And we'll have some drywall guys come in this week as well so that I'll be all ready to put down the floors the second the seven days of the acclimation period is up! In the meantime I'll be practicing my mallet-swinging form for working the floor nailer and stretching out my hamstrings, which are apparently what will ail me the most while hunching over the nail gun. :)

Tuesday, July 30, 2013

Getting Inspired: Open Shelves in the Kitchen

I'm SO happy with the small changes we've made in the kitchen so far, which I'll be sharing soon. The paint is making a huge difference. It's crazy how a fresh coat of paint can make a house feel much more like it's yours.

You probably remember from the kitchen tour that we're planning a big kitchen reno in a year or so, and so I'm doing what I can to make the space pretty for now without doing anything major. Lots of cheap cosmetic fixes. I thought one big change I could do myself was take down my upper cabinets. At first I wanted to take all of them off and put shelves against the back wall next to the fridge as well as the walls flanking the windows. But the more I thought about it, I started to get worried that it would make the fridge look funny with the ceiling height. (For the first time in my life I caught myself saying "I wish these ceilings were lower" and then thought twice about it.) :)

 photo DSC_0591.jpg

Also, I don't think I want allllll that much open shelving. We had a small shelf area in the brownstone that was just big enough to store the dishes we'd use over the course of a couple of days. There was no time for things to get that layer of kitchen grease-dust on them. So I think less shelving is probably better than more in my case.

 photo gDSC_0087.jpg

(More after the jump...)

So now I'm thinking I'll keep the uppers that surround the fridge and the ones that hang in the corner (and paint and change the doors like I'm doing with the lower cabinets). There's a handy little lazy suzan in the corner cabinet that I'm strangely excited about having. But that first cabinet, just to the left of the sink will likely come down this week.

 photo dDSC_0611.jpg

Then I'll install shelves of equal size on either side of the window. I'm thinking of maybe doing a backsplash too that will end with the top shelf.

 photo dDSC_0595-1.jpg

I'm changing the door frame moulding to something that is more chunky and that will meet at the edge of the counters, so there we be a natural stopping point for the backsplash tile at the door frame and under the top shelf. I love the look of full-wall tile in kitchens, but the ceilings... you know.

 photo DSC_0593.jpg

I think this will be such a pretty spot at the sink here, flank by two sets of triple-stacked shelves! Can't wait.

 photo DSC_0610.jpg

I've been thinking a lot about what I want the shelves to look like, but I'm a little undecided on the details. Here are some of the inspiration images that caught my eye. Right now I'm drawn to thicker shelves and brackets on the more modern (or at least less-ornate) side.


 photo prettykitchen_viasacramentostreet.png


 photo ScreenShot2013-07-30at15421PM.png

 photo ScreenShot2013-07-30at15505PM.png


We've been up at my parents' house for the weekend and we're getting ready to drive home now, so it'll be back to the kitchen-painting grindstone for me in about t-minus three hours. Wish me luck. :)

Monday, July 29, 2013

Laundry Room Art and DIY Clothes Pins Mirror

Sometimes when you're trying to figure out what to hang on your walls, it makes sense to come at it from an abstract angle first. Rather than just shopping for what you like or hanging what you might already have, sometimes I think it's best to imagine what would be right for the room and for the wall space. Especially in a room like a laundry room where things can and should be a little more light-hearted and not so serious.

 photo Art.jpg

The long stretch of wall to the right of the storage cabinets was crying out for a big statement piece of art and the small bit of wall to the left of the window also needed something. I think every room needs a mirror - it adds light and a different dimension to the space. So I set off to IKEA with my wall dimensions in hand to figure out my options.

I found this little oval mirror for about $15 and a pack of bright red clothespins.

 photo IMG_4445.jpg

And I found this giant 55" tall canvas on sale in the art section.

 photo dIMG_5961.jpg 

(More after the jump...)
For the large art, I picked one of the canvases that was the most mono-chromatic. 
 photo IMG_4407.jpg
And then I painted over the image just with some of the leftover paint from the cabinets in the laundry room. I didn't want any of the old image peeking through the final product.
 photo IMG_4409.jpg
I was going to leave the frame silver, but decided to paint it out black at the last minute to give the space some dark contrast.
 photo IMG_4411.jpg
I found an image online that I liked (this one is by Phillipe Halsman and I used the file found here). You don't need to be too worried about finding a high-res image with this printing process - the highly pixelated look sort of works here. Also, I don't really want to bring up the subject, but I think it's worth mentioning that I felt okay using this image for this project since it is a really old image and I'm just using it for personal use in my own home. If I were selling these prints, I would definitely be more sensitive about copyright laws. I'm sure we all fall on different spots on the spectrum here, and this is where I felt comfortable. :)
 photo IMG_4397.jpg

I carefully cut out the print (which I had printed to exactly match the size of the canvas). And then once the paint on the canvas was dry I used a strong spray adhesive to adhere the paper to the canvas.

 photo IMG_4419.jpg

I don't have a photo of the next step, but I used mod-podge to glue down the edges, so everything is glued down nice and flat. The only tricky part was getting the seam right, but I don't think it's too noticeable in the end.

 photo dIMG_4462.jpg
There were a couple of spots that I touched up with some dark gray paint and that worked well.

 photo dDSC_0445.jpg

 photo fIMG_4478.jpg

And then for the mirror, I just super glued the red clothespins right to the surface of the glass. I used a super glue that said it would work with glass and I think that really helped. 

 photo dIMG_4447.jpg

Also, I let the mirror sit untouched for a full 24 hours. I usually get impatient with superglue projects and move them too soon, but this time I think letting the glue sit for a good long time did the trick. :)

 photo dIMG_4449.jpg
I love how the overall effect is a bit like a sunburst mirror.
 photo dDSC_0459.jpg
It's fun to have wall art in here that is really unique and that only cost about $60 for everything. Success!
 photo ddDSC_0518.jpg
Have you done any cool DIY art projects lately? I'd love to see!          

 photo LR2.jpg

Friday, July 26, 2013

New Door Hardware and Keep.com

You guys already know about a lot of these plans, but I was thinking earlier today, as I was spending a royal fortune online on door hardware, that it's funny how one small decision in a remodel can turn into a seriously huge black hole of additional projects. It all started out innocently enough. Here was my train of thought:

1) This is very possibly our forever home, and I don't love the existing floors.

2) Some day I'd love to put in new hardwood floors throughout the house.

3) On second thought the new floors should definitely go in before our stuff comes at the end of the month. Let's take advantage of the empty house.

4) In order to put in the new floors, I guess we have to demo everything that will eventually be going out so that we don't have to patch the wood later (which would be expensive and a huge pain).

5) The old front door sticks really bad when you try to open it. Also the handleset is really difficult to use and needs to be replaced soon. Sounds like it's time for a new front door.

 photo IMG_6107.jpg


And maybe a new doorbell while we're at it.

 photo IMG_6108.jpg

6) If I had my choice I'd go with a taller double door (the current one feels really squatty with the high ceilings). Which means the threshold will be different per the door installer. Of course.

 photo IMG_6104.jpg

7) New threshold will change quite a lot, turns out. And it will effect the new floors. So we spring for a new front door now.

8) And also a new handleset ($$$$! ouch!).

 photo IMG_6109.jpg

But how exciting to replace this:

 photo IMG_6111.jpg

9) A new handleset means we need to come out and have a locksmith change the locks. Our home warranty policy pays for all the locks to be changed at once. Of which there are plenty - taking advantage of this deal saves us a lot of money. Here's what my door hardware currently looks like.

 photo IMG_6102.jpg

10) Yeah... I'm thinking I maybe should just replace all the door hardware in the house now too. The locksmith confirms I should have the new hardware installed before he comes out.

11) New hardware means new door hinges.

12) New hinges means I should probably just paint all my doors now. I know I can replace the hinges one by one without taking down the doors, but if I'm going to take down the doors to paint them at some point, might as well only unscrew all those hinges one time.

 photo IMG_6118.jpg

13) If I'm painting all my doors, maybe I should by that paint sprayer I've been dreaming of for years...

14) Etc., etc., etc.

Point is - holy domino effect!! Looks like the money I put aside for new bedroom furniture will be dedicated to all aspects of new door hardware. That's okay though - shopping for door hardware is almost as fun for me as shopping for new headboards. I just wish they didn't cost about the same in the end! :)

 photo JennyHardwareboard.jpg

One of my favorite sponsors, Keep.com, has come in handy as I've been managing all of these purchases (and my wish lists). Especially for things like door hardware - where I'm comparing a ton of different options. Keep helps me, well, keep track of all my shopping wish lists and potential purchases. Truly, it is SUCH a helpful service. I still use Pinterest for my inspiration images, but I use Keep for my shopping.

 photo ScreenShot2013-07-26at11358PM.png

Here's a mini tutorial. Just like Pinterest, you quickly install a Keep It button in your menu bar. Then you do your normal web browsing and online shopping. Any time you come across a product for sale that you love and want to remember for later, you press the Keep It button on your menu bar. A little window pops up that helps you save the keep in the right collection and then you're done and you can close out the window of the product.

 photo ScreenShot2013-07-26at11205PM.png

Before I started using Keep, my bookmarks were so completely out of control that they were pretty useless. So then I would literally have like a dozen windows with each a dozen or more tabs each. And then by the time I would actually look through those tabs again, the item would be sold out.

I've been using Keep to store all my house finds (and my fashion finds too - it seems like that's what most keepers use the site for). Here's my door hardware collection.

 photo JennyHardwareKeeps.jpg

The very best part of Keep is getting to follow other keepers. You start finding people that have your same style and the aggregate result ends up being a little like having a personal online shopper! Crowd sourcing at its finest. Thanks to my keepers I found a new suit that has been garnering endless complements at our neighborhood pool:

 photo ScreenShot2013-07-26at124659PM.png

Here are some more of my boards. I'll be doing more keeping this weekend as we unpack a lot of our stuff and start to notice holes in the furniture layouts, missing lighting, need for more rugs, etc, etc. Let me know if you join in on the fun so I can follow you. :) Happy weekend!

 photo recentkeeps.jpg

This post was a collaboration with Keep.com which is a sponsor of LGN. Thank you for supporting our sponsors! 
irobot singapore