Friday, October 31, 2014

Affordable Framing and Easy DIY Picture Rail

I love family photos - especially candid ones. They make a space feel so personal and home-y. But the ease of digital photography is such a blessing and curse, isn't it?! I have a million photos of my kids, but I so rarely get anything printed, and even more rarely framed. It's a pain to deal with, and it's impossibly expensive to do it well.
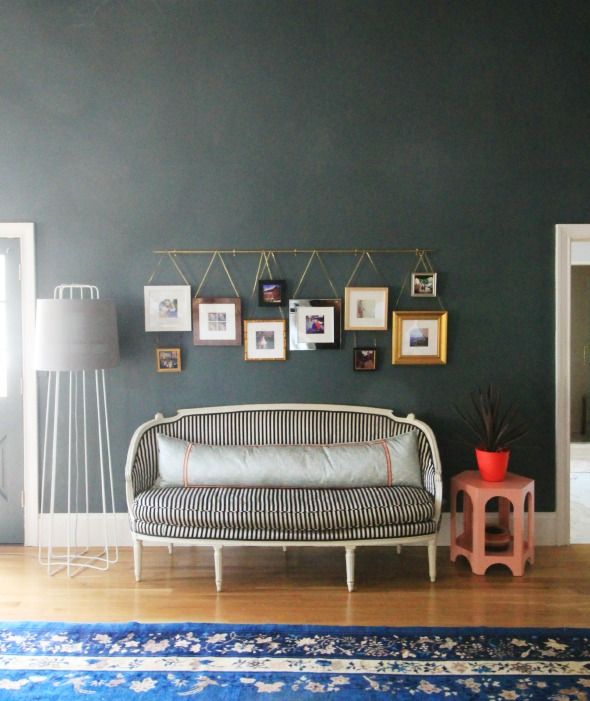
 photo IMG_5765.jpg

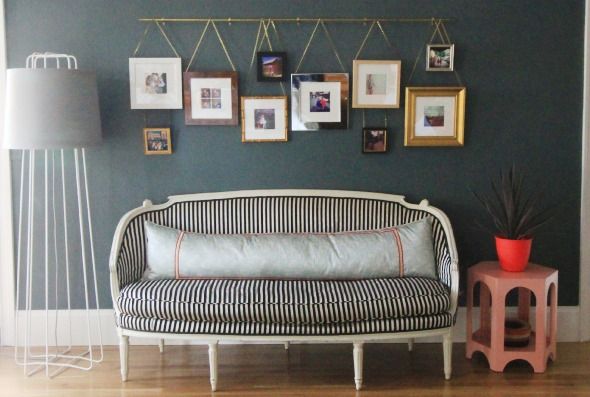
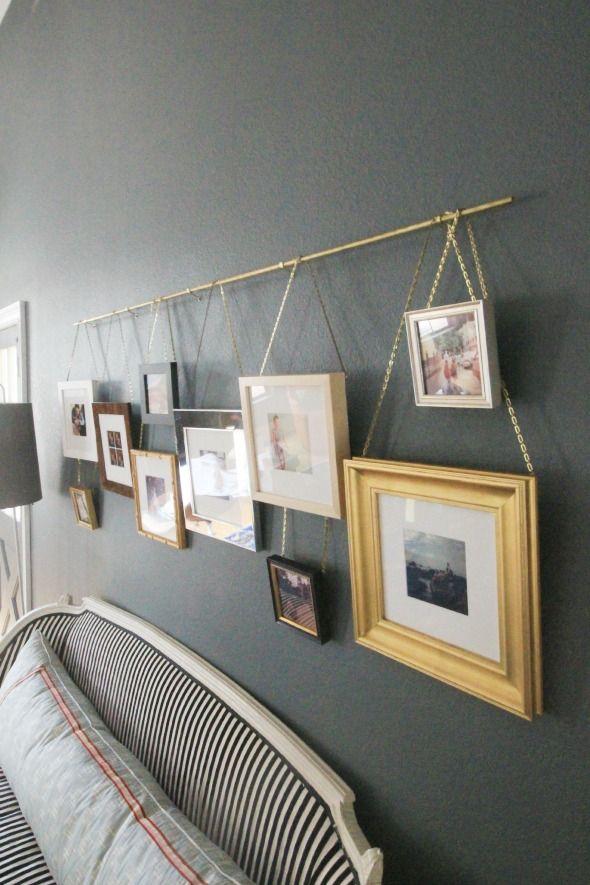
I wanted to make a family photo wall in our bedroom on the wall opposite the desert murals, but I wanted something a little different than the standard gallery wall. So I headed to Ace and picked up a few supplies and made a picture rail using just plumber's chain and two brass rods hung on cafe curtain brackets.
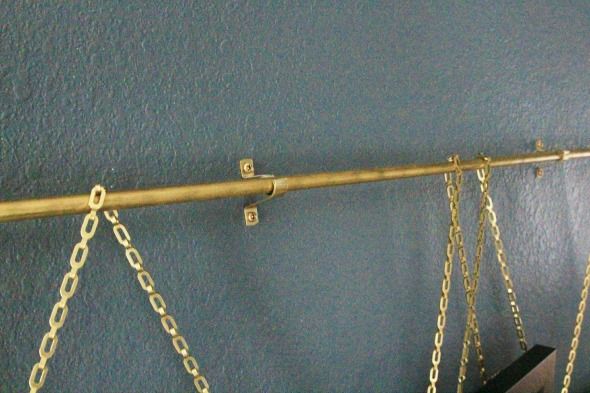
 photo IMG_5882.jpg

It's a pretty simple set up for displaying my newly printed family photos in some of the prettiest custom frames I've ever seen! I partnered up with a new-to-me company called Framebridge, and to say I was impressed with the simplicity, price and quality would be a huge understatement!
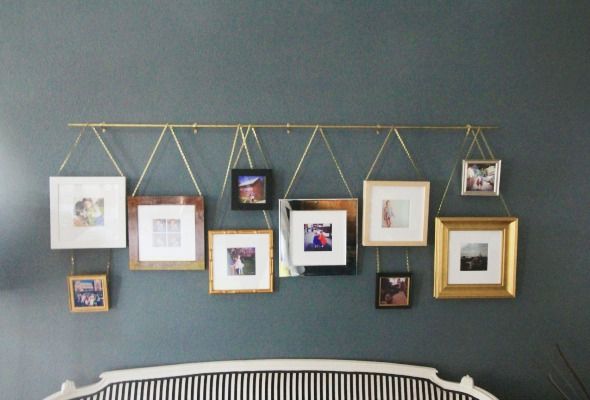
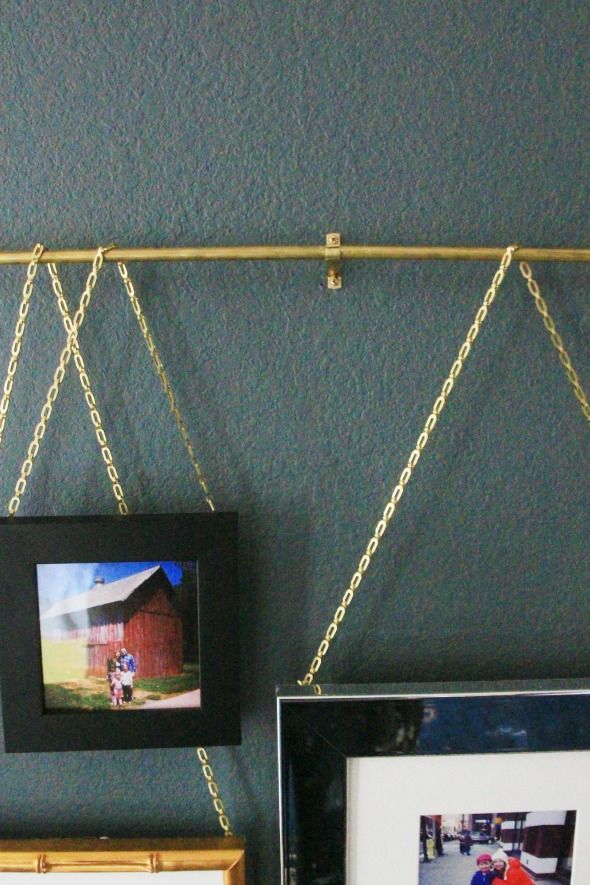
 photo IMG_5814.jpg

 photo IMG_5900.jpg

To print, frame and ship a photo from my Instagram account was only $39 with Framebridge! They have a really great app that makes it a breeze to order. (How's that for removing some of the anxiety of the upcoming gift-giving season?!)
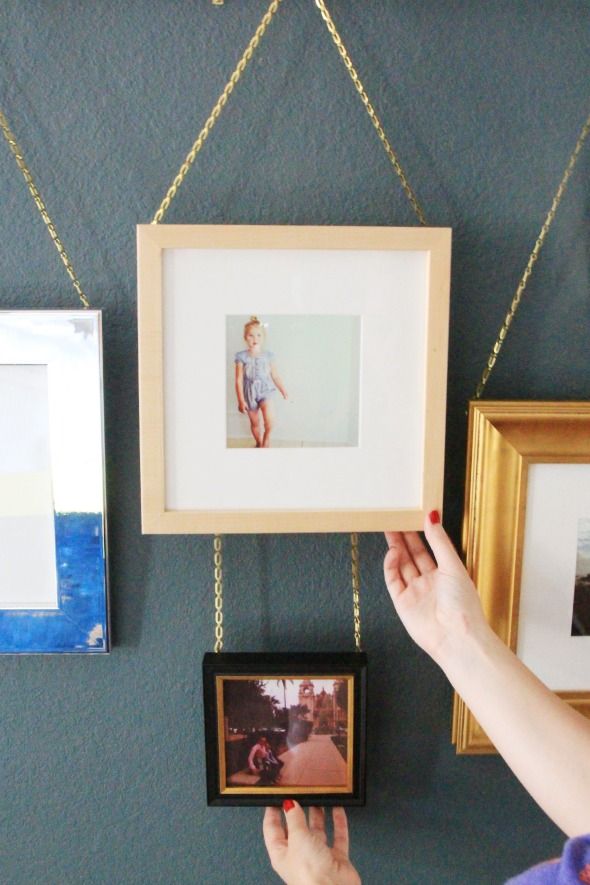
 photo IMG_5872.jpg

I ordered a handful of my favorite instagrams in a mix of different frames. They have 25 really beautiful frame options - all of them simple, classic and high-quality. I'm obsessed with the burl and tiger wood options.
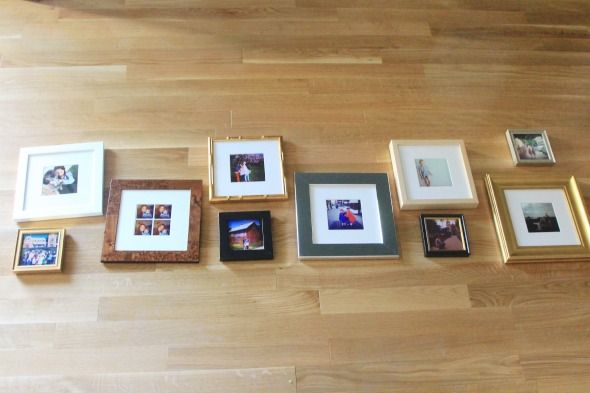
 photo IMG_5239.jpg

 photo IMG_5788.jpg

The frames come ready to hang with kraft paper backings, felt feet, saw tooth hangers and even nails! I removed the hangers and screwed in little brass hooks to hang the frames on the plumber's chain.

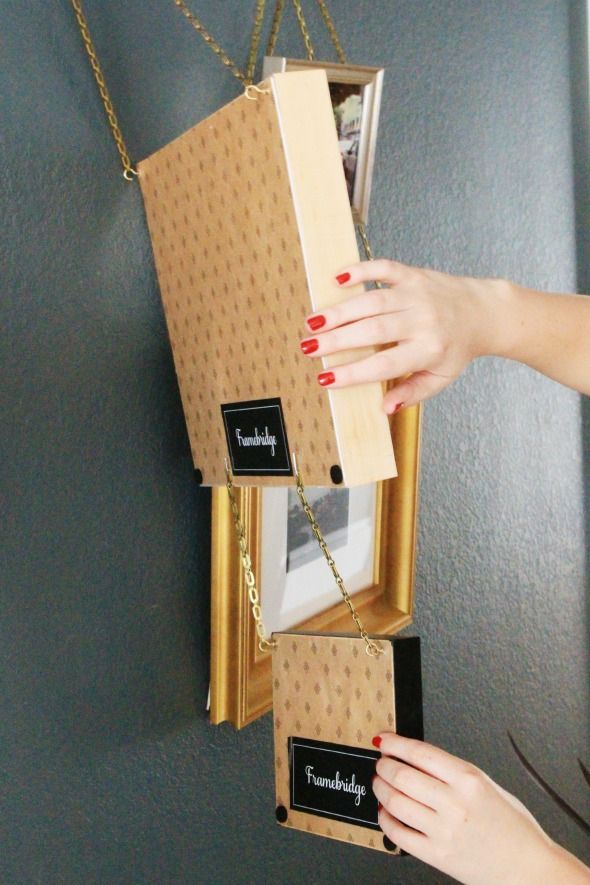
 photo IMG_5748.jpg

 photo IMG_5865.jpg

 photo IMG_5839.jpg

I love how the simplicity of the rail and chain let the frames (and photos!) be the stars of the show. Hardware store hack success!!

 photo IMG_5798.jpg

In addition to the great Instagram deal, Framebridge has really straight-forward pricing on bigger, even much bigger, prints that you can upload for them to print out or you can send in. Like this gorgeous Nicole Cohen print I had them frame. They sent me a prepaid mailing tube and I got this beautiful burl wood beauty right back. I LOVE it.
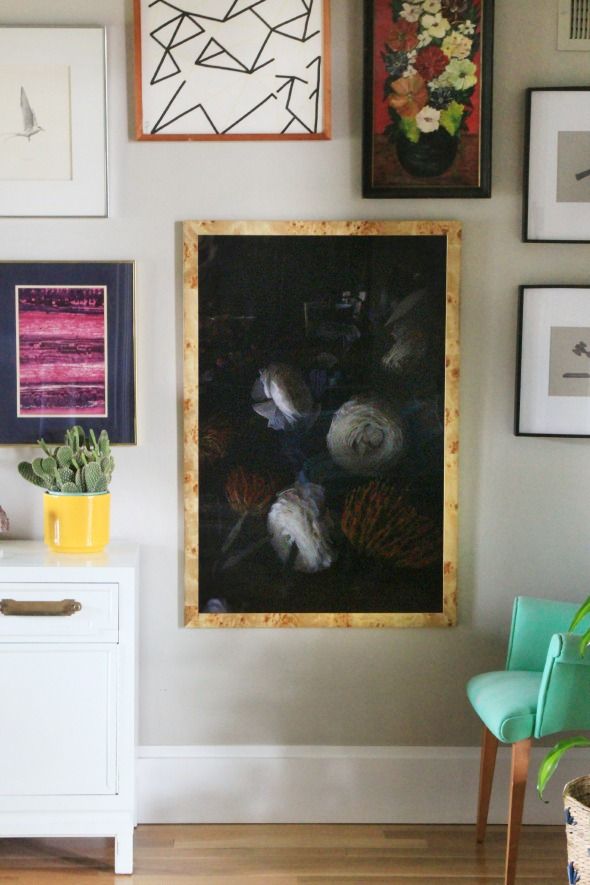
 photo IMG_5713a.jpg

The art print can be purchased here (along with a ton of really cool images from the uber-talented Nicole!)
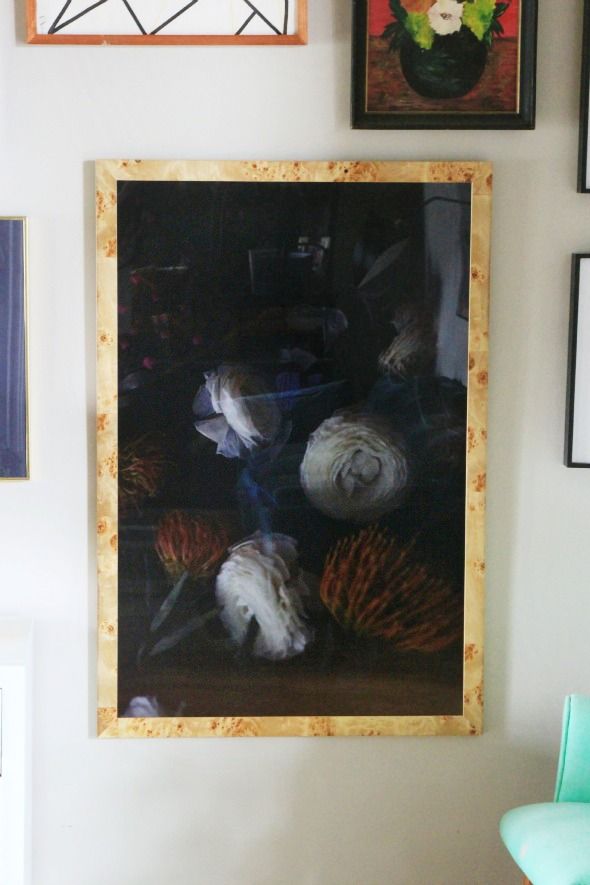
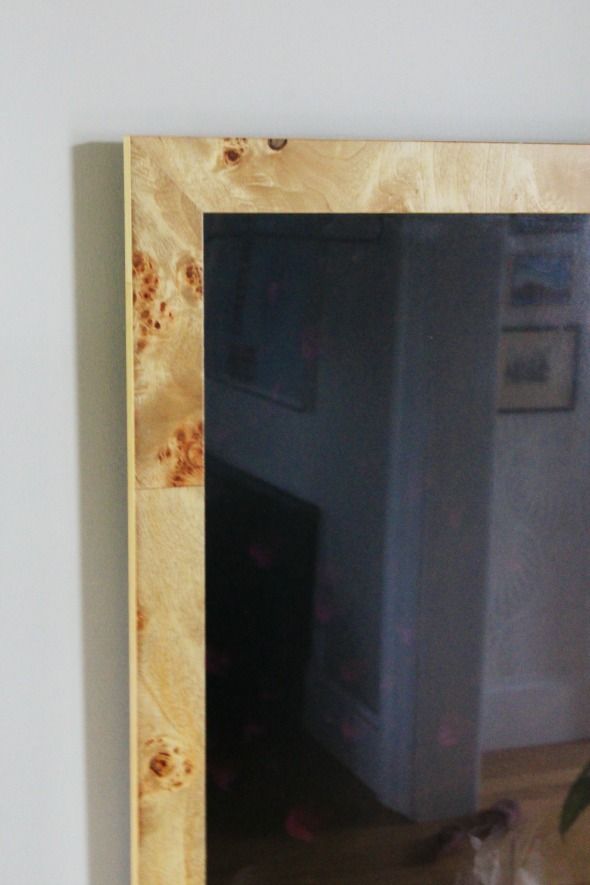
 photo IMG_5732a.jpg

 photo IMG_5722.jpg

I love discovering companies that make it painless to finish projects for my house! After getting burned one too many times at the arts and crafts store framers, I feel like I've found a resource that I'll be using for a long time to come.
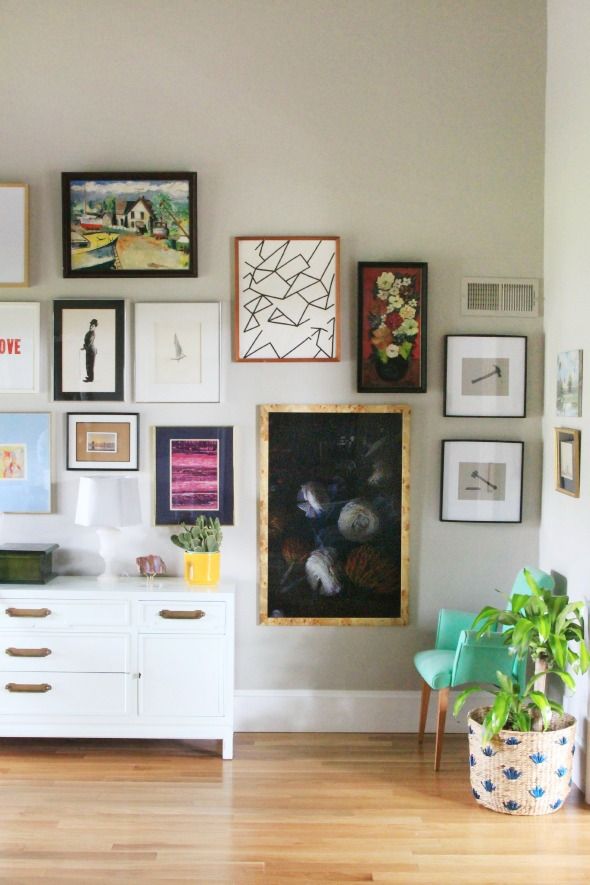
 photo IMG_5703a.jpg

A big thanks to Framebridge for partnering with us on this post! And this just in: use the promo code 2INSTA50 to get two framed instagram prints for only $50! Super sweet.

Wednesday, October 29, 2014

Angela's Citrus Print

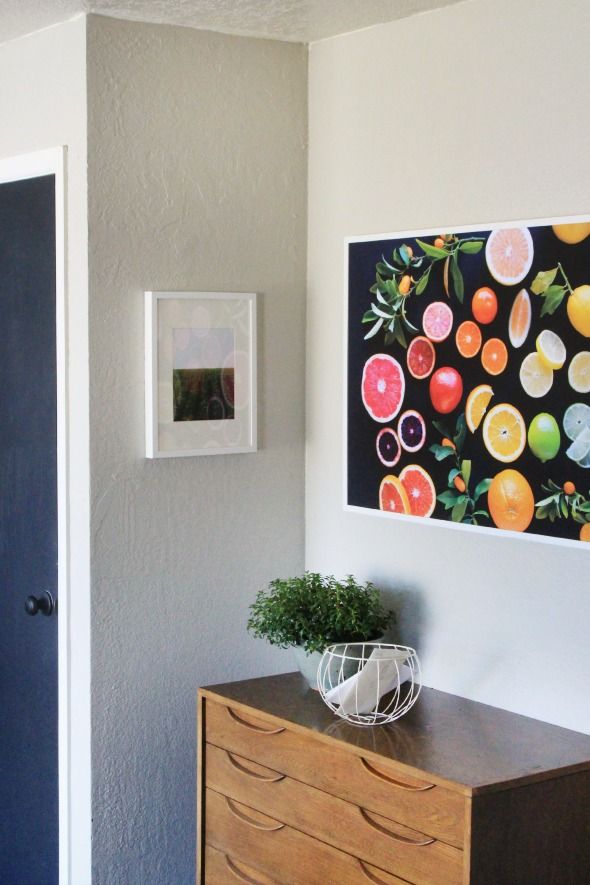
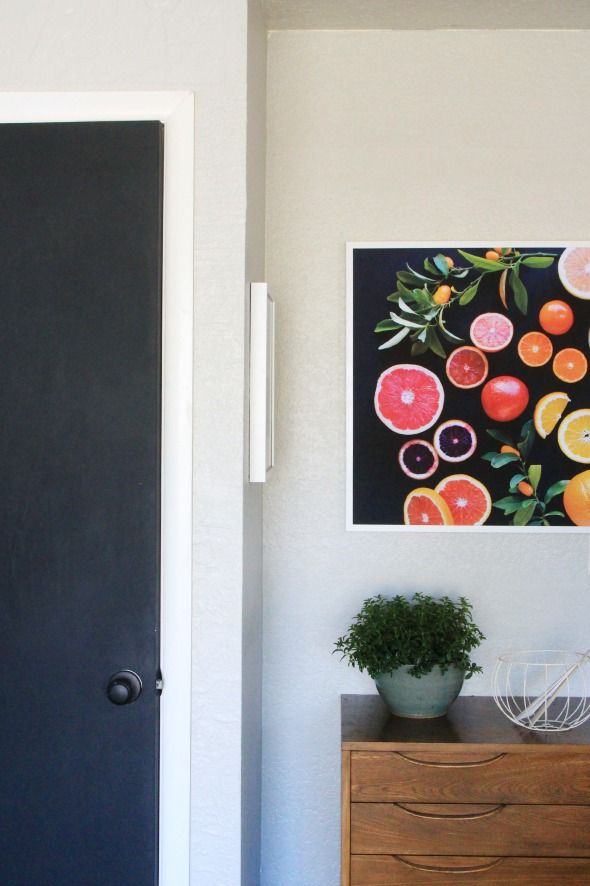
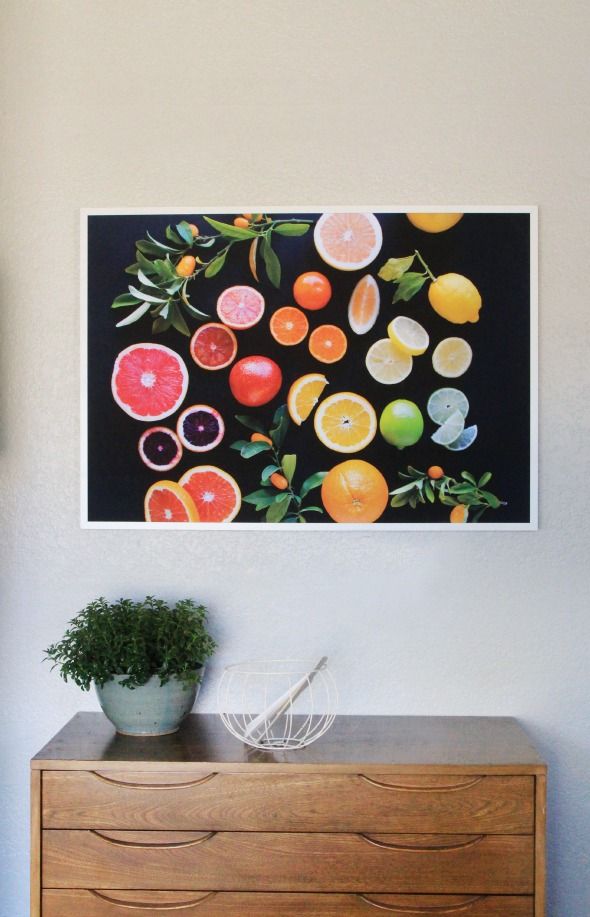
A few of you were curious about the citrus print in the photos posted yesterday. Good news! My talented friend, Angela is now selling a digital download of the image on both a black and a white background HERE.

 photo Citrus-Black-_AngelaHardison-web.jpg

 photo IMG_5658.jpg

We had ours printed to fit the largest Ribba frame (somewhere around 30x40") just by emailing the file to my local friends at Kinkos. We know each other well at this point - I'm there a lot. I think the total was about $50 and took 24 hours to get back. Not bad at all for a print that big!

 photo IMG_5647.jpg

Tuesday, October 28, 2014

House Warming Gifts with Boxed

 photo IMG_5687.jpg

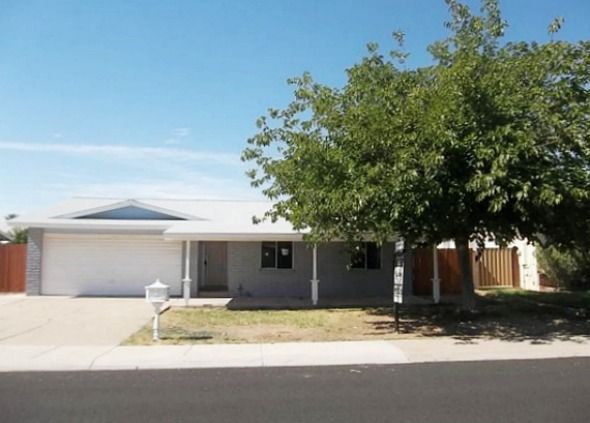
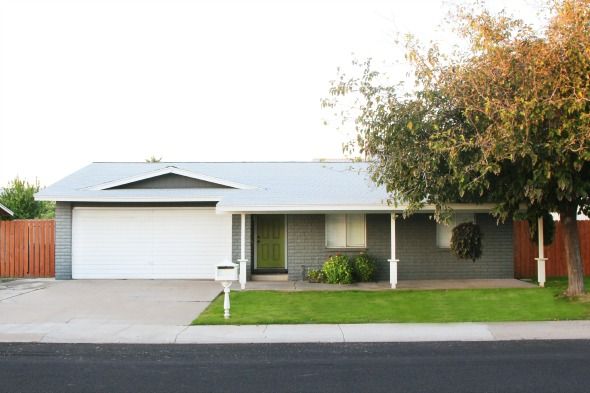
My sweet friend and right hand helper, Kate, just moved into a new house with her husband. They've been tackling some really cool DIY projects the past couple weeks. Look how cute their house is now after a coat of paint and some grass seed!

 photo HouseBefore.jpg
 photo houseafter.jpg

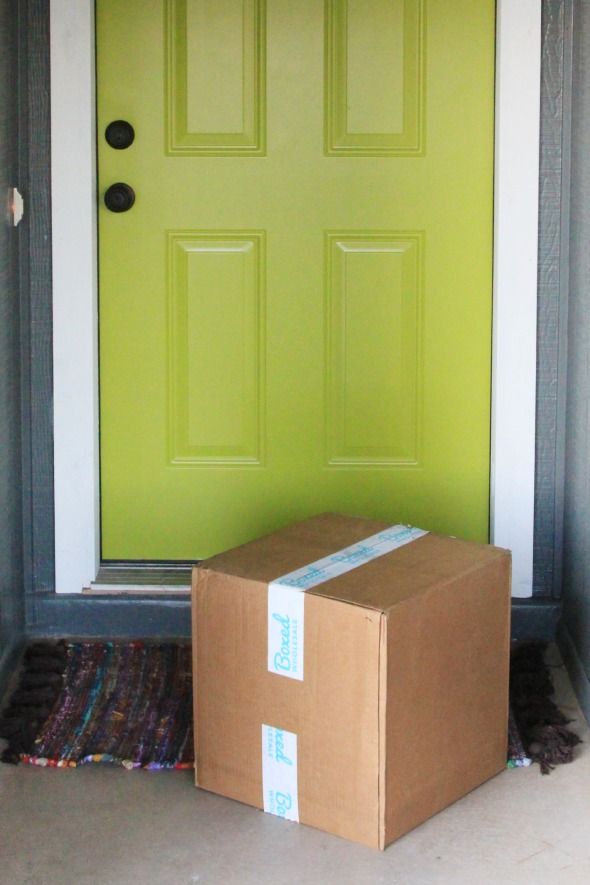
One of our sponsors, Boxed, reached out about trying their service as a housewarming gift for Kate!

 photo IMG_5335.jpg

Boxed is like an easy-to-shop online wholesale club store, without any membership fees, and most importantly, none of the headache. (Going to Costco is truly like torture for me!) Boxed has a great website, but their phone app is a breeze to use, too. 

 photo IMG_5369.jpg

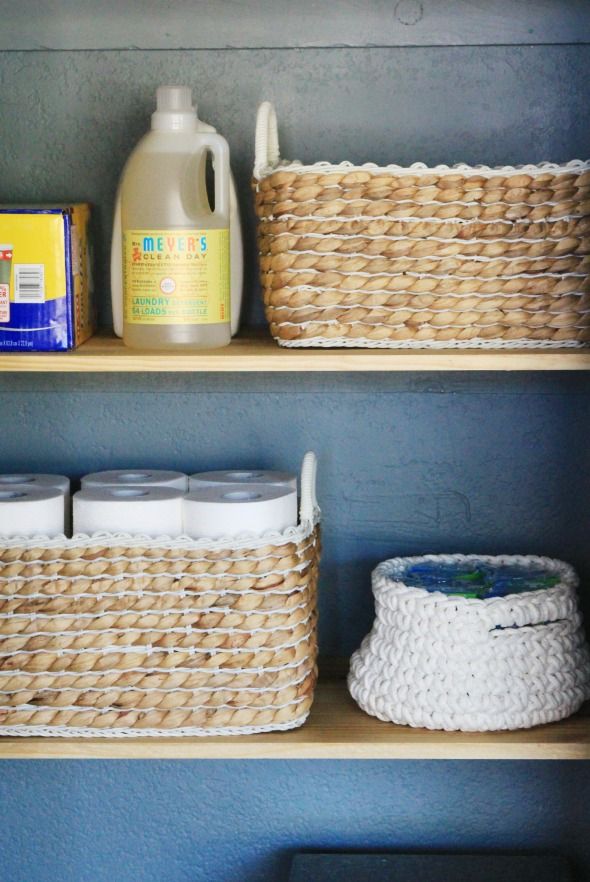
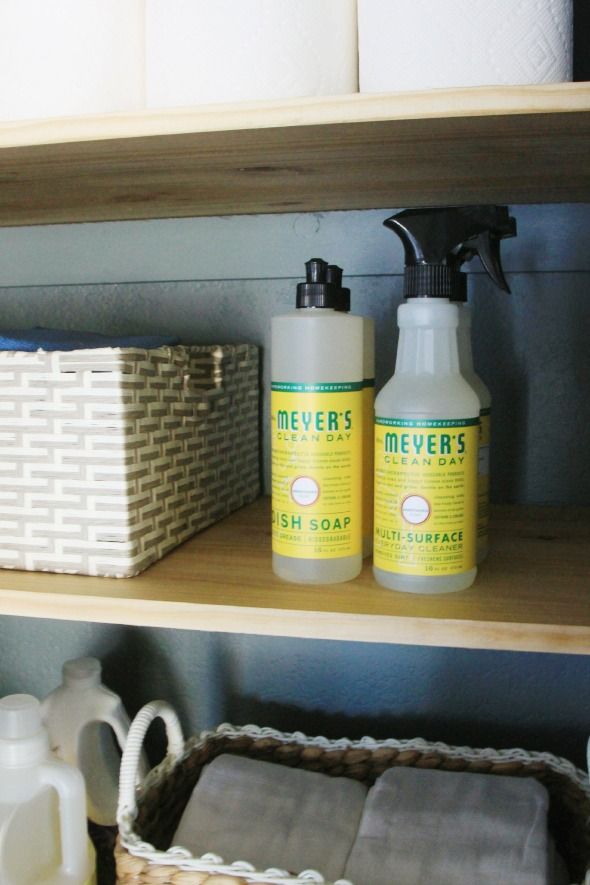
They sell non-perishables in bulk sizes for really great prices, and they ship right to your door in two days or less. I especially love popping over to the sale page every few days to see what specials they are running on my favorite cleaning products, like Mrs Meyers. Boxed also has great prices on baby items, like diapers and wipes, baby food and shampoo from companies I trust like Annie's and Honest Co.

 photo IMG_5672.jpg

 photo IMG_5473.jpg

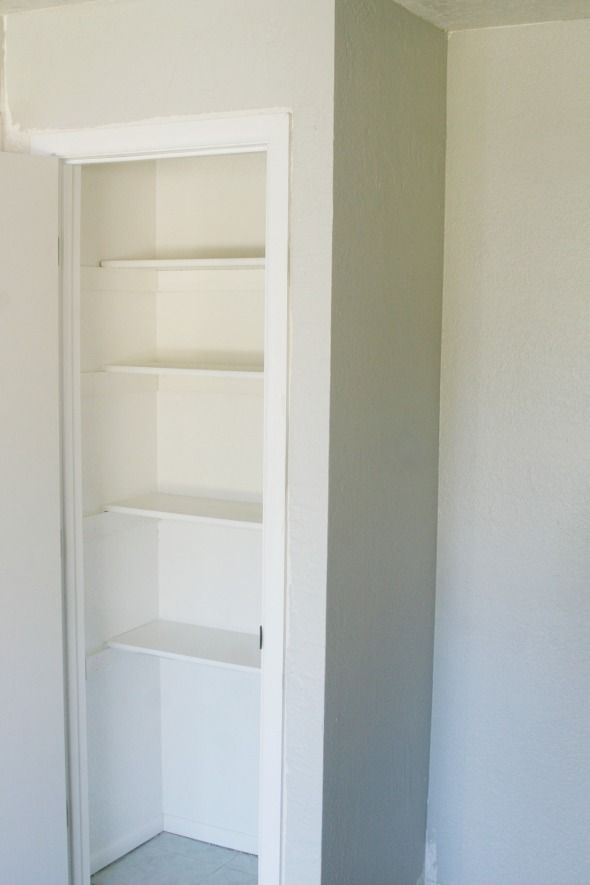
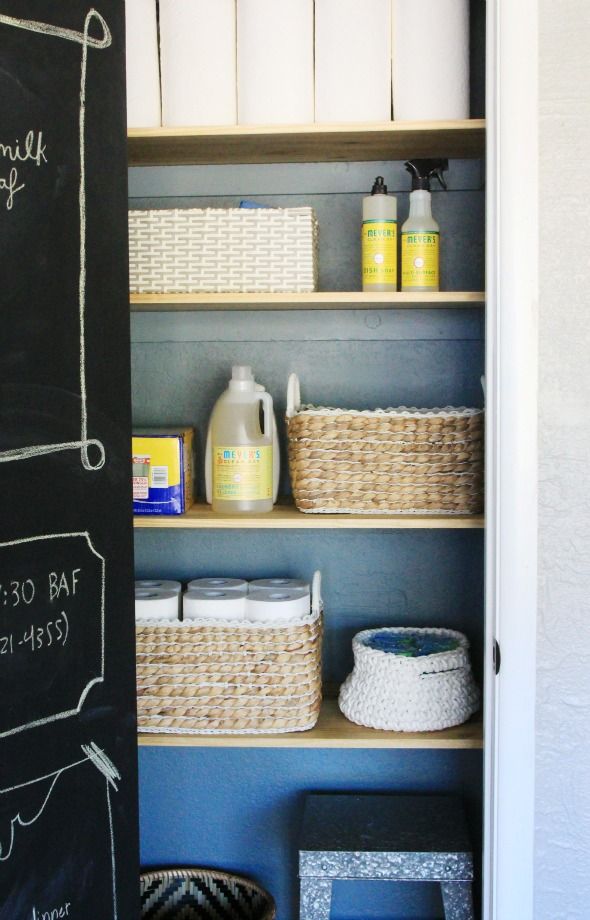
Kate has this great little pantry space off of her new kitchen that we decided to give a little makeover before stocking it with items from Boxed. Here's the space before:

 photo IMG_8146.jpg

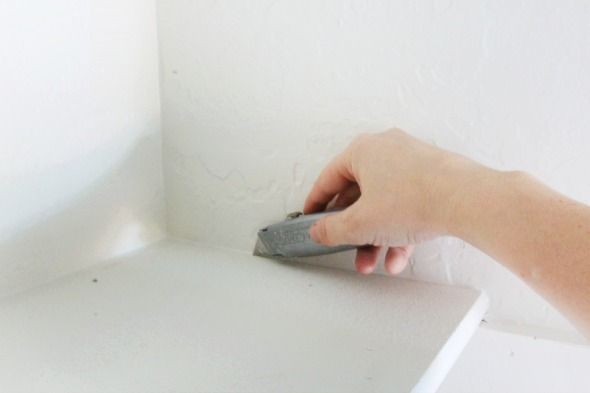
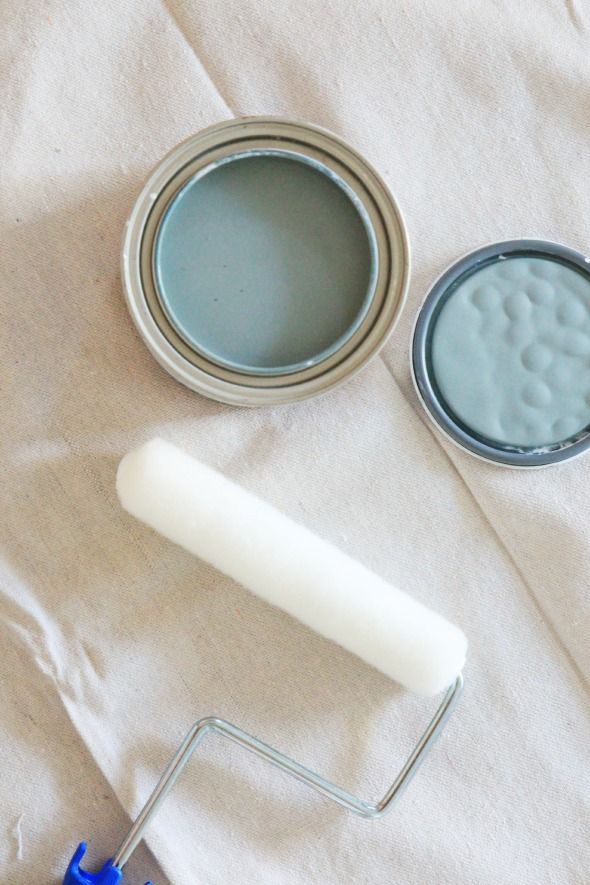
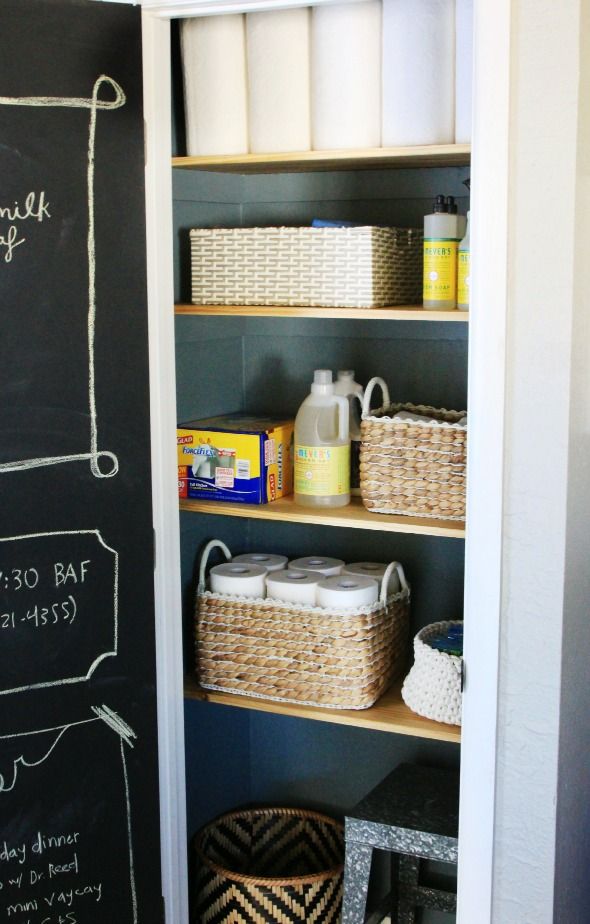
We took out the old thin shelves and painted the inside of the pantry a really pretty color called Templeton Gray from Benjamin Moore.

 photo IMG_5262.jpg

 photo IMG_5265.jpg

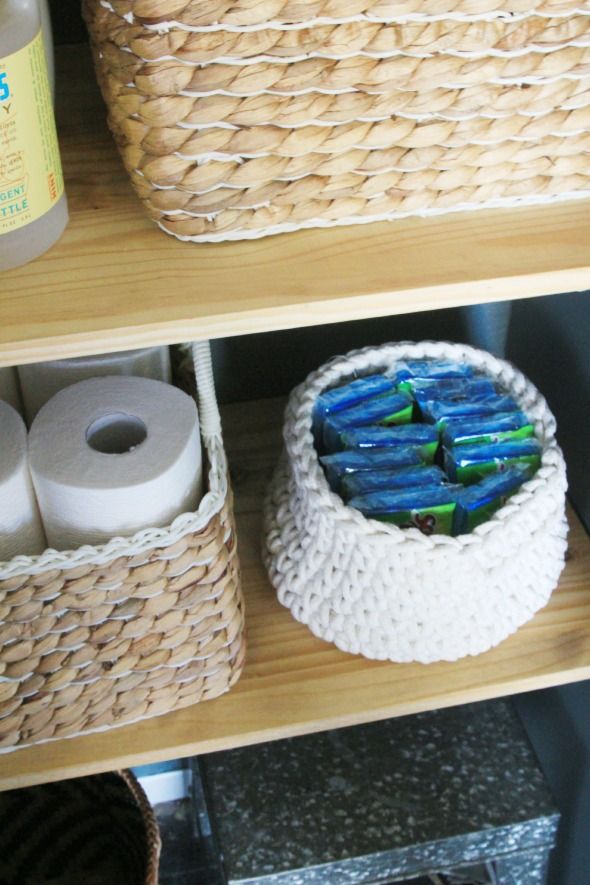
Using the same technique I talked about yesterday, we added wooden shelves to dress things up a bit. I think the wood looks so pretty against the gray/blue/green wall color!

 photo IMG_5250.jpg

 photo IMG_5667.jpg

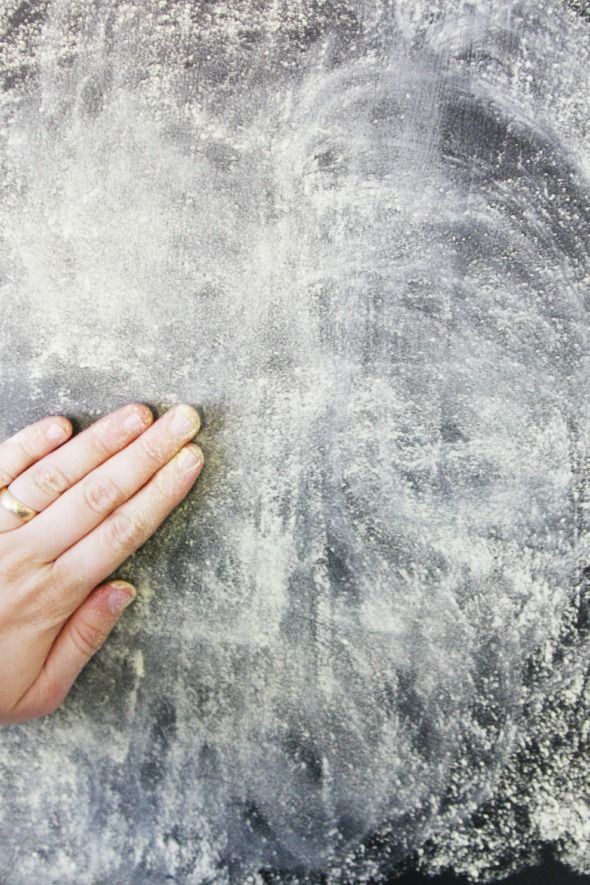
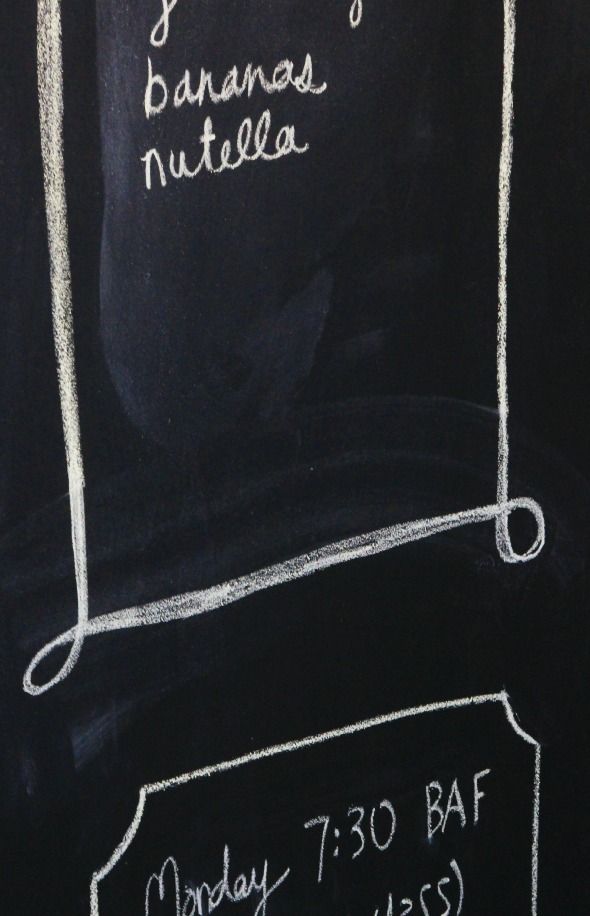
We also painted her pantry door with chalkboard paint so Kate could make a note of supplies she's getting low on. Remember that it's important to "prime" a freshly painted chalkboard surface with a good layer of chalk before writing.

 photo IMG_5307.jpg

 photo IMG_5552.jpg

The black of the door looks so pretty with the art we hung in the kitchen. It's a print of a photo taken by our friend Angela Hardison we printed out ourselves and framed in an IKEA Ribba. I LOVE it.

 photo IMG_5639.jpg

 photo IMG_5658.jpg

We're both so happy with how Kate's pantry turned out! I'm a big fan of putting extra effort into cleaning and storage closets. It helps me feel more organized and inspired to keep my house cleaned.

 photo IMG_5556.jpg

 photo IMG_5480.jpg

A big thanks to Boxed for sponsoring this post and for the housewarming gift! :) All first orders on Boxed ship for free, so be sure to check out their app here!

Monday, October 27, 2014

DIY: Nook Book Shelves and Benchtop

 photo IMG_5087.jpg

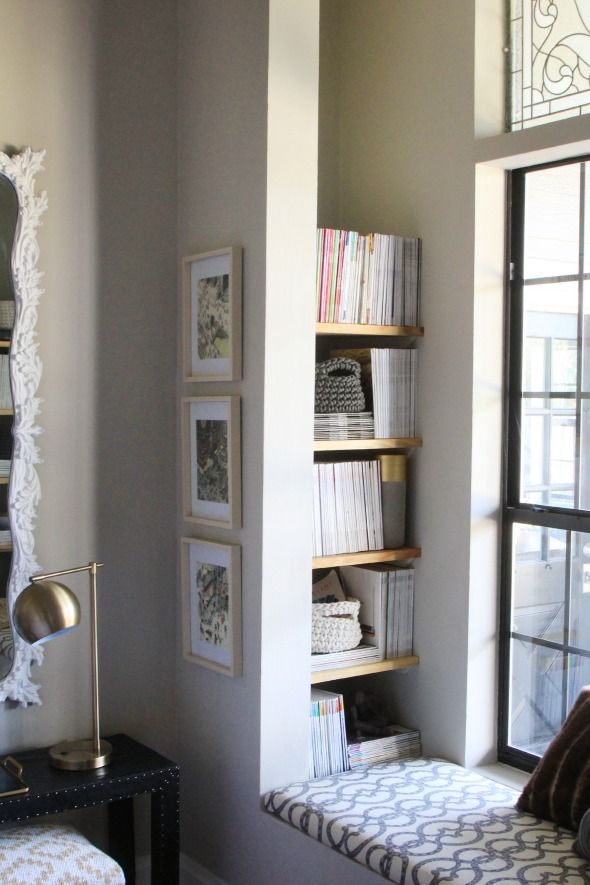
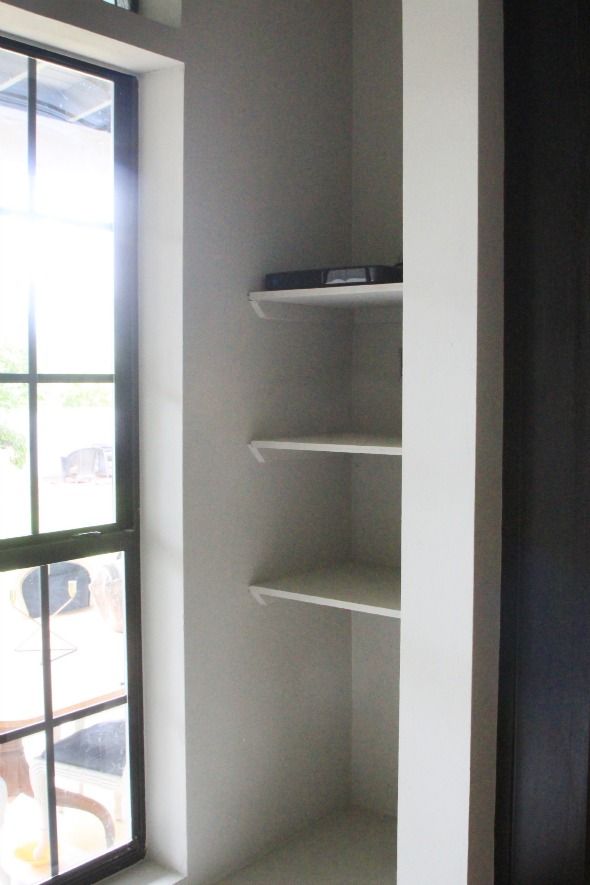
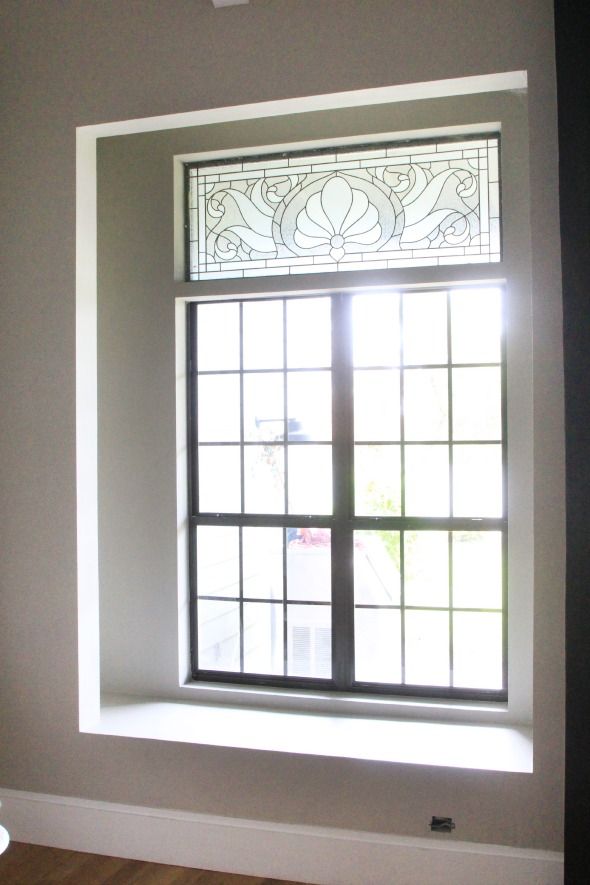
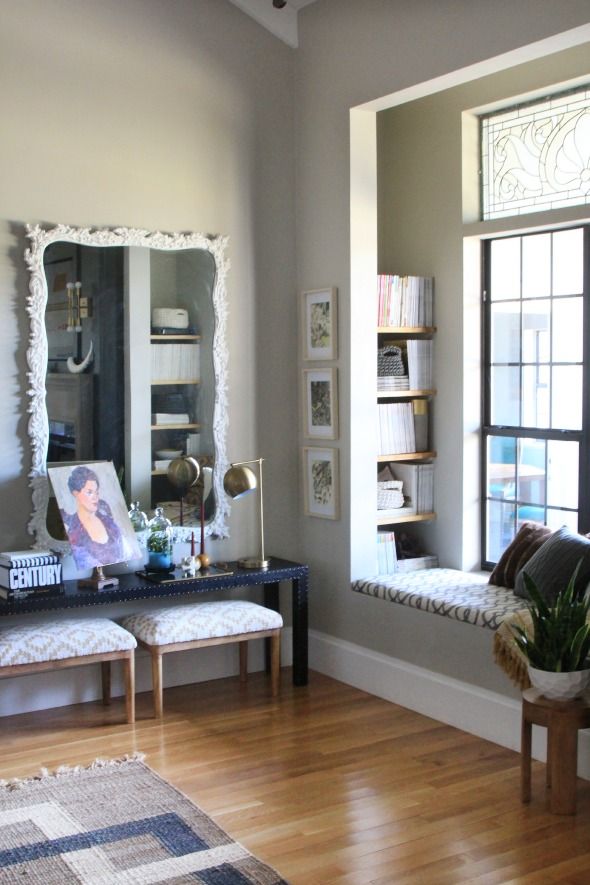
Remember how I mentioned that our carpenter had installed a few simple shelves in our nook to hold our TV components? I like the easy bracket system he had come up with, so I duplicated it recently when I wanted to fill out both sides of the nook with shelves.

 photo IMG_4571.jpg

 photo IMG_4560.jpg

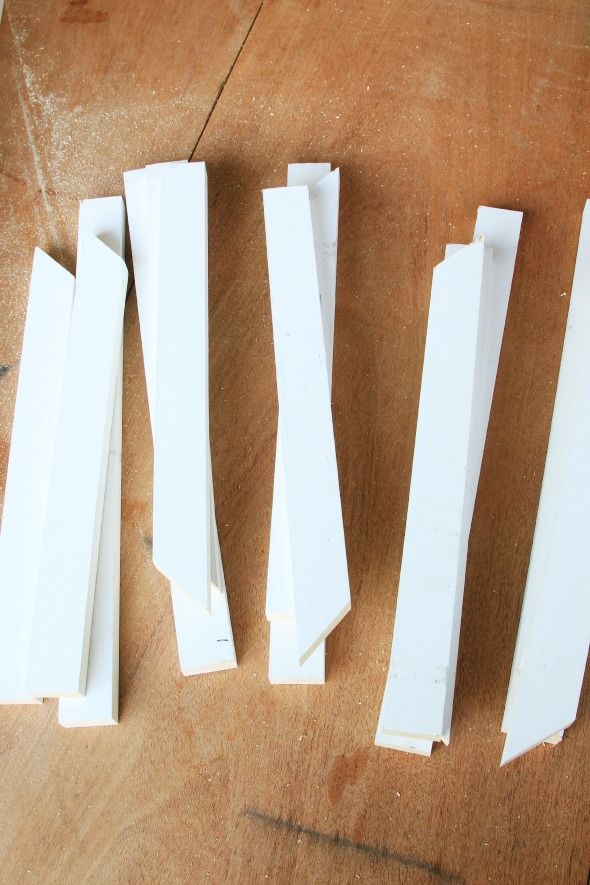
I pulled off the old shelves, but kept the brackets and cut down 1x2" primed pine boards with a miter saw to fit the back and sides. The side pieces were finished off with a 45-degree angle cut.


 photo IMG_4582.jpg

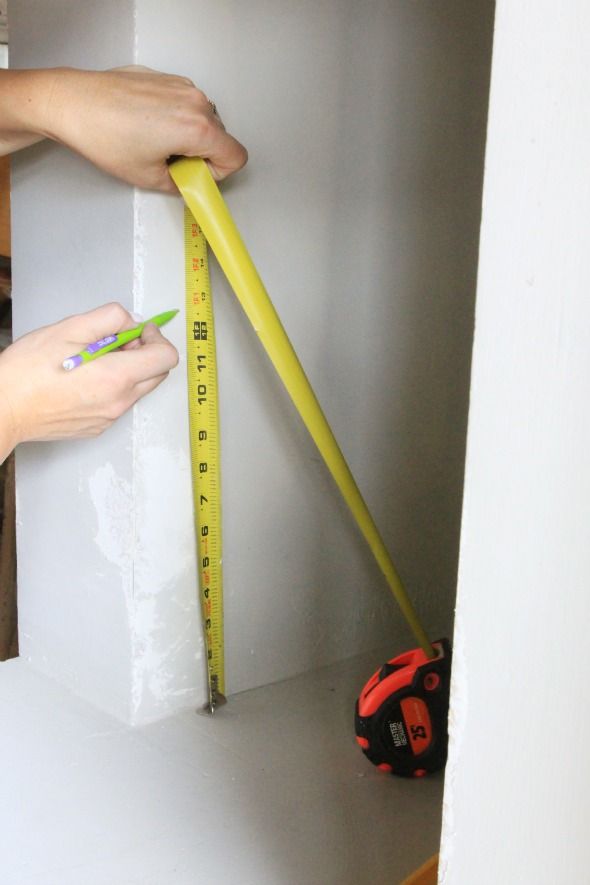
The first bracket installation is the most important. Starting with the bottom most shelf, I made one measurement and mark on one of the walls. 

 photo IMG_4605.jpg

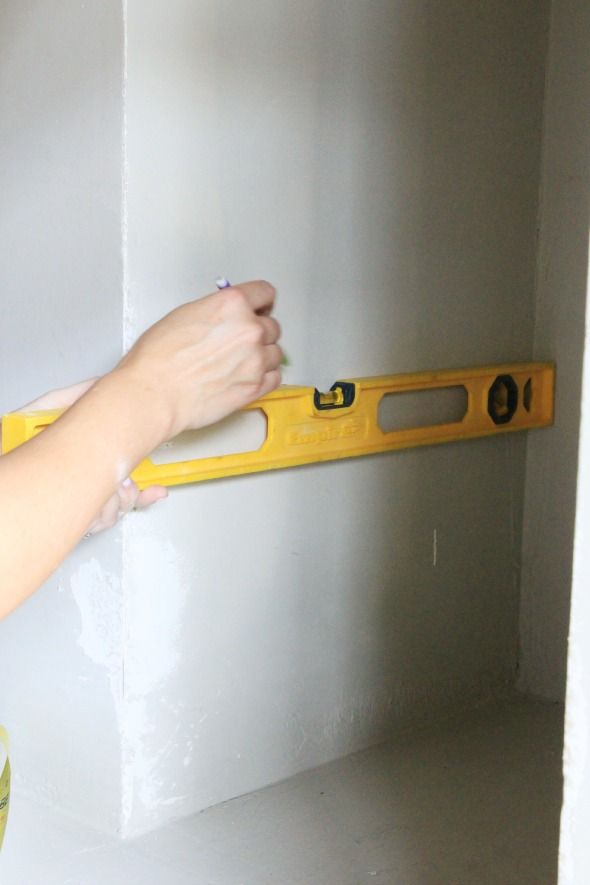
Then the most important part after that first measurement is to use a level to mark all the way around the nook to help you know where to hang the brackets. 

 photo IMG_4613.jpg

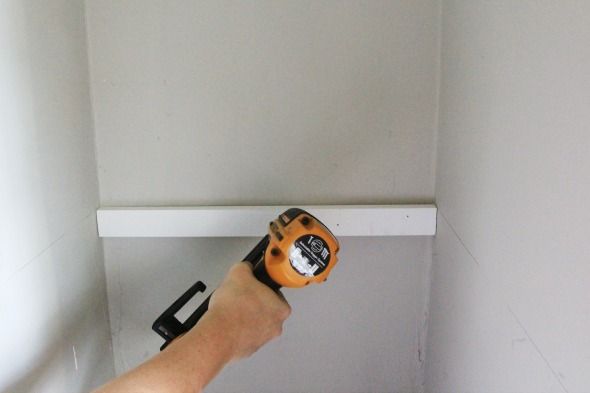
I used an 18-gauge nailer to hang the back bracket first, right on the line, and then the side brackets.

 photo IMG_4625.jpg

Once you have the first set of brackets perfectly level and installed, the rest of the measurements are easy. Just figure out the distance you want between each shelf, measure up from the bracket and make a little mark. If the first shelf is level, the others will be too.

 photo IMG_4635.jpg

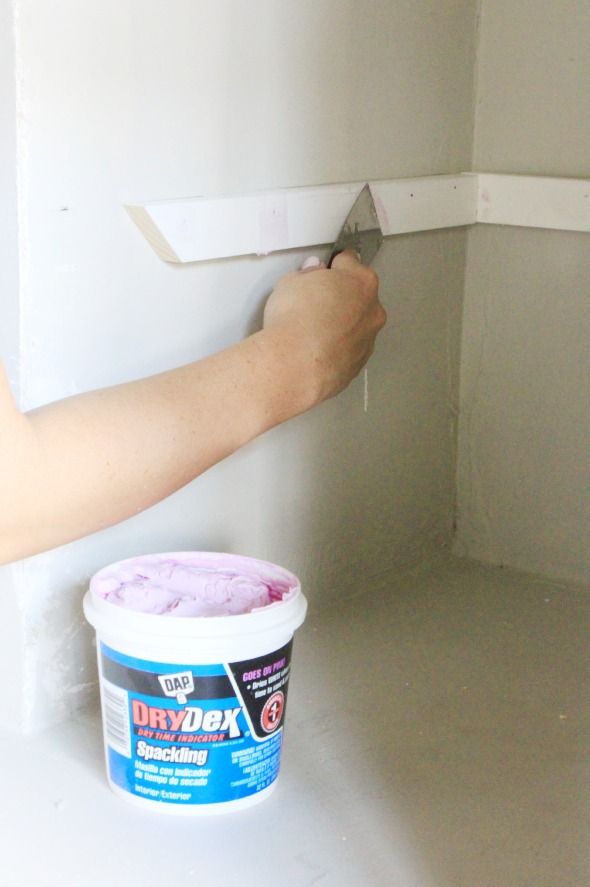
When all the brackets were installed, I filled all the nail holes with spackle before giving the whole nook a fresh paint of gray paint.

 photo IMG_4652.jpg

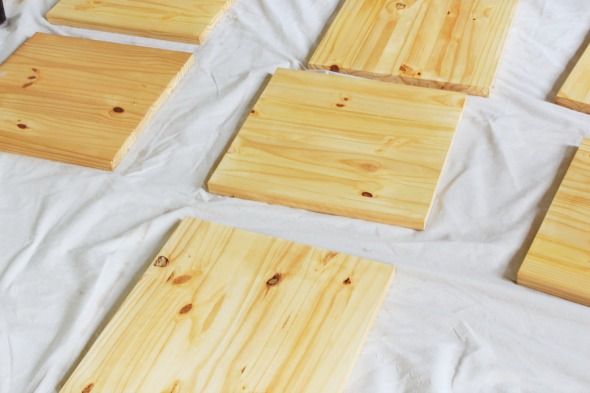
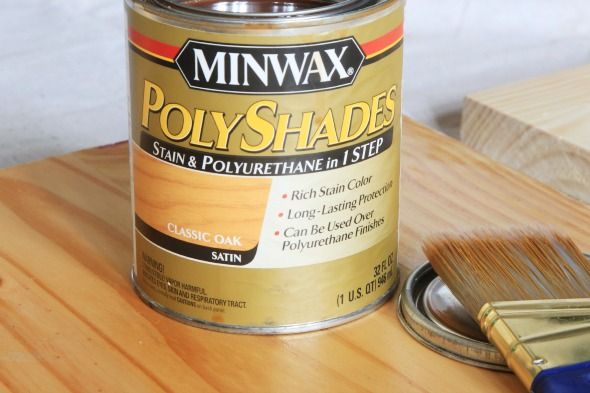
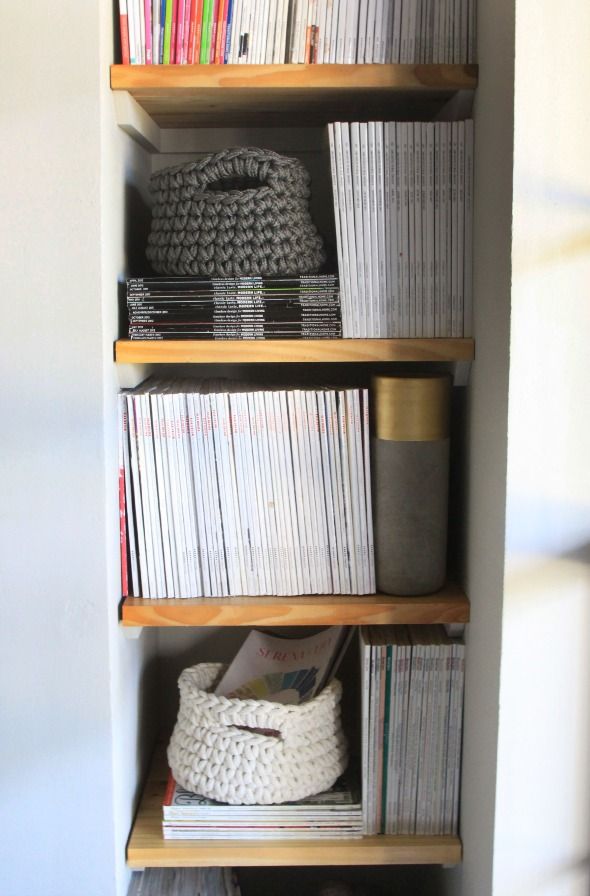
I used laminated pine boards for the actual shelves. Home Depot cut them all to size for me and I stained them with half classic oak and half driftwood stains.

 photo IMG_4600.jpg

 photo IMG_4591.jpg

The pine boards are just sitting on top of the brackets, but I could have nailed or glued them in place if I was more worried about it. I'm so happy with how these shelves turned out. I really love the thicker, more chunky look!  

 photo IMG_5042.jpg\

I don't know why installing shelves has sort of felt too hard-core for me up until now. It's a crazy simple project!

 photo IMG_5002.jpg

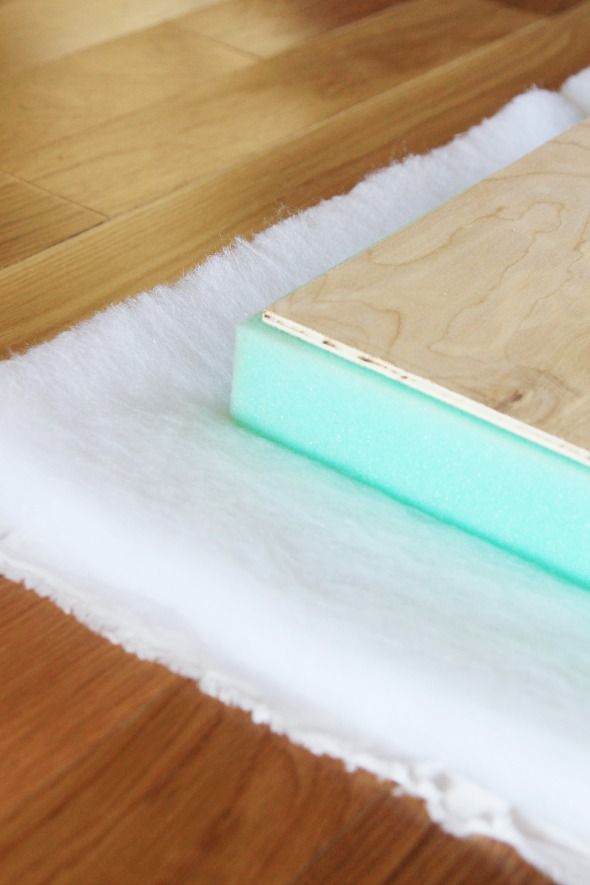
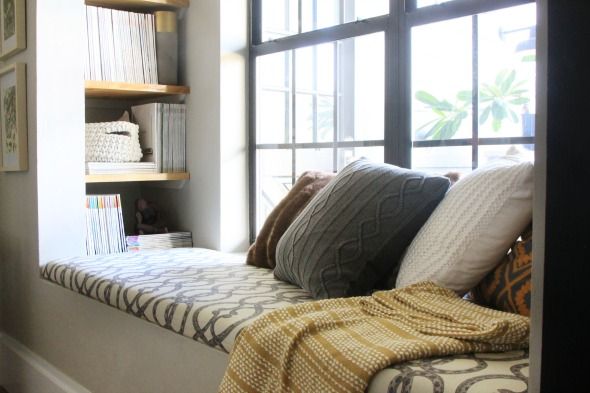
The bench solution was simple too! I didn't want to sew a box cushion, so I had a piece of 1/4" plywood cut to fit the seat area and used a coupon to buy a piece of 2" upholstery foam at Joanns.

 photo IMG_4686.jpg

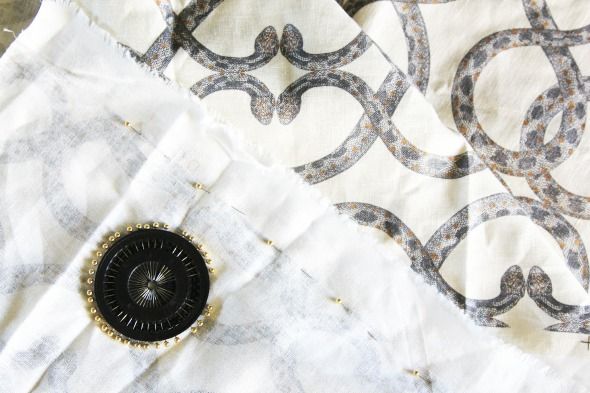
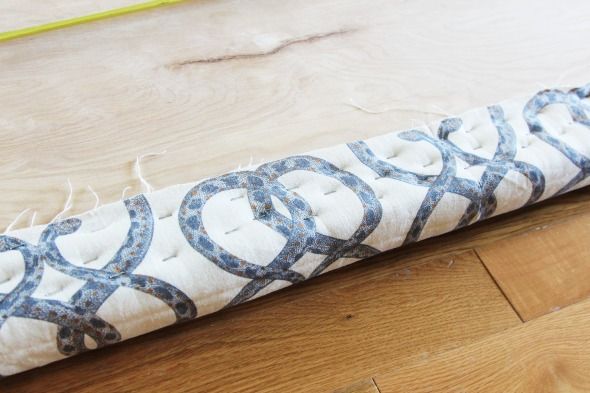
The bench is wider than the full width of the fabric. so I had to seam the fabric. The pattern made it pretty easy to line everything up, and a really good pressing fixes even less-than-perfect seams. In the end it's pretty hard to tell where the seam is on the bench. 

 photo IMG_4684.jpg

I think the key to a really soft and fluffy bench top is a good, high-loft batting layer. I used my trusty handheld staple gun to attach the seamed fabric. I went a little overkill on the stapling so there would be no pulling on the linen. (You can see where I seamed the fabric on the right side of the bench here below - it's not that noticeable!)

 photo IMG_4691.jpg

I think the bench turned out nice. The pattern is fun and the seat is a comfy, inviting place now!

 photo IMG_5182.jpg

Have you made any shelving or bench tops yourself? Any tips you'd like to add?