Coincidentally, Office Depot contacted me about sharing their #TeachersChangeLives campaign with a DIY teacher's gift that included school supplies for the new school year. The campaign is a great one, and they have even provided coupons to Office Depot to make it a little easier for families to help out these wonderful teachers!

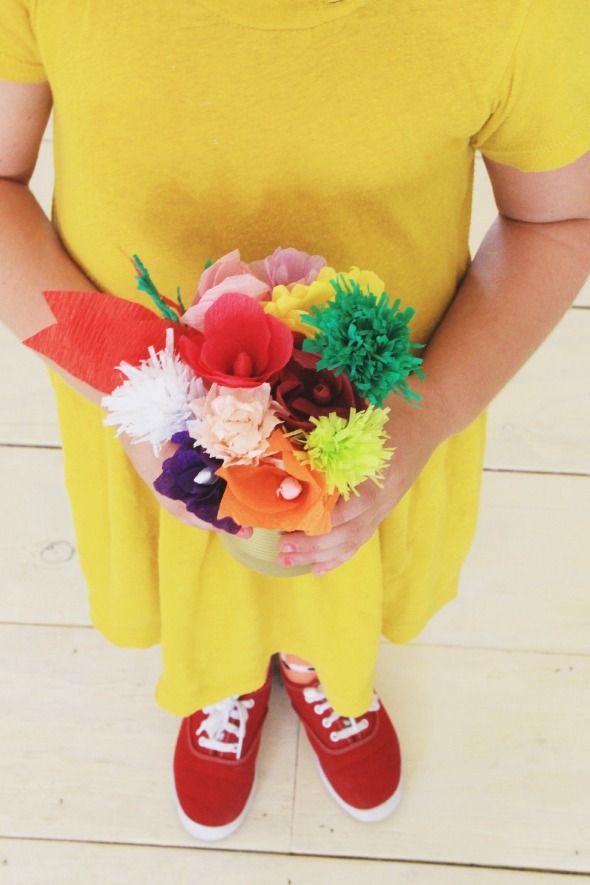
I talked it over with my girls, and after consulting the bottom of the school supplies wish list, we decided it would be fun to make a bouquet of paper flowers with Sharpie stems. It ended up being a better project for my bigger girls, but Evie helped out a lot on hers, too. I cannot tell you just how excited they were to give their teachers this bouquet!!! It was so fun for all of us.

I like using crepe paper for flower projects the best because it holds its shape so well, but it can be hard to find crepe paper in sheets. I had a lightbulb moment when I realized that party streamers are 1) crepe paper 2) incredibly cheap, and 3) abundant. Also they come in TONS of colors and are about the width of a petal! We grabbed some from the dollar store and a party supply store.

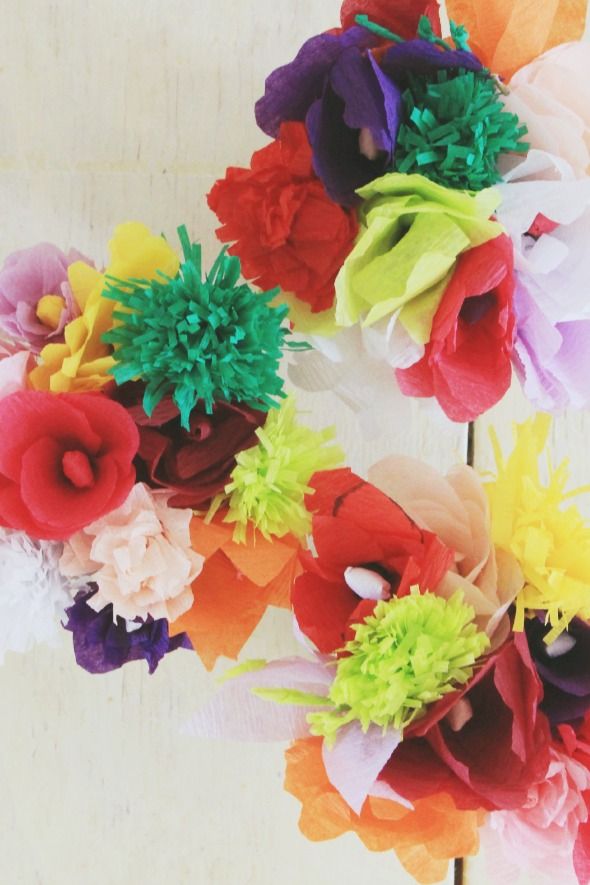
Aren't these colors so juicy?! Love them all together. Color for the win.


The older girls helped a lot with the cutting. We traced shapes on the crepe paper and we had a little flower-making party.


We used green floral toothpicks from a craft store as the base and made center buds or stamens with a small bit of crepe paper and some green floral tape.


Then we assembled the petals around the stem and wrapped the bloom with floral tape.

You'll want to sort of fluff things up a little, but that's basically it! Not hard at all.

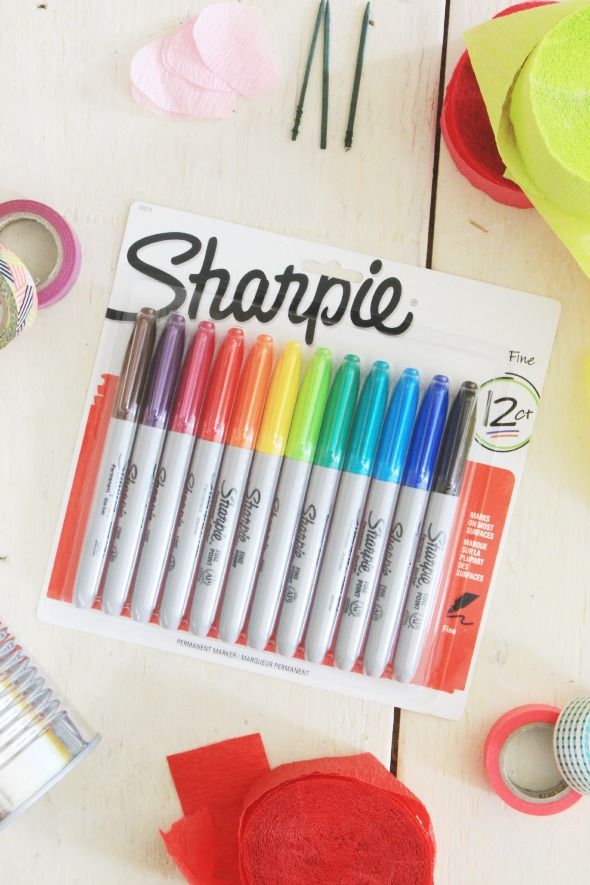
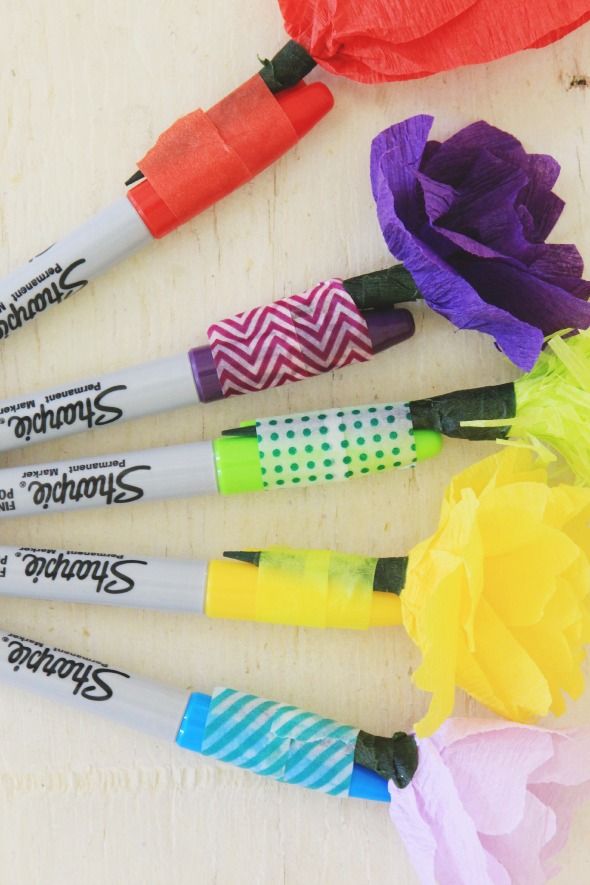
Then we coordinated the flowers (sort of) with the colors of the 12 Sharpie markers in the pack from Office Depot. I've collected an absurd amount of washi tape at this point, so we had quite a few options to use for taping the flower to the Sharpie cap.

Super cute, right? I love that the markers are still very accessible, but that the flowers will last forever.

We recycled some cans, cleaned them out and spray painted them gold before putting the flower Sharpies in.

I'm glad that we were able to help with the school supply wish list in a creative way. The girls loved this project so much and it was a big point of pride for them that they (mostly) made something so pretty all by themselves. :)

A big thank you to Office Depot for sponsoring this post and for providing the Sharpies! For more information about these products please visit here.
No comments:
Post a Comment