Thursday, August 29, 2013

Making Plans for the Kitchen with Keep.com

Anyone else ready for the weekend? My body is so sore that Labor Day suddenly has a whole new meaning for me this year. :) My parents are going to watch our girls while Michael and I go to California for the long weekend. On the agenda? Eating and sleeping. That's it. Doesn't that sound amazing? I couldn't be more excited. I'm signing off early this week, but wanted to share some exciting-for-me updates on the kitchen.

 photo aDSC_0445.jpg

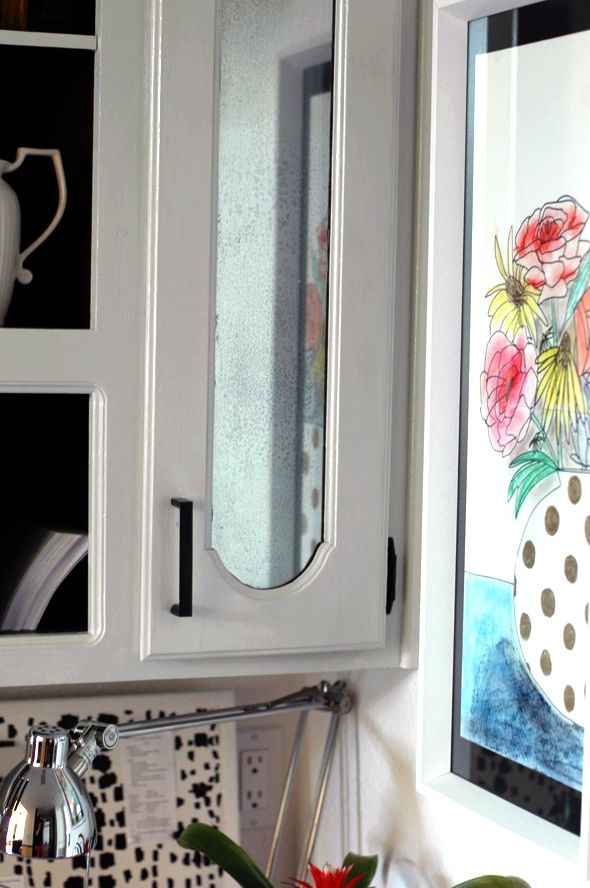
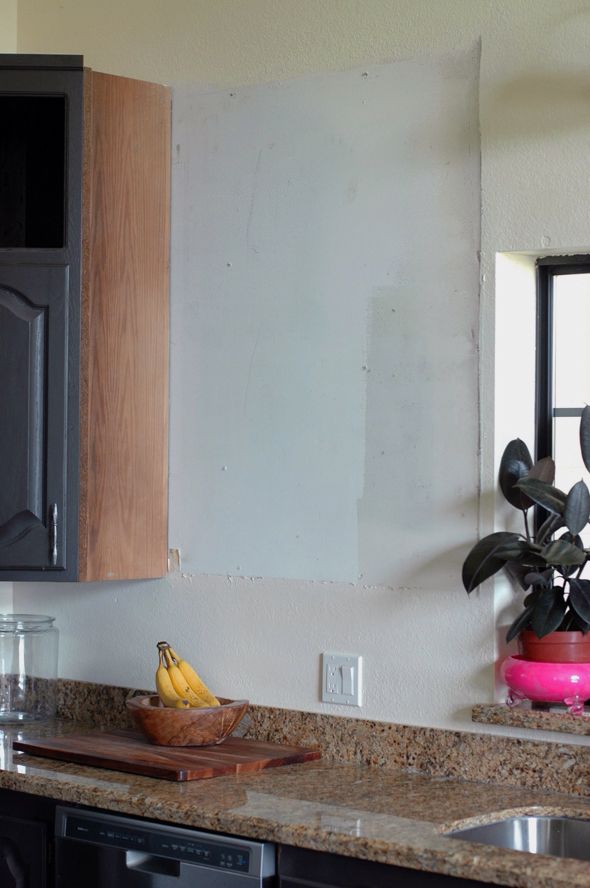
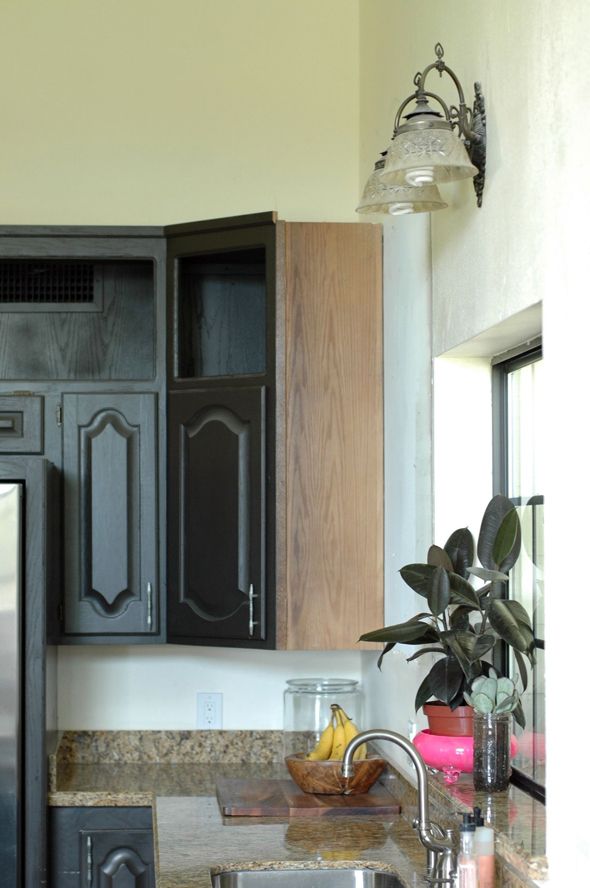
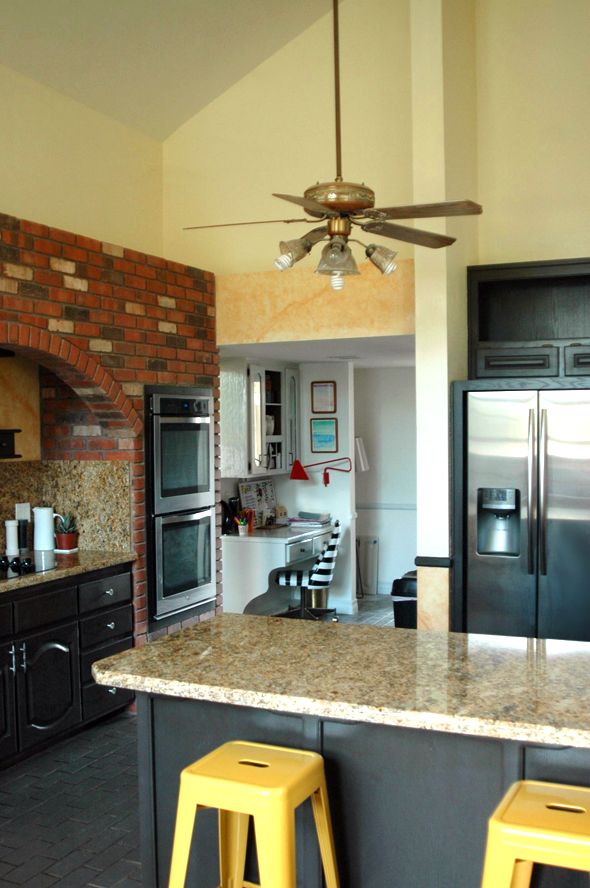
Over the weekend we pulled down just the right-most upper cabinet. I tell you, the room suddenly felt about 50% bigger with that little change. I'm hopeful that, with some work, this room can be one of my favorite spaces in the house yet!

 photo aDSC_0414.jpg

After living in the house for almost two months, we're feeling like a big reno for this space might not be necessary for quite a while - maybe five years or more? We've decided to not plan for anything at this point and to assume that we won't be changing anything in a major way (as in moving walls and plumbing) for a good long while. We've actually felt like the existing layout is working pretty well for us. It's not completely ideal, but it so, so much better than I anticipated. So the new goal is to DIY the heck out of this room over the next couple of months and then just see how it feels and how it's working for us, and if after the new year I'm still itching for bigger changes then at that point we might spring for new cabinets and counters, but will still leave the big reno for down the road quite a bit.

So, here's what I have planned for the kitchen, with help from my Keep collections (which are getting my wish lists about as organized as they could be!):

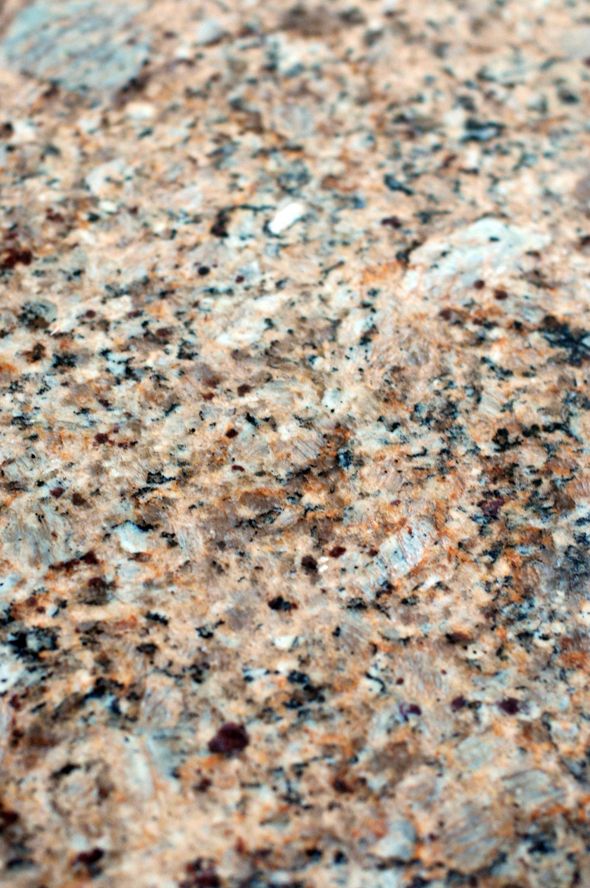
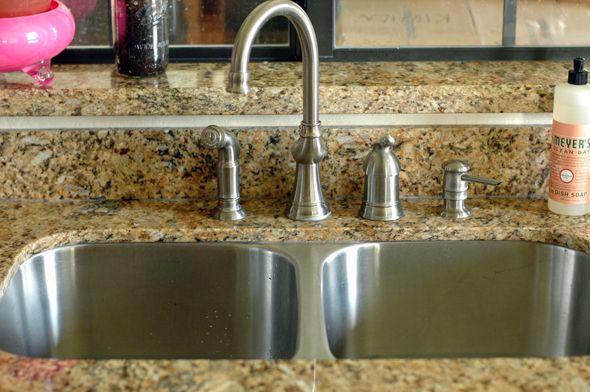
The granite counters are not really my favorite, but I think with a few tweaks, we can make them less of a presence in the room.

 photo aDSC_0508.jpg

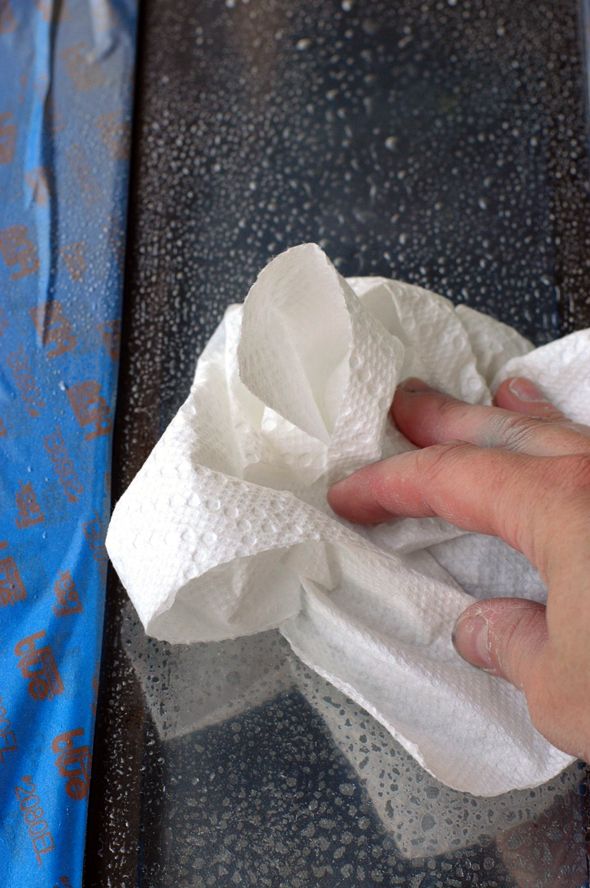
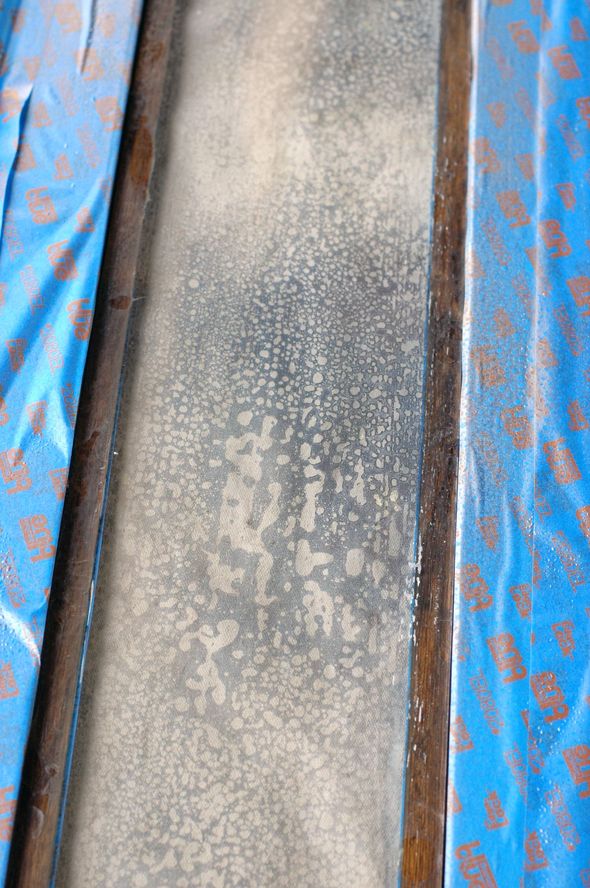
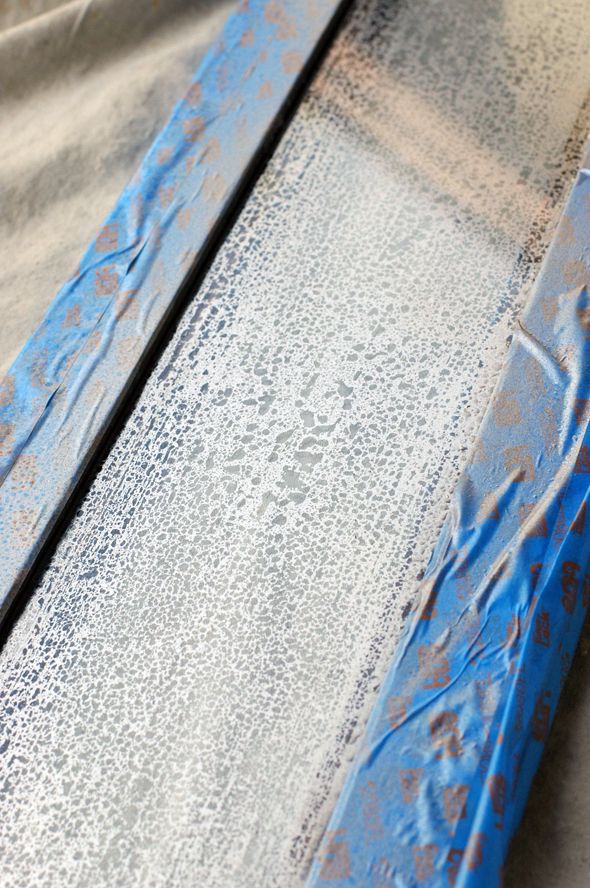
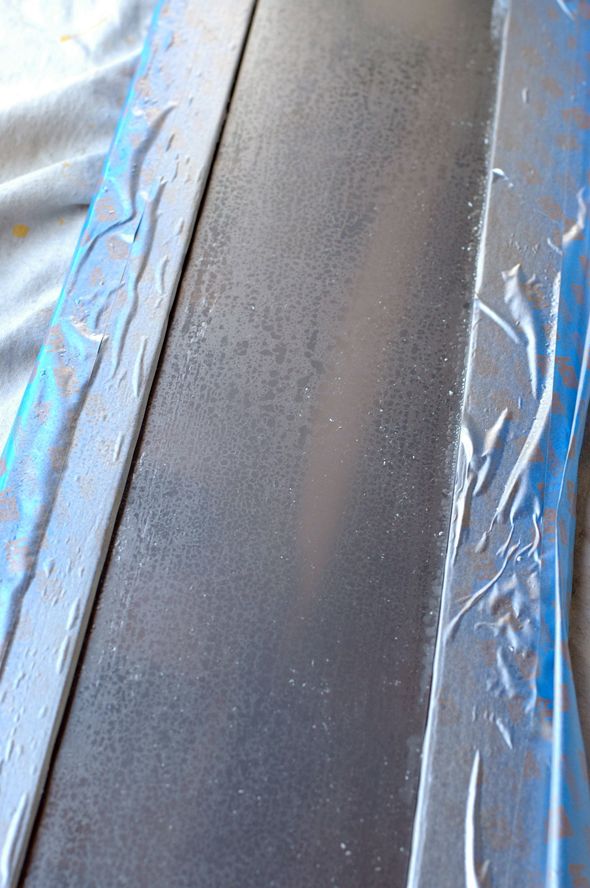
I'll be pulling off the granite window shelf and the short back plate that runs all along the wall.

 photo aDSC_0419.jpg

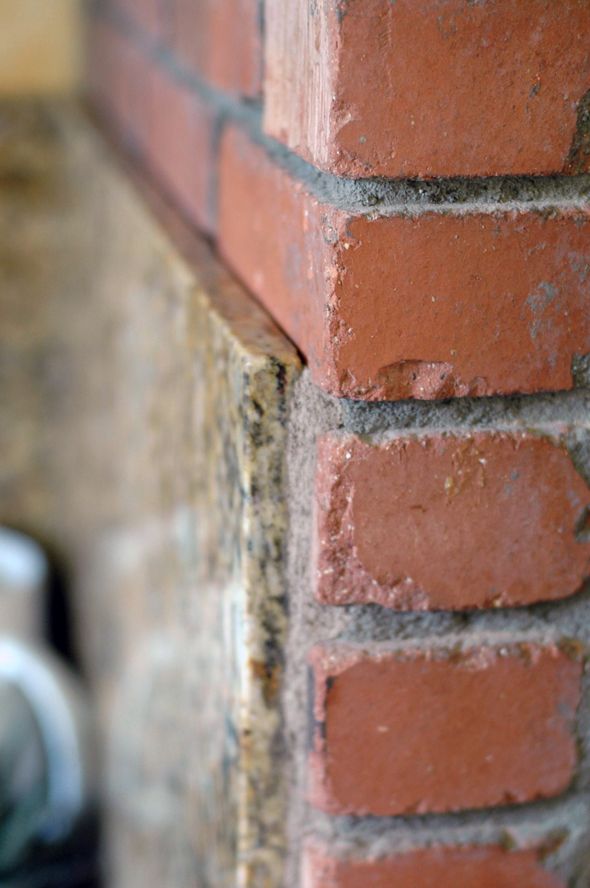
I'll also pull off the granite on the range wall and the brick surround. So the only granite in the room with be actually on the counters and that's it.

 photo aDSC_0490.jpg

It looks like it should come off pretty easily. I'm hoping the brick underneath is in good shape.

 photo aaDSC_0500.jpg

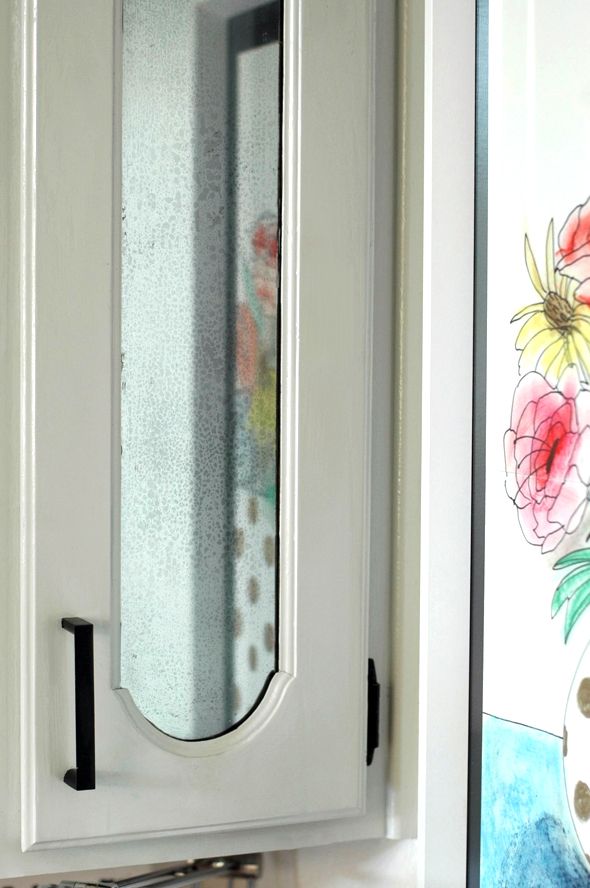
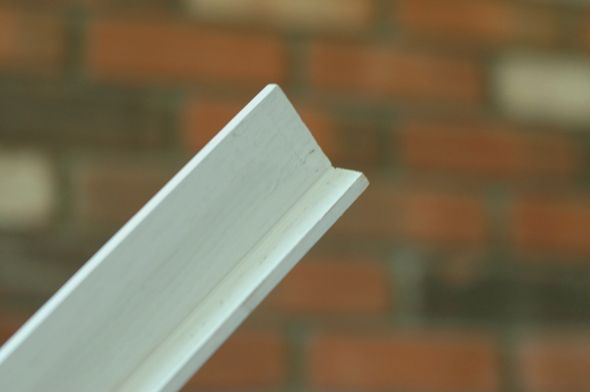
The walls and the brick will be white and the cabinets are going to get sprayed at light gray (Ben Moore's Gray Owl) after they've been transformed with a little corner moulding. I'm so excited to tackle this project! The drawers will be a cinch to redo, but the cabinet doors, with their exposed hinges, are proving to be a little tricky, I'm going to make new door faces so there will be only square angles and clean lines on the door and drawer fronts. Can't wait!

 photo aDSC_0423.jpg

 photo aaDSC_0431.jpg

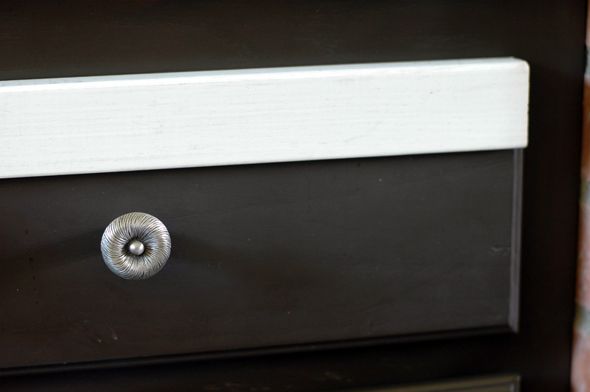
Hardware is very TBD at this point, but I think I will do brass again (surprise, surprise). Speaking of brass, you guys are going to kill me, but I totally forgot to pull out my brass bridge faucet from the brownstone kitchen before we moved. Whoops! I'd love to do something brass in here again though, but maybe a touch more modern than the bridge faucet. I called a metal plating company to see how much it would cost to have the chrome stripped off of this (inexpensive!) beauty. We'll see what I can work out there.

 photo faucet.jpg

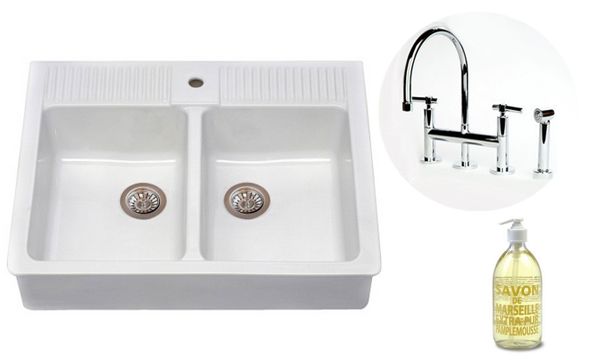
I talked to my handyman, Jason, about it and he says it would be a breeze to zip through the granite with one of his special saws so we can install the gigantic farmhouse sink I've been eyeing from IKEA. It's practically a done deal, as far as I'm concerned!

 photo DSC_0502.jpg

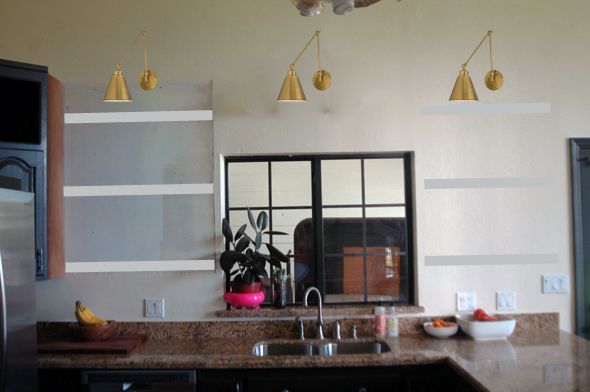
To the right and left of the sink area, where the uppers used to be, I want to hang three shelves on each side. I'm still working out the details on materials, but I think I want something pretty chunky, like these shelves, and maybe, depending on what I do with the cabinet hardware and the faucet, a cool style of shelf bracket in brass. I would want to do something really small though. Maybe something totally unconventional like this piece, which is made for holding up stair railings. The round shape could be really cool on the wall.

 photo ssDSC_0434copy.jpg

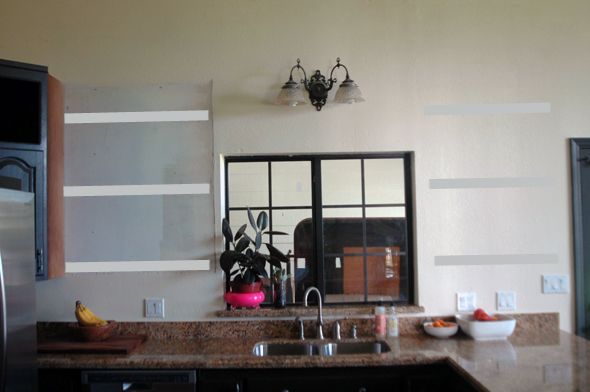
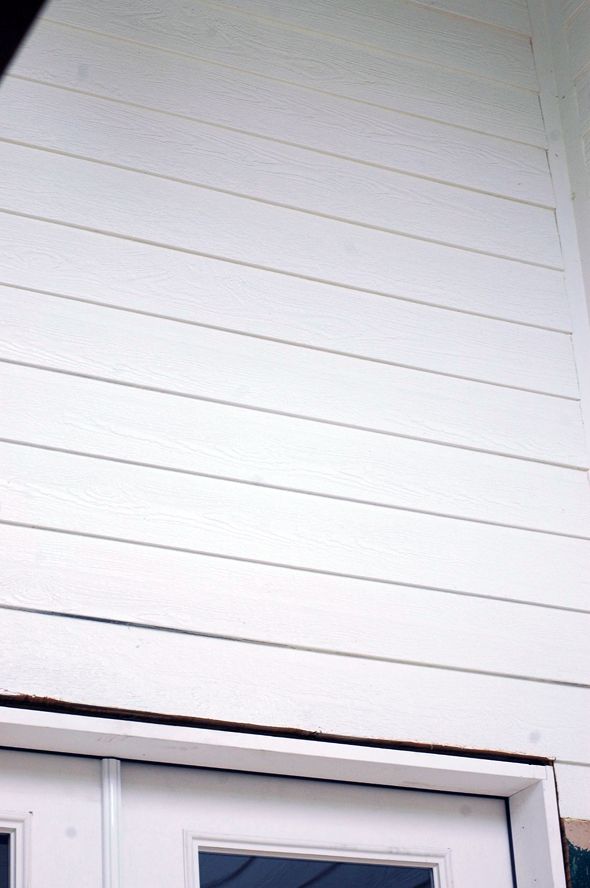
You can see in the photos that the wall texture is all messed up where the upper cabinet used to hang.

 photo aDSC_0420.jpg

 photo aaDSC_0517.jpg

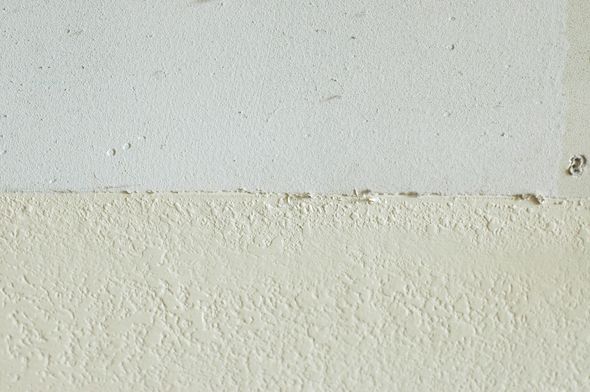
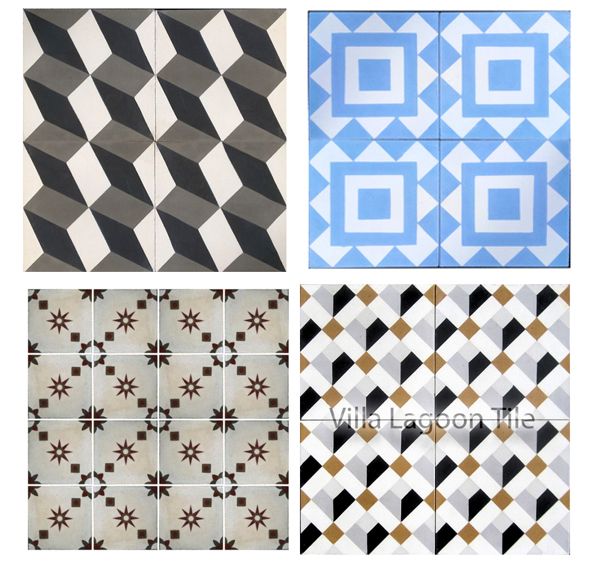
No biggie there because I want to put up a tile backsplash on the sink wall up to the top of the three shelves and stopping at the door frame and then again on the stove inset wall. In my dreams I'd be able to find a cool encaustic pattern that would work with the existing granite and potentially with some of my white countertop wish list choices for down the road.

 photo tile.jpg
1  //  2  //  3  //  4 

I've only started to think about wall sconces, but I've loved these swing arm sconces for so long now. Seems only appropriate to use them at this point!

 photo 22ssDSC_0434copy.jpg

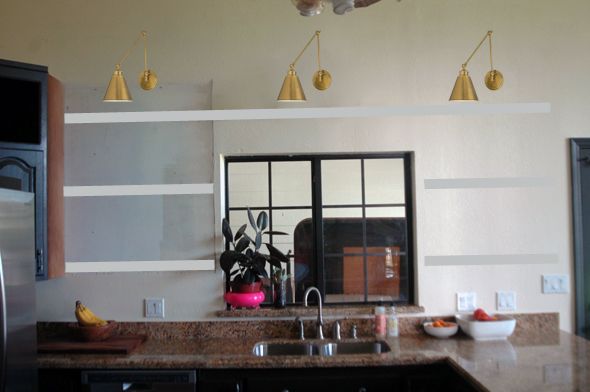
Hmmm, what about doing the top shelf all the way across the window?

 photo 2ssDSC_0434copy.jpg

I also have a pair of this single-head Serge Mouille style sconces that might look cool in a kitchen, though I was planning to use them elsewhere. A lot of the decision lies in which tile I go with for the backsplash I think.

 photo 1ssDSC_0434copy.jpg

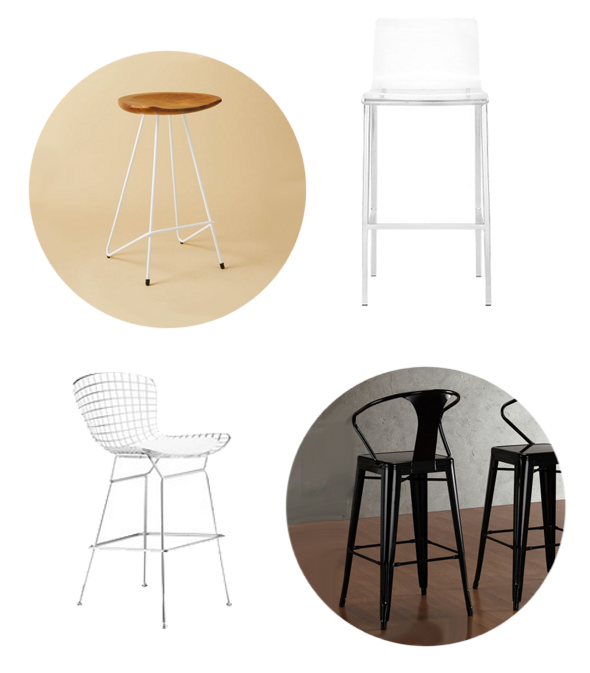
I'm sort of stumped on barstools. Most of them are so expensive and it just doesn't feel like a fun purchase to me, so I've been dragging my feet a little. The most obvious choice is CB2's Vapor stools. I've used them in a ton of projects and they are gorgeous in almost any kitchen and they hold up beautifully. The West Elm wire and wood ones are kind of calling my name though.

 photo ssDSC_0448.jpg

 photo stools.png
1  //  2  //  3  //  4

Yesterday I scored the deal of the century on a set of Louis chairs for the dining area (photos coming!). I kept the big long Drexel table from the loft and might just use it again in here, but it might not be the right fit both in look and size. If I end up going with the Vapor stools, this hairpin leg table could be really great in the space with my new Louis chairs?

 photo lanterns.png

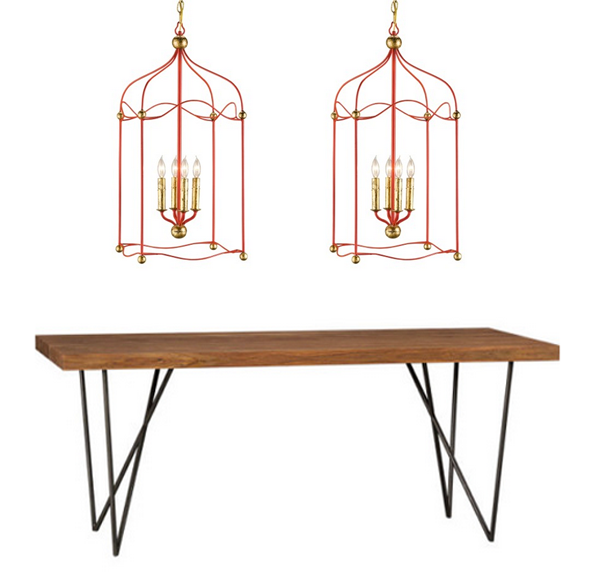
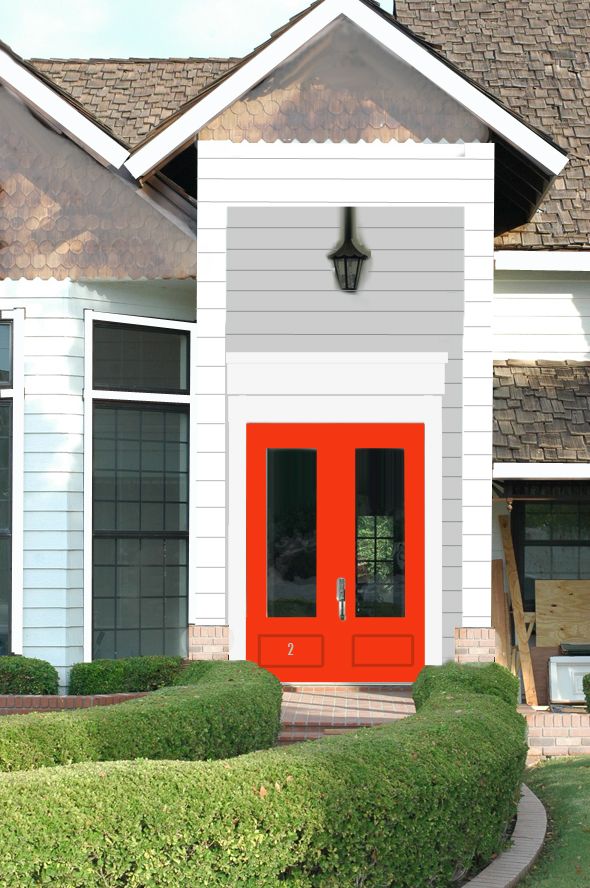
The pair of ginormous lanterns I bought in Jersey a couple months ago are going to get the red treatment (just like this lantern) I think and they'll hang above the dining table.

 photo aDSC_0474.jpg

Okay, so a couple of questions to take you into the weekend:

1) Have you seen any fab, affordable bar stools?
2) Have you seen my same granite (which is a pretty common one I guess) used before in an interesting way?
3) Any favorite encaustic resources that I didn't link to in this collection?

And don't forget to let me know if you're on Keep now, I'd love to follow you. It's so fun to see what my readers are wanting and buying! You guys have amazing taste!

This post is a part of series brought to you by Keep, which is a free website dedicated to helping you learn about the best products out there as determined by your friends and the people you look up to style-wise! :) I've been using Keep as a way to keep track of my purchases and wish list items for the new house. There might be a lot of fashion distractions thrown in the mix as well. :)

Tuesday, August 27, 2013

DIY Antiqued Mirror (With No Harsh Chemicals!)

I feel like this might end up being the baby version of a tutorial on antiquing glass to look like aged mirror. I really like the results, but when I try it again, I think I'll figure out a way to make the look a little more dramatic. So stay tuned for that.

 photo aDSC_0666.jpg

If you like a more subtle look though, here are the easy, harsh-chemical-free steps...


You can do this to the underside of any glass you have. I tried it on my glass cabinet doors, but the possibilities are pretty endless: the underside of glass tabletops (you'd want to seal that), a regular picture frame with glass to be made into a mirror, interior french doors for privacy (I'd give the inside a fresh topcoat to match the doors though), glassware and ornaments for a mercury glass look, etc, etc.

You'll need only a few things to get started: Krylon's Looking Glass spray paint (I found mine at Hobby Lobby - Michael's stopped selling it), a half and half mixture of white vinegar and water in a spray bottle and some paper towels.

 photo aDSC_0538.jpg

After taping off just the underside of the frame of my cabinet door, I lightly misted the vinegar mixture on the glass. If I could go back I would have really doused the glass the first round and especially focused on a few spots, rather than doing a uniform spray.

 photo sDSC_0540.jpg

Then working quickly while the vinegar is still wet, spray the Looking Glass all over.

 photo DSC_0544.jpg

Wait a few seconds (maybe 10 or 15?) and then wipe off the glass.

 photo aDSC_0548a.jpg

You'll be left with a cool, patchy look. I almost wish I had just stopped here and spray the whole thing black for a great contrast against the silvery mirrored spots, but you know, live and learn.

 photo zDSC_0551.jpg

I sprayed another light mist layer of the vinegar mixture and repeated the layer of Looking Glass spray and wiped it down all again. This is what it looked like after the second round:

 photo aDSC_0554.jpg

Pretty, right? Again, definitely should have stopped at this point. But I lightly misted the whole thing with just the Looking Glass spray as a final step.

 photo sDSC_0558.jpg

Even though I knew my mistake right away, I went ahead and repeated the steps for the matching door on the desk area cabinet, just so the two panes would match. I think it's still really pretty though. So much better than the clear glass! It's all sparkly and bright, just like real mirror. And I can actually use the cabinet for storage and not just pretty display stuff now. Total bonus.

 photo aDSC_0615.jpg

When I tackle these big cabinet doors in a week or so, I'll probably go a little more dramatic with the mirror. I'll be sure to report back on how that goes.

 photo sDSC_0467.jpg

Have you ever tried this project before? I've seen other tutorials that use these steps on the outside of glassware, but the end finish is pretty textured, so I'd probably stick to doing just the inside or underside of your glass if you're trying this on a bigger surface.

Monday, August 26, 2013

New Front Door

Hi guys! I hope you had a nice weekend! My parents were in town and we all took a little trip to the Salt River, which I hadn't done in like a decade. It was seriously just what the doctor ordered. Other than being sunburned in the few random spots I missed with my sunscreen, I'm feeling rested and happy. :)

We're not quite ready to move over to the other side of the house yet, so we set up some temporary furniture in the master bedroom and my mom and dad slept in there. I have to admit I was a little jealous while I was setting up the bathroom for them. It's okay though. We're getting close with the floors, and we'll be moved in to our bedrooms soon enough. I was feeling the pressure bad a few weeks ago, but I sort of got over the self-imposed need to move in as soon as possible. We're fine sleeping in the playroom area for now. I'm mostly just sick of living out of suitcases still. But there's no need to do things hastily or to burn myself out. These things can and should take time to get done right.

And when I stop and look around, it's amazing to see all the things we are getting done! The new front door was installed last week and I'm loving it. I wanted to do something maybe a little more special, but doors are really expensive, especially 8.5' double doors. Since our front yard gets a lot of harsh Arizona sunlight, the sales rep suggested we go with a paint-grade fiberglass door instead of wood. Here's the one we went with. (don't mind the pile of plywood to the right of the door - we had to temporarily board off the entrance while we waited for the doors to get delivered that were about a week late. It was a really classy look and I'm sure our neighbors were sad to see the plywood wall go. :))

 photo ssDSC_0425.jpg

The old door was only about 80" tall, which felt way too squatty for the tall entry hall and front porch. 

 photo 1DSC_0351.jpg

Here are our plans for the front, which I'm hoping we can tackle next, after we finish the floors:

The sort of picture window situation isn't really working with the new doors - you can't even see the top of them. The simplest and least expensive way to fix it is to remove the whole front face and extend the two front columns all the way to the roof. We'll make them chunkier and maybe add a brick base to match some of the fencing we have in the yard.

 photo 1DSC_0348.jpg

 photo 2wDSC_0420copy.jpg

A big change from the before, right? I think it will be a lot cleaner looking and will work better with the bones of the house, which really aren't all that Victorian other than the old trimwork. I'm hoping we can help steer this house more into the Cape Cod style direction.

 photo 1DSC_0347.jpg

Speaking of stripping things back and trying to figure out the style of this house, I've been confused about whether or not to keep the Federal style overhang that was above the old front door. Since we want to modernize the exterior a lot and take down all the gingerbread trim, I thought it might be nice to keep the scrolled overhang as sort of a nod to the original owner's vision.

 photo sDSC_0435.jpg

I think it's kind of a cool shape and once all the new trim is up around the door and everything's painted white, including the scroll, I think it could be kind of Miles Redd looking and less Alice in Wonderland?

 photo sDSC_0436.jpg

There's an awful lot of vertical space above the door that the scroll would help to fill, but I'm sort of loving the clean, more modern look without the scroll. 

 photo sDSC_0441.jpg

Especially if we add a few rows of thick trim to the header, like I did in the mock up. I did this really fast in photoshop, so it might not make sense, but the bright white part is the new front of the entry (the new columns with the brick base) and the shadowed gray part is the door wall, which is set back about eight feet from the columns. I need to do some more research, but I remember seeing an all white house once somewhere online or in a magazine that had a style similar to our house, with the shake roof. The body of the house was a creamy white and the trim was a brighter white and it looked really great. If we did something similar, it would save us thousands of dollars by keeping the creamy white body color as is and then we'd just pay to have the trim painted white (or maybe tackle the project ourselves - although my hands get a little shaky imagining being up on an 18 foot extension ladder). I'm thinking of also whitewashing the brick and the cedar shingles that are just on the front of the house in a few places (we'd leave the shake roof, of course). The house looks pretty choppy with the dark trim and brick and shingle sections against the white body. I think unifying the color palette would be really pretty here. Also, I'm thinking bright, glossy red for the front door. Maybe my favorite Safety Red?

 photo 2wDSC_0420copy.jpg

 photo sDSC_0419.jpg

I think the red would look so pretty with the new hardware and the simple shape of the doors.

 photo aDSC_0427.jpg

 photo sDSC_0434.jpg

While we were pulling down the old siding to install the doors we found the wires for the doorbell which had been buried under siding (the one currently installed is battery-operated). I was so excited about this, because now I can order the doorbell I've been eyeing, which needs to be hardwired. I think it will be so pretty with the polished nickel house number and hardware.

 photo sDSC_0429.jpg

 photo wDSC_0416.jpg

Alright, back to floors. whew!

Thursday, August 22, 2013

New Sponsor Highlight (and a Give Away!): HauteLook

One of my newest sponsors is HauteLook, which is a Nordstrom company. For as long as I can remember, I've loved Nordstrom and everything about it. It's great that you can find clothes, shoes, jewelry, beauty products and even home goods in one place and at all different price points. HauteLook, which is a free, member's only sale event site, has inventory that is well-rounded in just the same way, with the added excitement of new sales and new collections introduced daily, at awesome discounted prices - we're talking, like 75% off. Great deals to be had.

 photo ssDSC_0417.jpg

 photo vDSC_0432.jpg

Once of my favorite HauteLook finds was this silk Cynthia Rowley dress I bought a few months ago. I love the Klimpt-esque print and colors. The pieces that look like gold foil catch the sun in a really pretty way.

 photo dDSC_0435.jpg

 photo sDSC_0427.jpg

And about a month ago I found this mint hotel bedding set on HauteLook for a steal. Less than $90 for a high quality king-sized duvet with a pair of shams.

 photo sDSC_0442.jpg

I'm so excited to use this in our room when we move into the space next week. I'm thinking of hanging my chinoiserie panels behind the bed - won't that be a pretty pairing?

 photo fDSC_0436.jpg

HauteLook always has a great selection of beautiful items, but I usually like to just shop their home page, which highlights the day's most popular items. Here are my "best-of-the-best" choices, all available right now:

 photo LGNHAUTELOOK1.jpg
1  //  2  //  3  //  4  //  5  //  6  //  7


 photo LGNHAUTELOOK2.jpg

8  //  9  //  10  //  11  //  12  //  13

HauteLook is offering up three $50 gift cards today. To enter to win, register for free here, take a peek around and leave a comment here with you favorite picks. Contest, which is open to US, Canada and Australia residents, ends next Thursday at midnight. Winners will be emailed. Good luck!

This post was brought to you by HauteLook. Thank you for your support!