Friday, August 31, 2012
Reader DIY: Eileen's Curvy Headboard
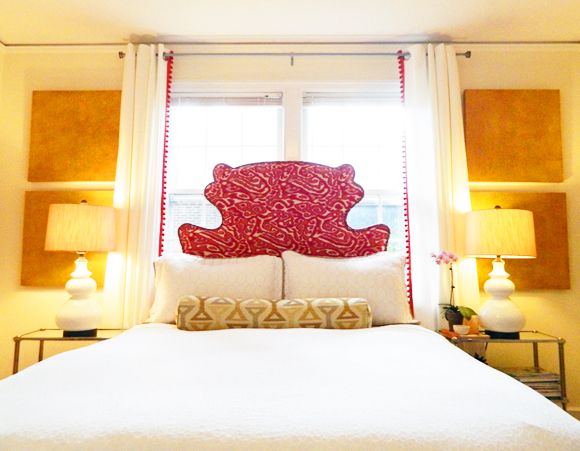
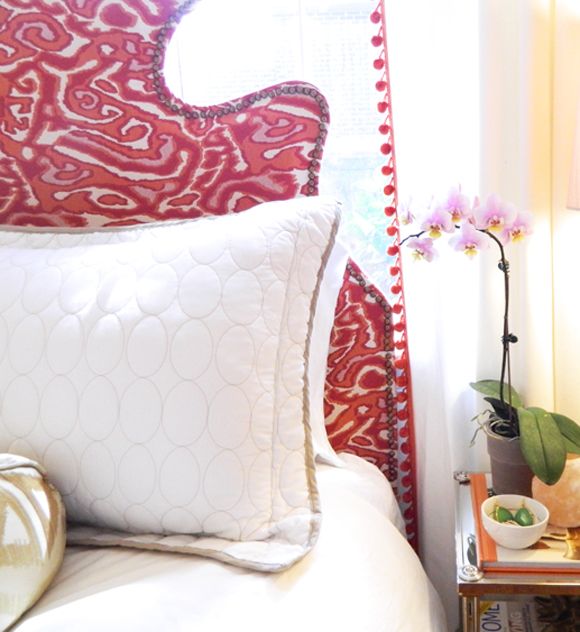
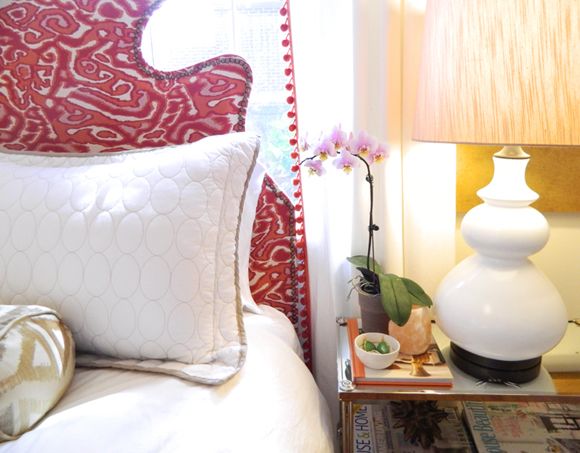
After a swift turn of events at our house, my recently reupholstered bed was moved to Heather's room and Michael and I bought a new frame. I've had headboard shapes on the brain for the past week, so I really loved getting this email from Eileen of A Creative Day. She totally went for it with a super curvy, super awesome DIY headboard.
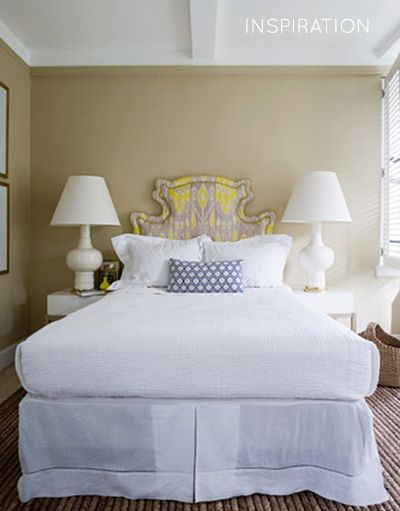
She was inspired by this great headboard above from the Amanda Nesbit design challenge featured in House Beautiful a couple years ago. I loved that article too.
Eileen shares more info on her room redo HERE. She deserves a trophy for nailing in her trim the hard way - one by one. And PS, she found the fabric as a remnant at a local fabric store. Do you recognize the maker?
Thursday, August 30, 2012
Our Quick and Easy Outdoor Lighting
This post is part of an ongoing series presented by Lowe's. Never Stop Improving.
We're making some progress on the back yard!
But first, I still get a lot of questions about our renting/renovating situation here at the brownstone, so I thought I'd clarify again.
I'm sure you can imagine how expensive it is to own a home here in New York City. The prices are crazy, as well as the maintenance fees and taxes. We would love to own a home some day soon and are saving to make that a possibility, but for the next few years or so, we're feeling really lucky that we found a comfortable house in a great neighborhood, with a landlord that lets us do whatever we want.
He's giving us a break on rent in exchange for fixing and updating the home and he's paying for a lot of the renovation work we're doing. There was a long list of projects made before we moved in that the landlord agreed to fully pay for, and the things above and beyond that, we can approach him with separately. So far he's been willing to cover most of the things we felt like were his responsibility. Then there have been other random things that he doesn't care about that we've had to pay for ourselves (like refinishing the floors - which we ended up not doing. Sad, I know). We knew that would be the case though, so we don't mind still taking on many of these projects. We'll just do them for the least amount of money as possible!
The landlord is not too anxious to put money into the yard (understandably), so we're paying for everything there. I mentioned earlier this week that we don't have any lighting in the backyard. I've ordered some globe string lights for the upper and bottom decks (hopefully they'll come next week), but I also wanted something a little brighter for the upper deck.
I found these outdoor grade (which is important to have for this project) clamp lights and extension cord at the hardware store. The largest size clamp light was only $7, so I bought three.
I took off the bowl shades and spray painted them with this really pretty Rustoleum enamel called Glacier Ice. It's a soft bluey green-gray. (how's that for a description?)
I just did the outside of the bowls because I wanted to leave the inside the reflective chrome. I love how the color is so vintage looking!
At the same time I spray painted a couple of pieces of scrap wood I had left over from the bookshelf project we did this week (pictures coming soon!!), that I cut to be about 2x3. The total length with the two pieces was about 125". I sprayed the wood and some metal L-brackets with a flat black enamel.
When those were dry, we evenly spaced and screwed the L-brackets to the wood.
We drilled some pilot holes into the brick using a masonry bit and then hung the wood on the brackets using anchors and masonry screws.
Once the ledge was installed, we just clamped on the three lights. Part of the reasoning behind using a deeper piece of wood as the ledge to clamp the lights to, was so we could hide the cords easily.
I did end up putting a handful of staples down to keep some of the cords in place, but for the most part, the system is completely moveable, so if we ever want to take down the lights it would be super simple.
Here's the view from the ground. Pretty clean!
The back doors are not centered on the building, so the lights don't line up with the door, but it doesn't really bother me. I'd rather have the lights more closely centered on the house.
We ended up sort of splitting the difference.
We used the lights for the first time last night and they worked great! We even pushed the lamp heads up to have more light out in the back of the yard.
I'm so excited to get the string lights too. I think the two will look so pretty together!
We might be ready to do something different by next spring, but for about $30 in supplies, I think this was a great solution for us right now.
Wednesday, August 29, 2012
Easy Envelope Pillows
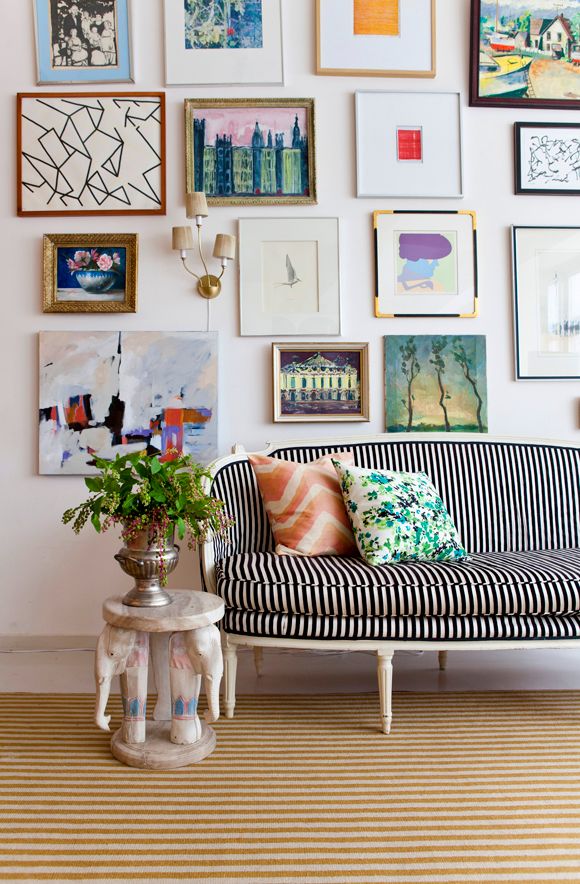
Did I tell you I finished reupholstering the black and white settee? I love it. The pillows are recent additions too that I whipped together at the same time, while I had the sewing machine out.
Because I'm not the hugest fan of sewing in zippers, over the years I've come close to perfecting the art of the 10-minute envelope pillow. It's so easy! If you know how to sew a straight line, you can make this pillow fast. Here's the down and dirty:
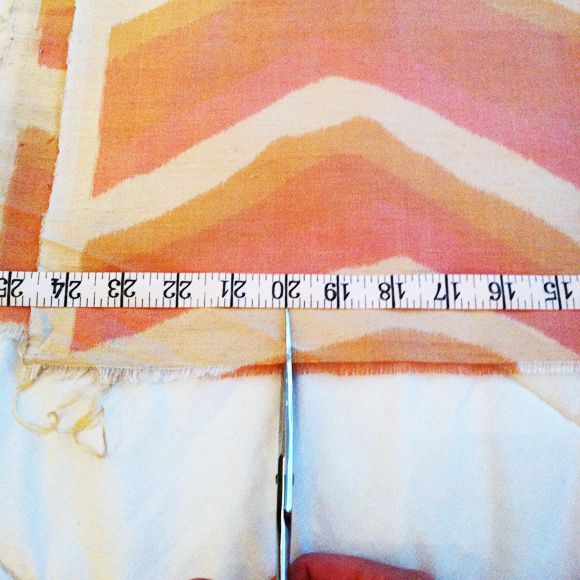
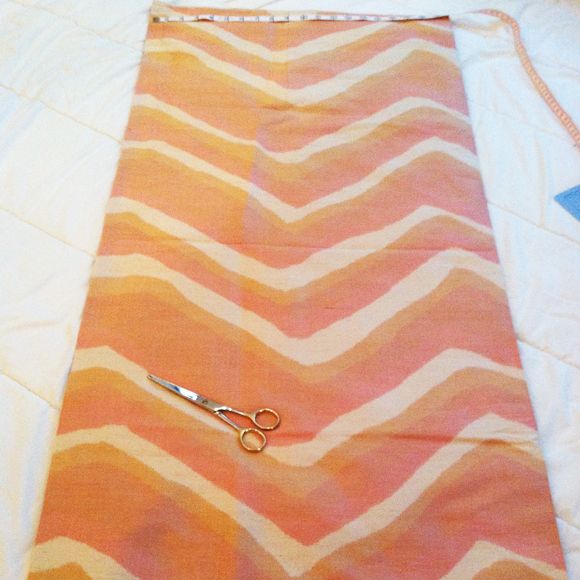
1) For a standard 20" pillow (which works great with these $7 down inserts from IKEA, or these $14 favorites from Crate and Barrel), cut out a 20x44" piece of fabric. I cut out two pieces so I could make a pair of pillows easily at the same time.
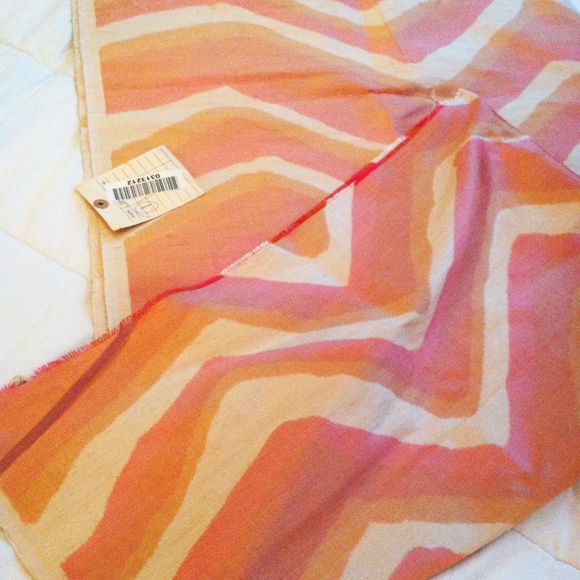
I used this silk watercolor fabric from the Brunschwig sample sale that I scored for $3 and the fabric from the other pillow was seen here. I love how they look together above!
Because I'm not the hugest fan of sewing in zippers, over the years I've come close to perfecting the art of the 10-minute envelope pillow. It's so easy! If you know how to sew a straight line, you can make this pillow fast. Here's the down and dirty:
1) For a standard 20" pillow (which works great with these $7 down inserts from IKEA, or these $14 favorites from Crate and Barrel), cut out a 20x44" piece of fabric. I cut out two pieces so I could make a pair of pillows easily at the same time.
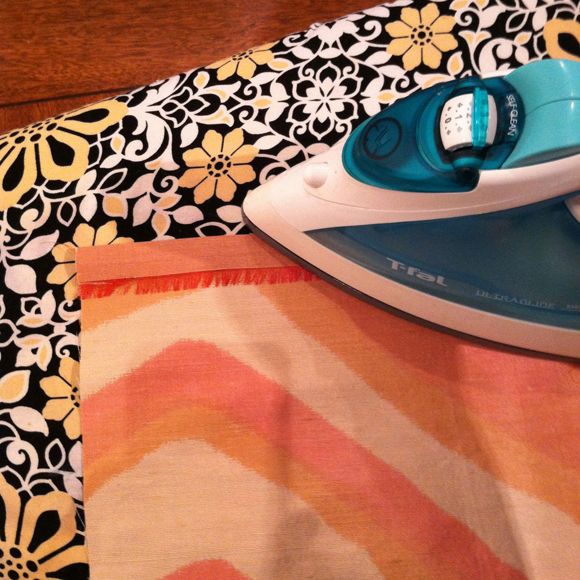
2) On just the 20" wide ends, fold over the fabric about 1/2" and iron down. If you want to prevent any chance of messy-looking fringing, where your threads start pulling out, you can roll under the edge a little or you can serge or use a zigzag stich to bind the edges. It's not a necessary step though.
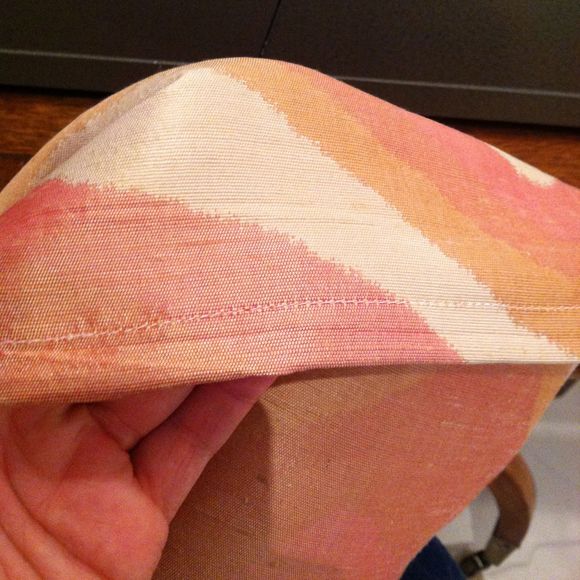
2) Sew a line down your pressed edge. (Both edges)
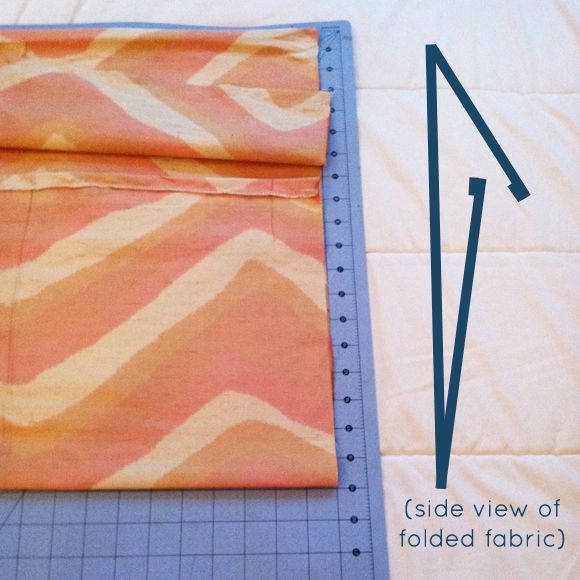
3) Now that both the top and bottom edges are sewn, fold your fabric like an envelope. Note that your fabric should be right-side in.
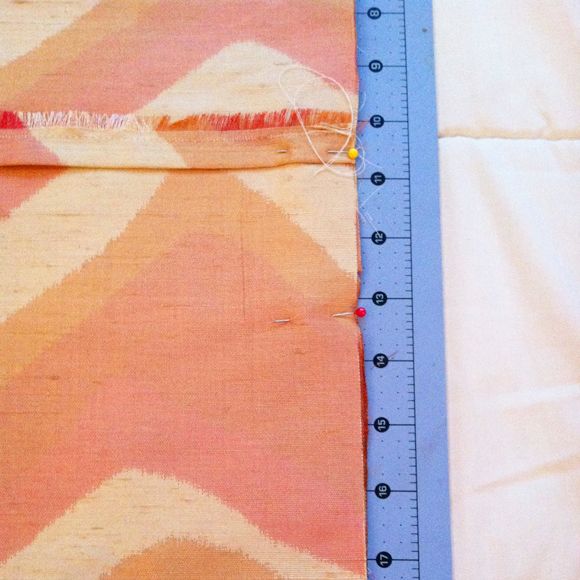
The total length of the envelope should be 19". I always sew my pillows to be an inch shorter than my insert size. I like my covers a little more taut than baggy.
4) Put in a couple straight pins to keep all the layers in place. To make it really easy to pull the pins while you're sewing always place them so the head is nearest the edge.
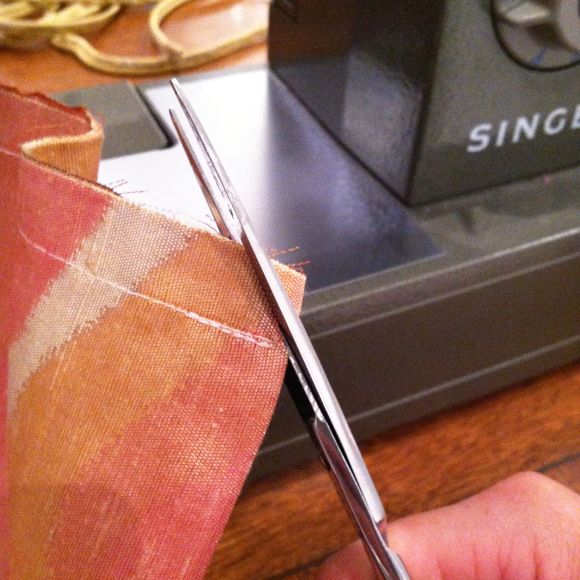
5) Sew a line down both edges and then snip off the fabric behind the seam on the very corners. This prevents bunching.
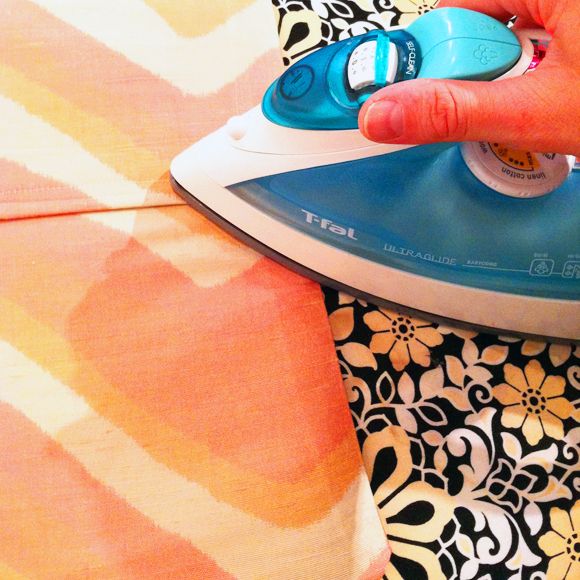
6) Home stretch!! Just flip the pillow right-side out and then press everything down.
I made five pillows in less than an hour for the shoot. If you're making one - you might as well make five! :)
Pretty photos taken by Nicole Franzen, styled by Kendra Smoot.
Tuesday, August 28, 2012
The Balcony Floor
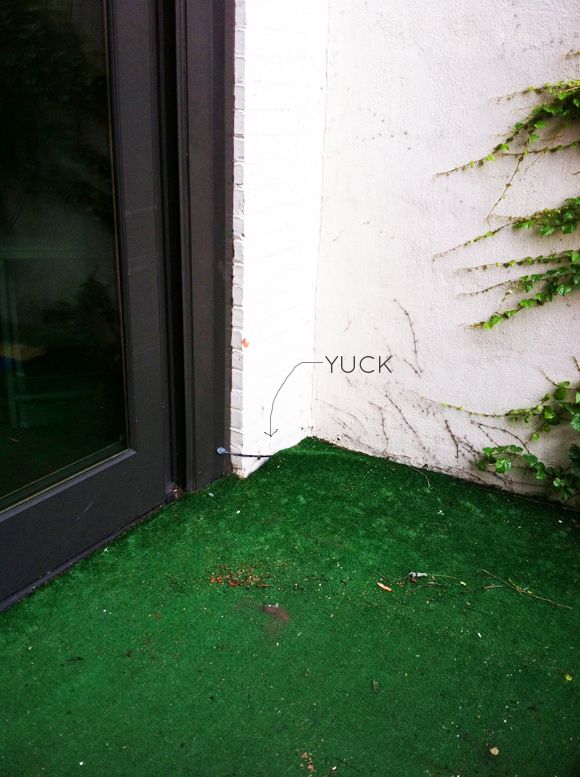
With Labor Day right around the corner, we are trying to get the back yard in a better place so we can enjoy the last couple weeks of great weather. We're really anxious to get a grill out on the balcony for some end-of-summer barbecues! But right now, the balcony is anything but welcoming. There's no lighting out there, so the party ends fast when the sun goes down, and worse, the ground is covered in decades-old astroturf.
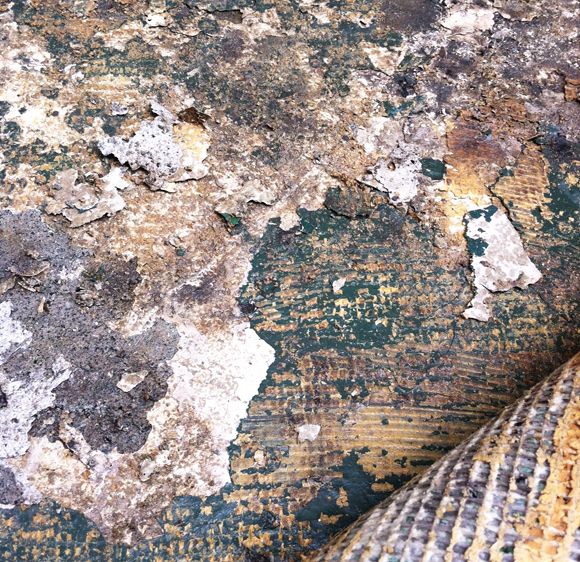
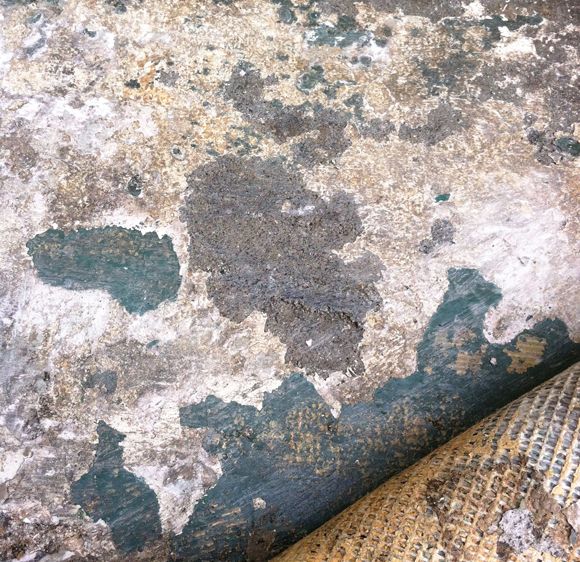
I pulled back the astroturf today and the situation under the ugly astroturf was just gross. Lots of old and chipped glue.
I scraped up some of glue and a lot of it came off after only a couple minutes of work. I think I'll buy a better scraper and maybe rent a wire brush grinder and see where we sit.
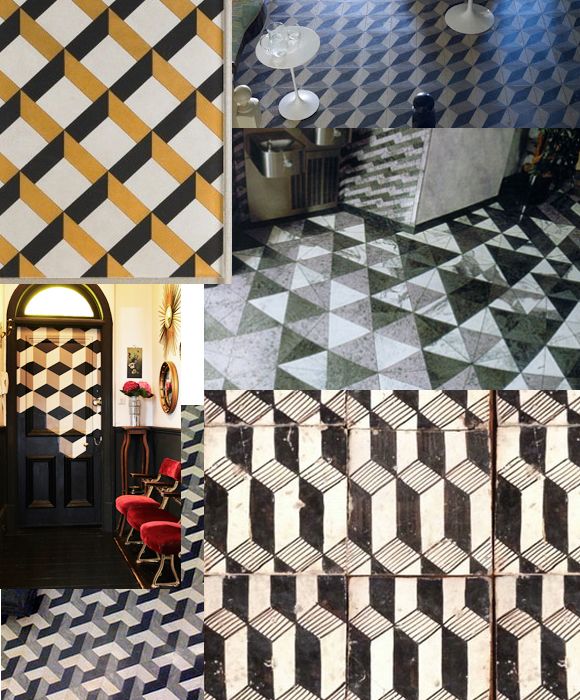
I've been looking into different types of concrete filler/resurfacing products and it looks like getting a cheap and easy-to-mix bag of thin set is a good way to go. I'm not necessarily after a perfectly new floor, just something a little cleaner and more smooth... because I have a little floor painting idea that I just can't get out of my brain...
Monday, August 27, 2012
DIY Upholstered Walls
This content series is in partnership with smartwater. smartwater, simplicity is delicious. Click here to learn more.
I think it's important to make offices feel comfortable and homey as possible - especially if they are in your home. They have to be functional first, of course, but the pretty requirement should be a close second in my book!!
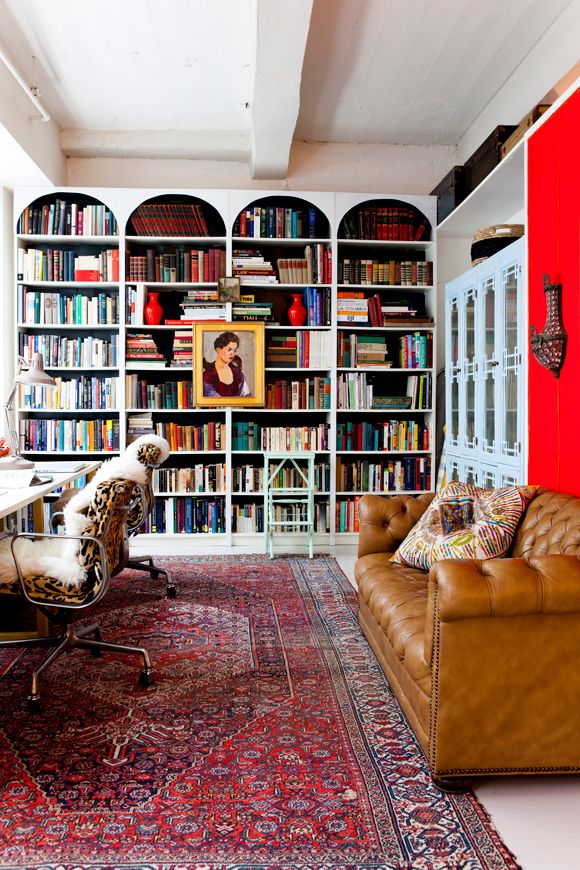
The home office in our loft was pretty with the wall of books, but the walls to the right of the shelves were not good looking for a long time. I had huge stacks of fabrics on open (wire!) shelving and a blank wall with some less-than-awesome visible drywall seams. Not cute. And I realized it was making me not want to work in there.
So, we moved the fretwork cabinets into the fabric nooks and put the fabric in my storage room since I didn't need to get into it every day. (I'm actually thinking of selling a lot of it at the stoop sale I want to hold this month or next). We use the cabinets for storing accessories and magazines and some office supplies. They really fit well inside the wall space there too.
For the little accent wall though, I wanted to try something fun, but something that was easy and free. I had a couple yards of this tomato red linen from Graylines at the apartment already and I decided it would make the perfect accent wall.
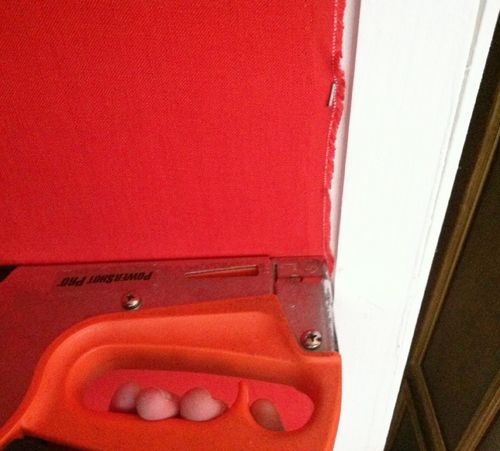
The idea is really simple! You even follow my same general upholstery guidelines I diagrammed here (down about halfway through the post). The really important thing here is you need to staple as straight as possible. Using the moulding along the perimeter and a yard stick in the center is really helpful for getting straight lines. (Here's a post on my favorite cheap stapler)
Because my wall was wider than a full width of fabric, I stapled a full width right in the middle of the wall and then went back to cover the sides with two smaller widths of fabric. For that smaller width, I started from the outside edge of the fabric and stapled up the full piece of fabric and then cut off the loose, remaining fabric. If you do it this way, you don't have to measure at all.
The staples of the smaller panel should go right over the top of the staples of the first panel. Once you have three panels of fabric stapled to the wall, trim the fabric close to the staples. How tight you need to trim it depends on how thick your trim is. Mine was only 3/8" wide, so my lines had to be perfect and I need the fabric trimmed really close.
Then you just fabric glue your trim on top of your staples to cover up the mess. I used orange velvet ribbon for trim and I loved the slight color and texture contrast against the fabric. It was really pretty.
Easy! It took me about 20 minutes to do that small wall in my office.
It was so fast, and it made the hugest difference in how I felt about that home office! I'm planning to upholster the walls in my bedroom (black linen!) instead of painting them. Won't that be cozy? I'm really excited about the idea!
Subscribe to:
Posts (Atom)