Friday, August 29, 2014

Back-to-School Make Over for the Mudroom!

 photo 2MR5.jpg

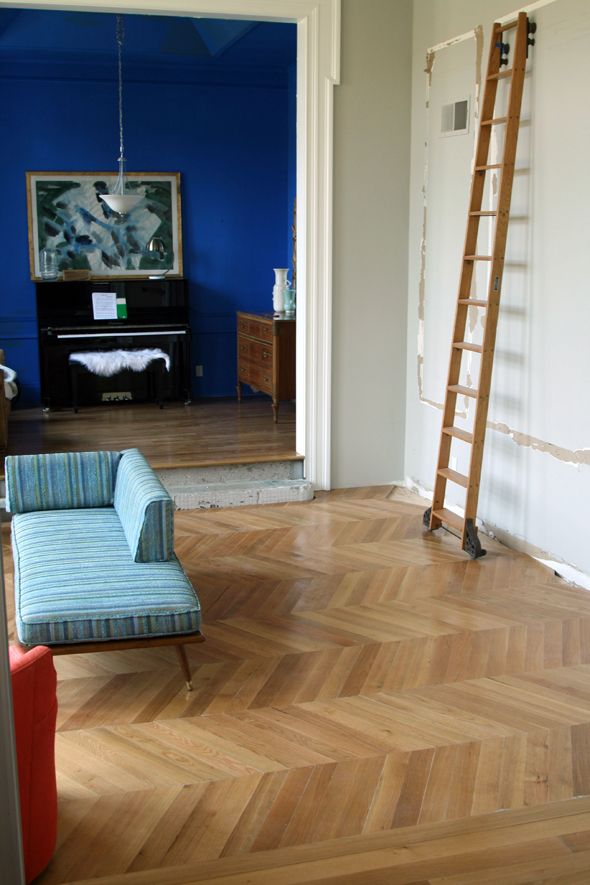
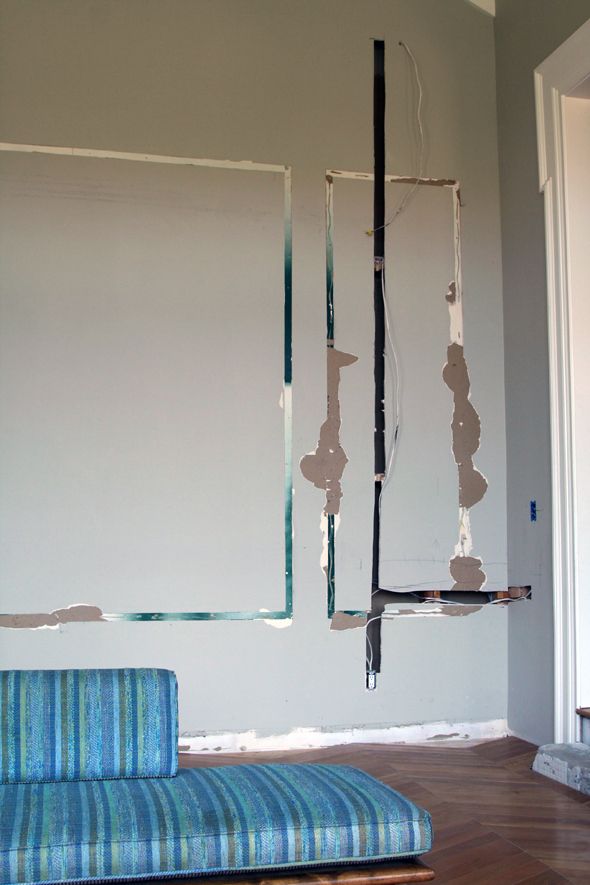
I really wanted to finish up our mudroom space before school started this year, and we made it, just under the wire! I was really excited to get to team up with Amana again on this project. You might remember that one of the first projects we tackled in our house after moving here was paneling in the mudroom. We held off on paneling the closet walls, just because there was a lot of work to do there first.

 photo IMG_7914.jpg

This was my rough plan for each of the cubby nooks:

 photo IMG_5952.jpg

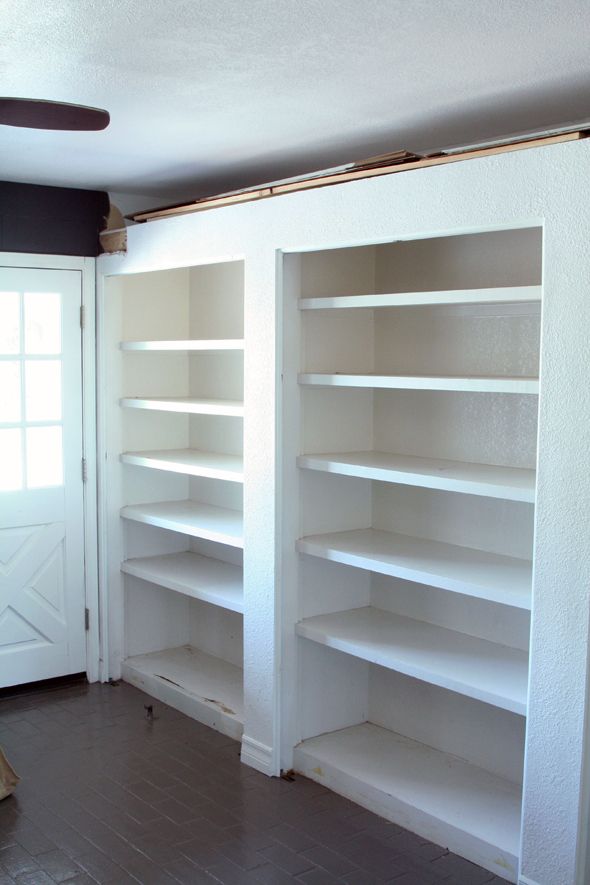
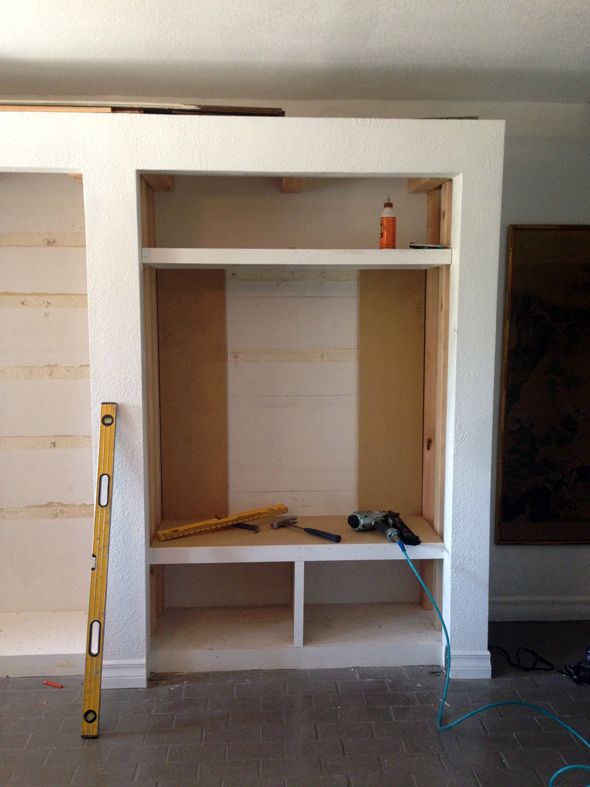
I really wanted the nooks to be flush on the sides and tops, and I wanted to add some benches. So last month, I hired my handyman to come in and prep the closet spaces and then Kate and I installed and painted the paneling, just like in this tutorial. It's really not hard to do, it's just a little time-consuming.

 photo IMG_5948.jpg

 photo IMG_5959.jpg

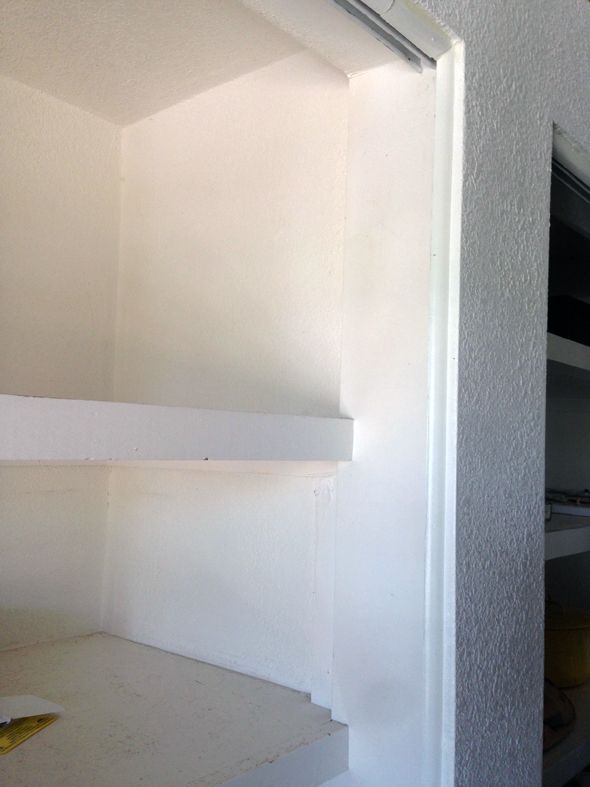
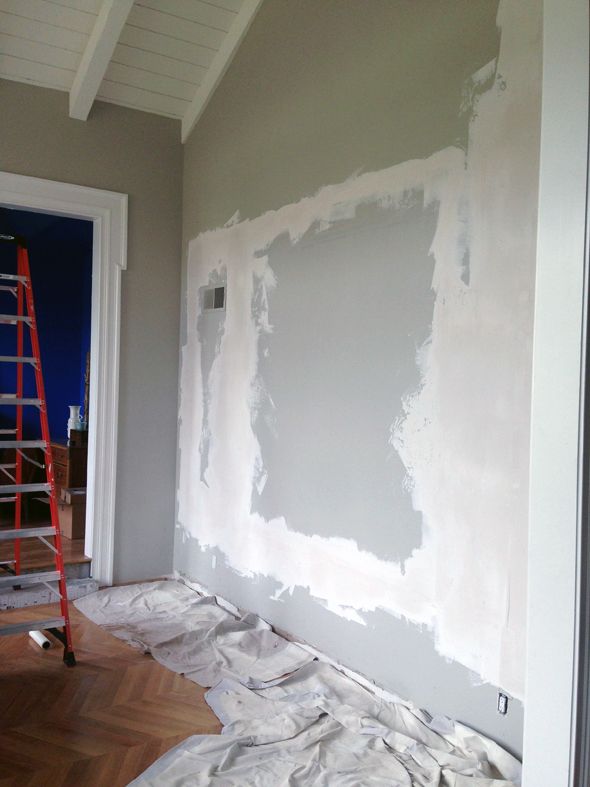
The basic idea is we used inexpensive sheets of hardboard cut down at the hardware store to make shiplapping on the walls. The paint color is Benjamin Moore's Day's End in a flat finish.


 photo IMG_6025.jpg

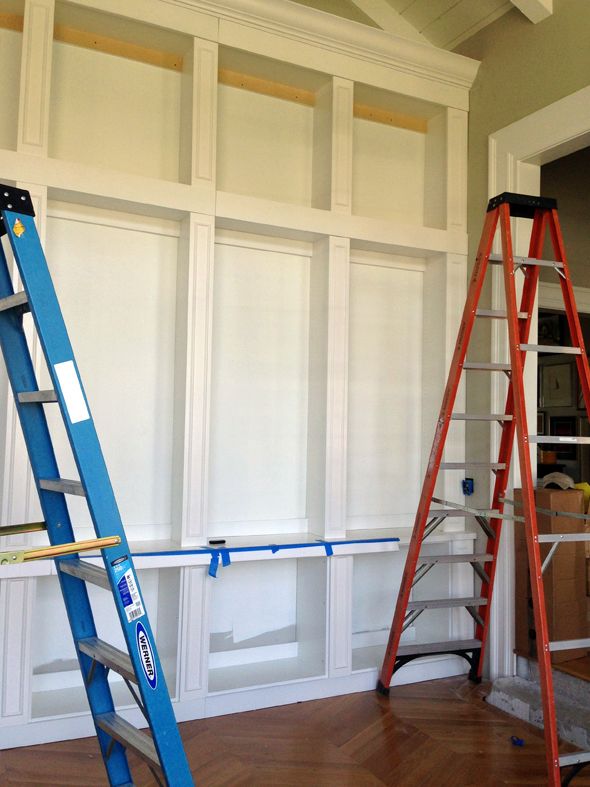
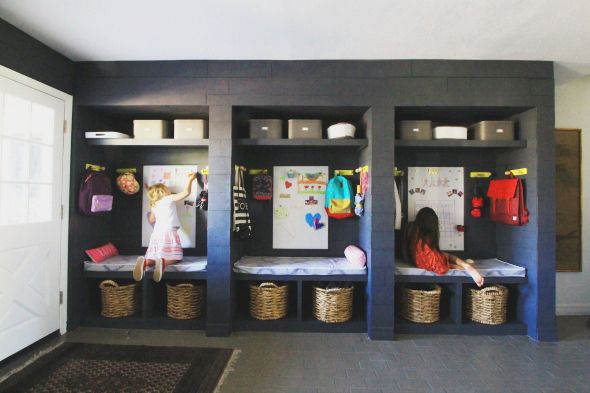
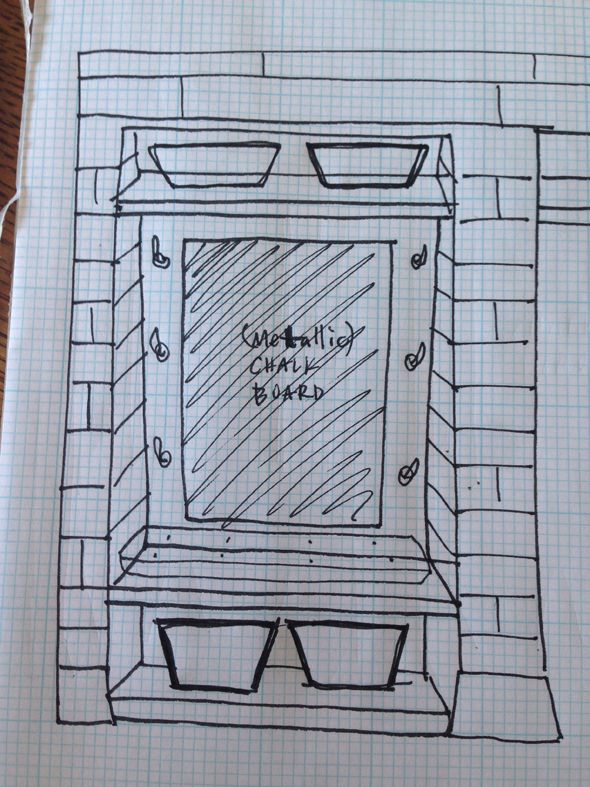
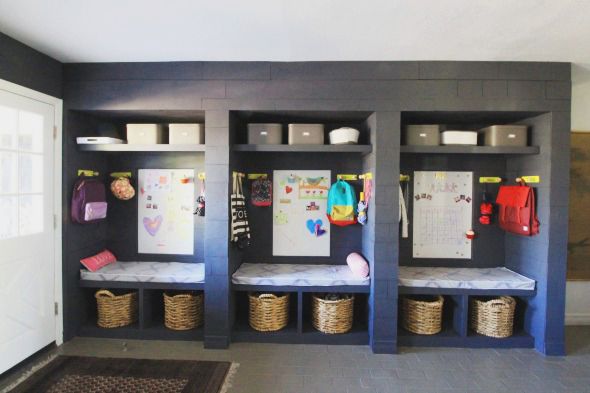
I wanted the girls to each have a nook space of their own, complete with a bench and a high shelf for paperwork storage.

 photo 2MR8.jpg

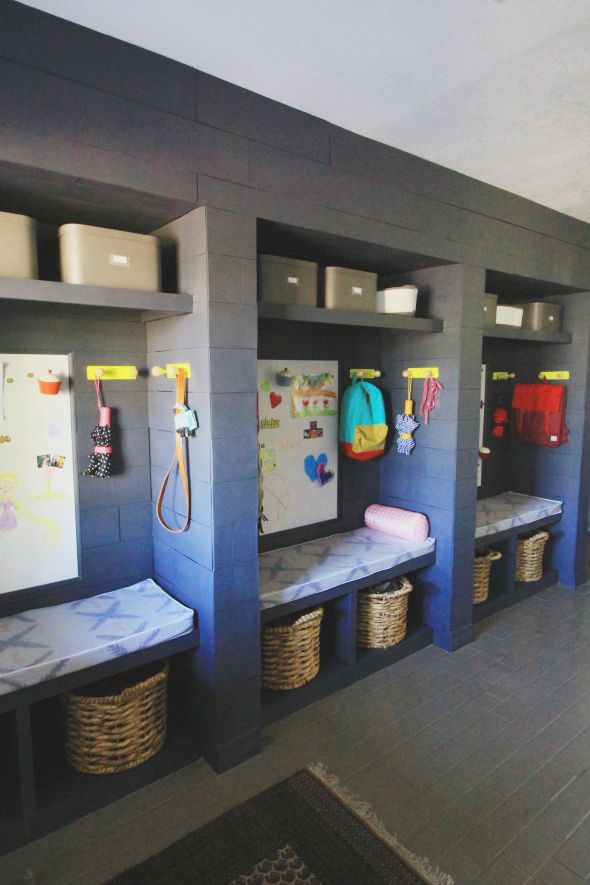
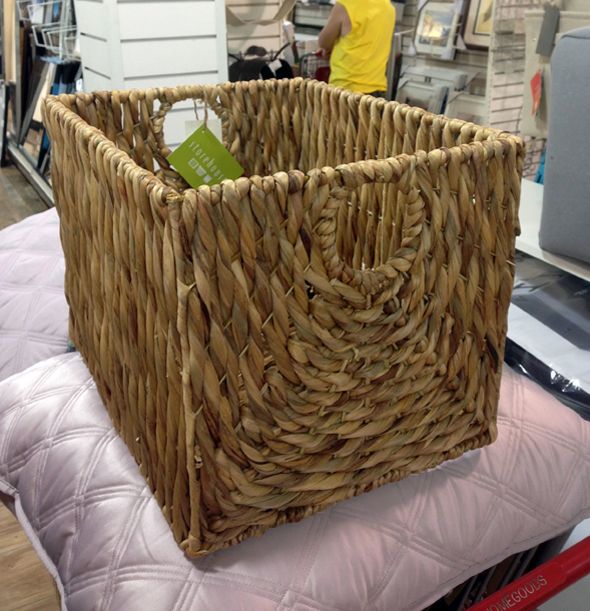
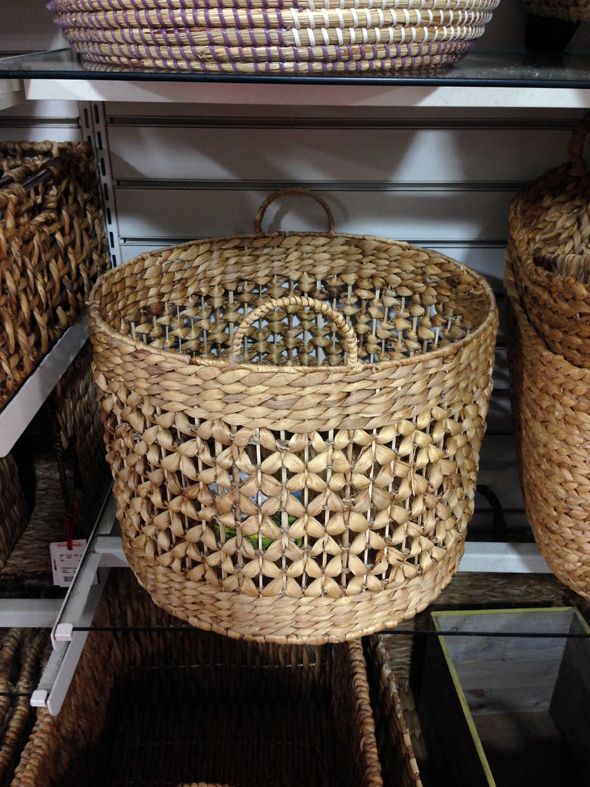
To help keep the floors in my house clean and to make it easier for the kids to get ready for school, we made separate nooks for jute shoe baskets. One is for casual shoes and the other is for dress shoes! It was a little tricky to find baskets that fit the nooks just right. These two were contenders from Homegoods, but the sizing was a little off and they were pricey (not to mention, I would have had to drive all around Phoenix to find six matching baskets).

 photo IMG_6029.jpg

 photo IMG_6031.jpg

And then I totally hit the jackpot at World Market with these Jessica baskets. They were 50% off, which made them only $12.50 each! They're made of really thick jute and so far they're holding up beautifully!

 photo 2MR9.jpg

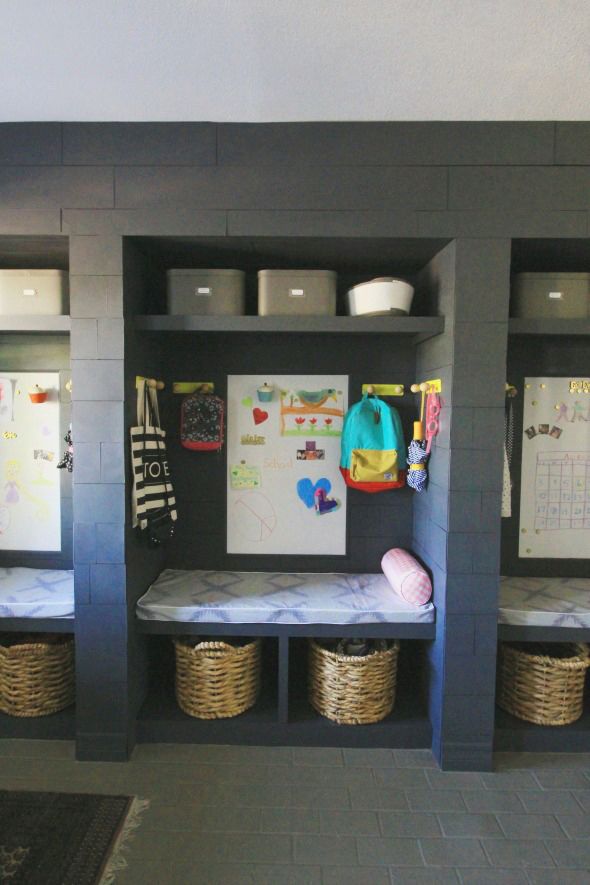
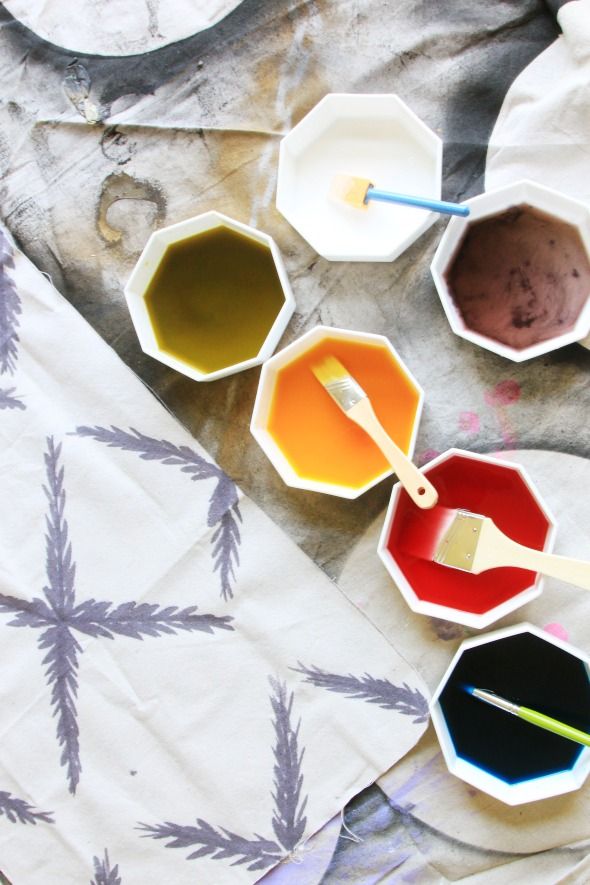
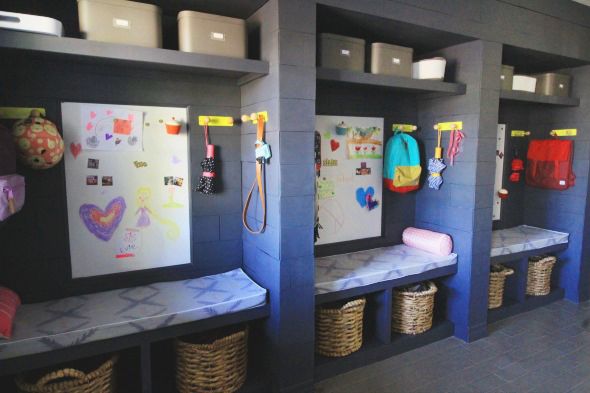
For the bench tops, I made a bench cushion using upholstery foam that I cut to fit the nooks. I made the fabric with drop clothes and fabric dye before sewing them into box cushions. My girls helped me with parts of the fabric painting, which made them so proud! They love getting to display their work in each of their cubbies!

 photo IMG_0772.jpg

 photo 2MR11.jpg

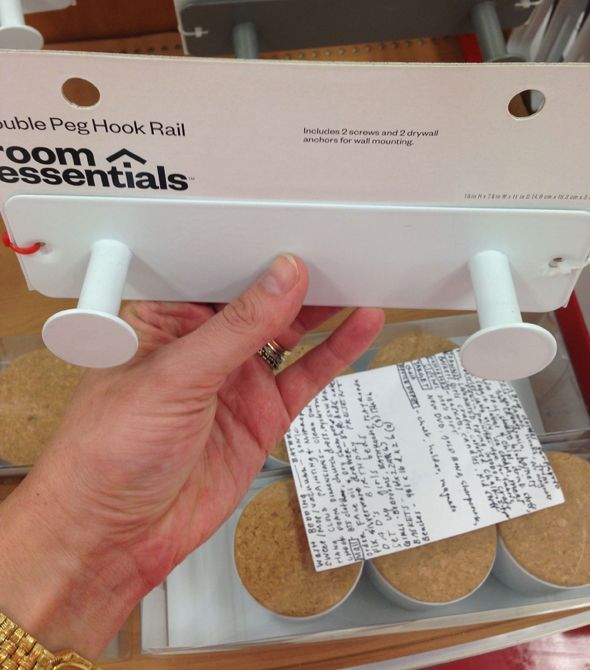
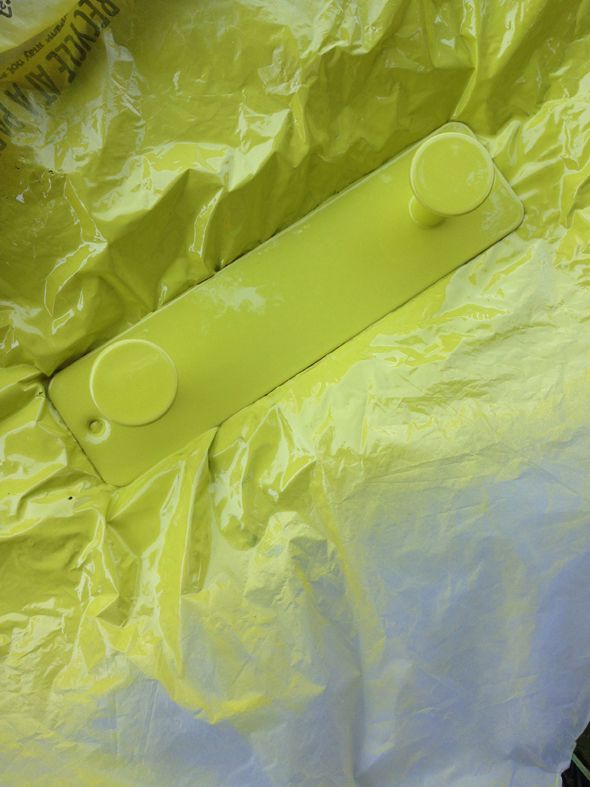
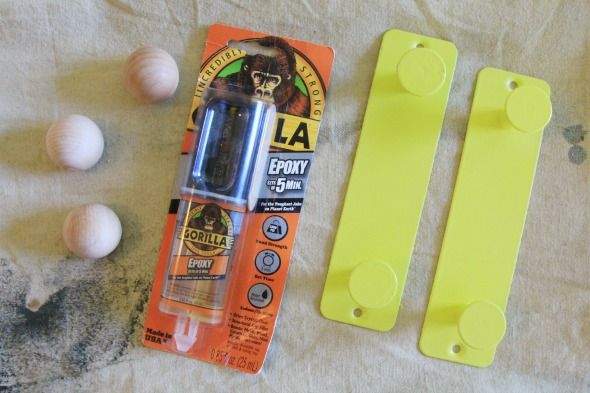
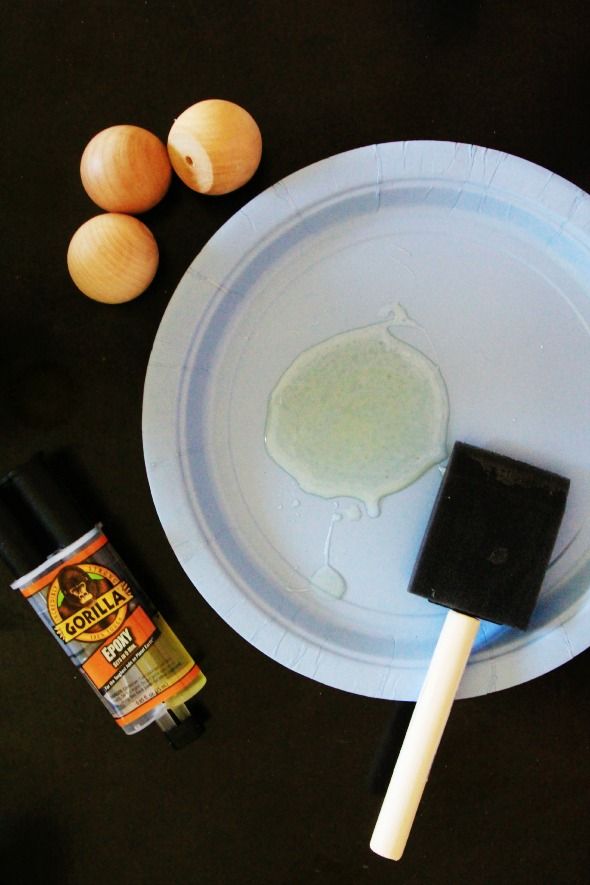
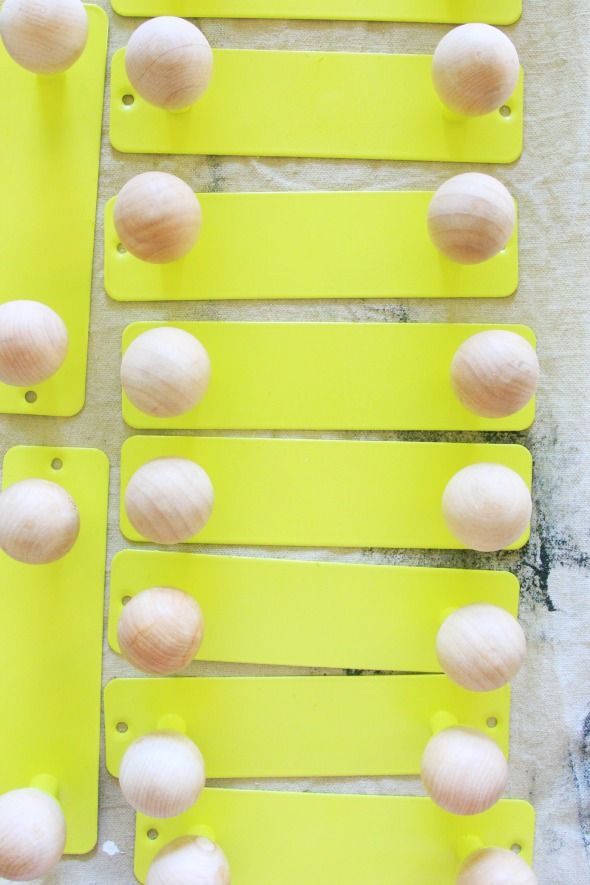
The hooks ended up being a bit different from what I had initially envisioned (with a vertical row of hooks), but I'm so happy with these. I spray painted simple hooks from Target a bright acid yellow, which I think really pops against the navy paneling, and epoxied wooden craft balls to the ends to give each of the hooks a sort of Eames feel. 

 photo IMG_6034.jpg

 photo IMG_6082.jpg

 photo IMG_0792.jpg

 photo IMG_0795.jpg

 photo IMG_0804.jpg

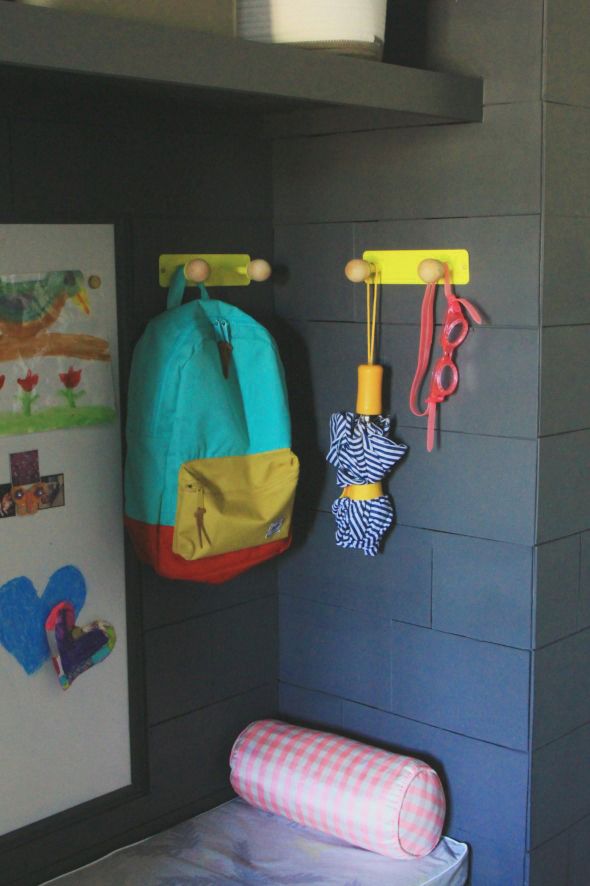
I think the more hooks in a utility space, the better! The original vertical hanging idea would have been awkward anyway - things would have been stacked on top of each other. We keep all sorts of things on these hooks, from the obvious, like backpacks and lunch bags, down to swim goggles and binoculars! :) These hooks are doing wonders for my sanity - it's so easy for the kids to hang up their stuff now.

 photo 2MR10.jpg

 photo 2MR3.jpg

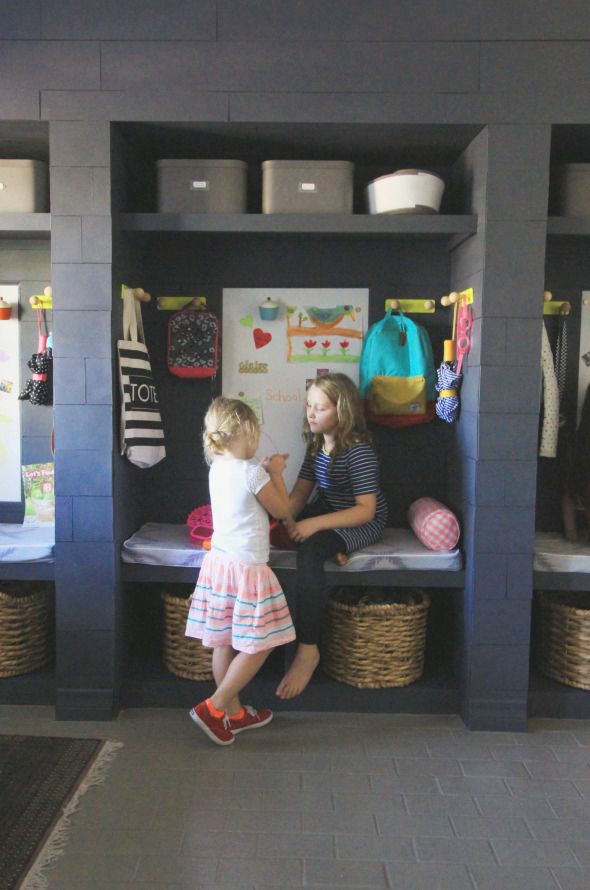
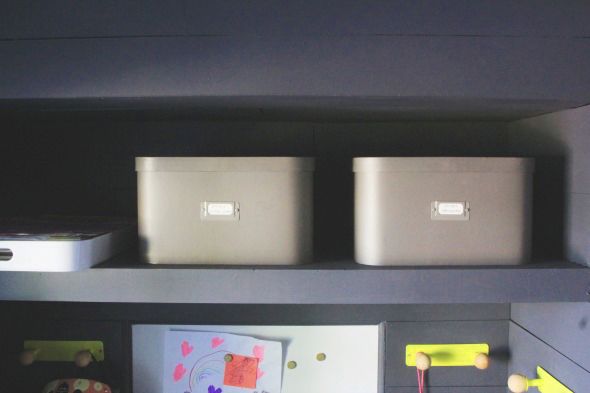
On the top shelf of each nook, I added labeled storage boxes that say either Artwork or School Work. My girls come home from school with adorable projects and work all year long and I love the idea of having an easily accessible place to store the most special of these keepsakes!

 photo 2MR15.jpg

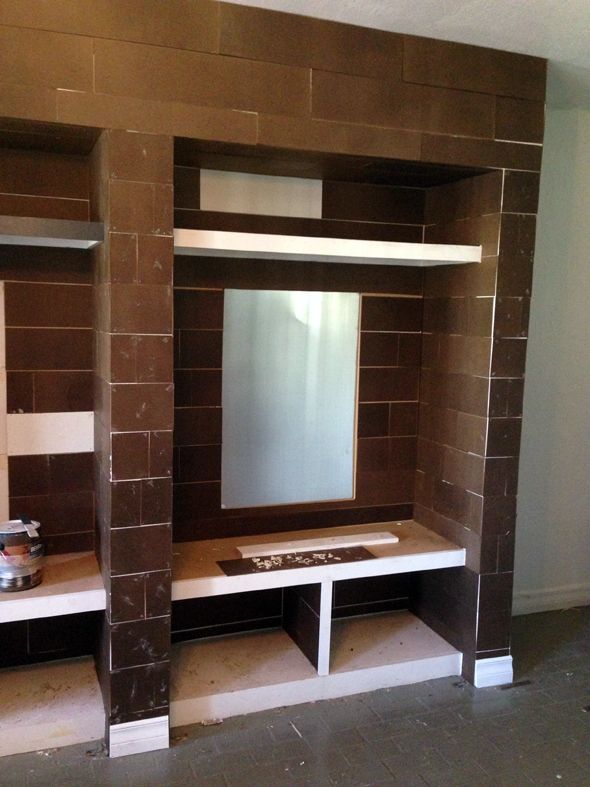
At the back of each nook, we installed a magnetic chalkboard for tacking up notes and writing messages! I made my own white chalkboard paint with latex paint and non-sanded grout and painted it on to a sheet of galvanized metal from the hardware store. We glued these sheets up to the drywall and paneled around them. It is wonderful for the girls to have a spot to leave each other and themselves messages every day! 

 photo 2MR14.jpg

I dressed up super simple ceramic magnet circles and dollar store alphabet letter magnets by spray painting them all with gold spray paint! Making them all a uniform color makes them feel special and less cheesy. The little cupcakes are containers filled with chalk for the girls. We epoxied magnets to the cupcakes so they can stay up on the chalkboards.

 photo 2MR6.jpg

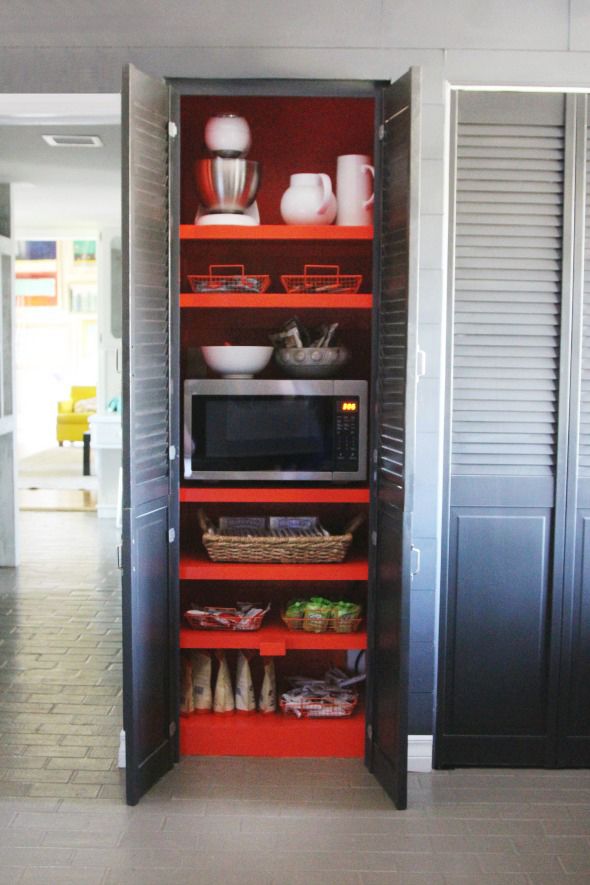
Across from our cubby nooks, we made our after-school-snack pantry extra pretty by painting it a bright, poppy red. Inside we have snacks for my kids (and any of the neighborhood kids that stop by!), including fruit leather and granola bars, and snack-sized microwave popcorn (my girls favorite!). We actually keep our Amana microwave in this pantry, which makes popcorn an even easier snack!

 photo 2MR1.jpg

I'm so happy with our (finally finished!) mudroom. It has made the back-to-school transition so easy and organized. I'd love to hear what things you're doing to help make back-to-school easier on you and your kids!

 photo 2MR7.jpg

This post was a collaboration with Amana, a wonderful, eco-friendly company devoted to making life easier on families, one appliance at a time! :)

Thursday, August 28, 2014

My Spice Shelf and $300 Oliviers & Co. Give Away


Isn't it funny how the little, last minute  design choices can often end up being the star of a room? I had an idea to add a little spice shelf above our range with just a super simple 3" piece of stained pine moulding, hung with cheap L-brackets that were spray painted gold. I love having a place to perch all my pretty little salts and oils.

 photo O7.jpg

 photo O6.jpg

Speaking of my favorite oils, Oliviers & Co. is a wonderful business that produces the most beautiful and delicious artisanal oils and vinegars, condiments, crackers and culinary creations. They put intense pride in every step of production, and the quality shows!

My favorite kind of easy meals are the snacky ones with fruits and breads and cheeses. My girls definitely inherited a similar love - they attacked this spread as soon as I turned my camera off! :)

 photo O4.jpg

Oliviers & Co. sent over an assorted mix of their best sellers, including the best-tasting olive oil I have ever had in my life (the green tin I now have on my spice shelf) and the most incredible balsamic vinegars. The vinegar on the far right was infused with fig and it was so, so delicious. I can't wait to make a vinaigrette with it! Maybe using some of the white truffle sea salt too? I've been scouring their food blog for recipes and ideas, and referencing their helpful How To Taste guide for olive oils.

 photo O5.jpg

 photo O3.jpg

These jams were amazing! I put a little honey goat cheese on one of their tortas sweet olive oil crackers with a swipe of peach and apricot jam and I thought I was in heaven. There is muscat and almond in the fruit spread that makes the flavor so beyond the norm, and I feel like that is true with all of their products. A foodie's dream-come-true!

 photo O2.jpg

 photo O1.jpg

Oliviers & Co. is kindly giving away a $300 credit today! To enter, click here, join the Oliviers & Co. email list, browse the delicious offerings on the site, and then comment on this post with the product you'd love to try. Please be sure to either sign in or leave an email address in your comment, so I can get a hold of the winner! This give away is for US readers only.

 photo IMG_2868.jpg

And, BONUS! Save 10% on your first purchase when you enter to win the $300 credit! Here are my picks. What are yours??

 photo OLIVIERS1.jpg
1  //  2  //  3  //  4  //  5

 photo OLIVIERS2.jpg
6   //  7  //  8  //  9  //  10  //  11  //  12

This post was a collaboration with Oliviers & Co. Thank you for supporting our sponsorships!

Wednesday, August 27, 2014

Why Don't You: Hang a Picture Ledge

Now that our house is in a more comfortable place, I'm turning my focus back on to the site (redesign almost done! huzzah!) and to my design business. I've picked up a couple new clients this month that I'm excited about. I flew to New York last week to meet with one of them and to help the other style her home after a big move. One of them has about a million framed family photos - and they are beautiful! So homey and personal. None of them are formal portraits, just sweet candid shots, lovingly blown up and framed. I came home inspired to tackle the monumental task of sorting and organizing and printing our favorite family photos. (still working on getting to that one!) :/
You all know I love a good gallery wall. I think it's a great way to display a collection of art or photos that are different, but work well together. I've been thinking of other ways to display family photos besides the traditional nail-in-wall method (something like my friend Emily's picture rails), and I am finding myself so drawn to picture ledges that look like these below - simple, mostly monochromatic, and really artfully curated.

 photo e3fc725ba337165a34fbff88d2dc7c57.jpg

IKEA sells a simple 4' ledge for only about $15. It would be so easy to make your own version too, with a few pieces of glued and pinned together lengths of wood.


I really love India Hick's family photo ledges in her dining room. I'd love to do something similar in our dining nook. It makes me happy to think about seeing all the faces of people we love and have been inspired by every day, at every meal! And what a great conversation starter for dinner guests!

 photo IMG_8777.jpg

Have you seen any cool/different ways to display family photos lately?

Monday, August 25, 2014

The Library Bookshelves!

If you've been reading LGN for practically any amount of time, you probably know that I love me a good bookshelf! In the past we've used a series of IKEA bookshelves to house most of our books (here's a link to the DIY arched version and the faux-built-in version). When we moved to this house though, I knew we were going to invest in something special for our library built-ins. I am SO happy with how these turned out! The shelves are pretty much the first thing we see when we walk in the door and they make me smile every time.

 photo classy4.jpg

 photo classy3.jpg

I hired a local company called Classy Closets to build and install the insanely huge shelves (they are over 16' tall!). I learned about the locally-owned company first when I was helping my friend Caitlin Wilson work on a show house for the Street of Dreams in Gilbert. Show homes are a great way to discover local companies and I saw Classy Closets' work and was super impressed.

They were wonderful to work with them from the get-go. They have amazing in-house designers that can take care of everything if that's what you need/want, but they also love to collaborate with designers. They also offer trade pricing or commissions, which ends up being really helpful for big projects like this one, though I will say their pricing is incredibly fair for the great, fast work they do. And actually, Classy Closets is offering a huge give away right now for a $2000 worth of custom cabinetry (they do everything from closets to kitchens)!

 photo KomendaLibrary.jpg

So the basic process was I came up with a few drawings and then worked with their production designer to finalize the dimensions and the plan. There were some pretty big tweaks to what I initially wanted because of the vintage library ladder I was asking them to incorporate in the design. The design team was amazingly detailed and careful about the ladder and how and where to install the rod to make the ladder run as smooth as possible.

 photo vIMG_4467.jpg

Let's back up a little though and savor the project reveal! :) If you'll remember, we had a big empty wall here before. We pulled off the old moulding, had an electrician move the wiring up to where the library lights would be, patched the walls and holes with drywall mud, and then primed and painted the whole thing the color of the bookshelves (Ben Moore's Chantilly Lace).

 photo vIMG_4429.jpg

 photo IMG_5110.jpg

Once the shelving design had been finalized, it only took a couple of weeks for the Classy Closets crew to build the cabinetry. The installation took almost two full days for an entire team though! This was a huge project and they were wonderful craftsmen. I couldn't have been happier with the work they did - clean and efficient.

 photo IMG_5168.jpg

 photo IMG_5187.jpg

 photo IMG_5216.jpg

At the end of the second day, the library ladder track was installed. I chose an iron rod to match the hardware on the rollers of the ladder. I thought about doing brass to match the lighting (which was a sale find at Restoration Hardware) and the large ring pulls (which are from Liz's Antique Hardware), but I like how the metals and finishes mix. 

 photo IMG_6267.jpg

 photo IMG_7753.jpg

 photo IMG_7751.jpg

The ladder, which was a $250 Craigslist find (apparently inherited from a famous race car driver in California? Here's the back story there.), runs as smooth as butter. It's hard to not hop on for a ride a few times a day! :)

 photo classy8.jpg

It's pretty amazing that we have all of our books in one place finally. Even in Brooklyn, we ended up having to store some books in other rooms. But having this much storage space is completely amazing. 

 photo classy5.jpg

We did my trick of organizing by genre and then very loosely by color. And then I just added in a few little containers here and there to break things up a bit.

 photo IMG_7658.jpg

 photo classy9.jpg

 photo IMG_7705.jpg

 photo classy7.jpg

These built-ins are such a big part of our home now. We all love spending time in the library. It feels homey and cozy and comfortable. A big thank you to Classy Closets for being so generous to me with their time and with their designer discount. I am happy to have found another great local resource! And locals, don't forget to enter the $2000 master closet redo give away here.

 photo classy1.jpg